Hey all!
Sara has asked for a tutorial for my quiver and strap. In this PART ONE, I'll go
over how I made the Quiver.
PART TWO will detail making the Strap. it can be found at the bottom of the page
if you click next: part 2.
I suggest reading through both entirely before beginning, as you will be able to
see how common items and techniques are used in both tutorials.
WHAT YOU NEED:
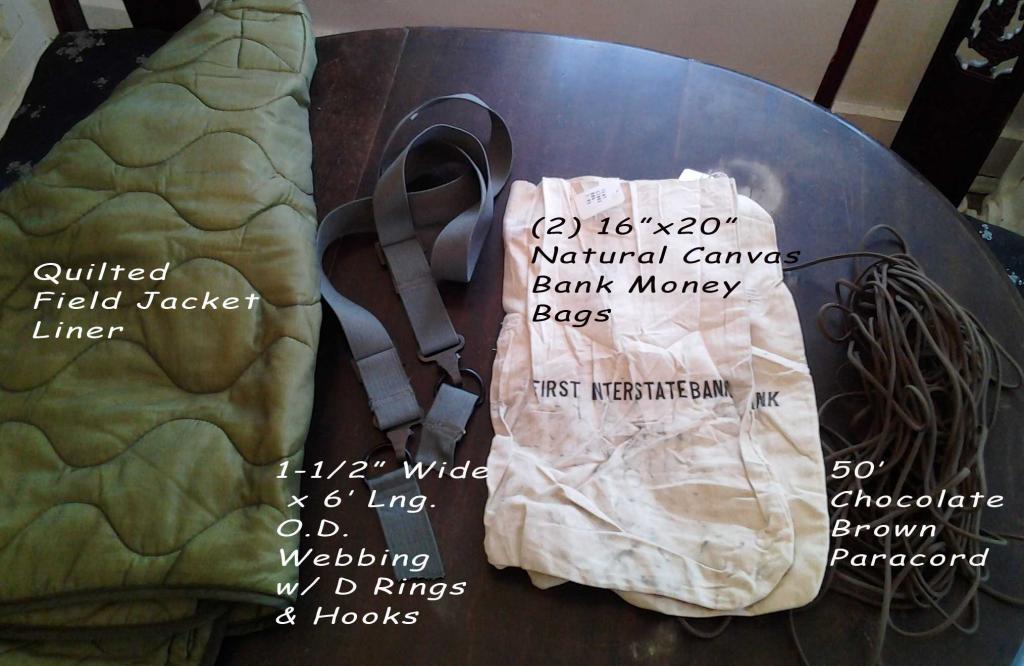
1. Canvas.
I used two canvas bank money bags (because I had them). But really you need
about 1 yard of natural coloured canvas.
2. Lining.
I have chosen to use a quilted military Field Jacket Liner (again, because I had
it). What is needed is something that is thick to give the quiver shape, but not
too stiff so that it hangs naturally.
3. Brown Paracord
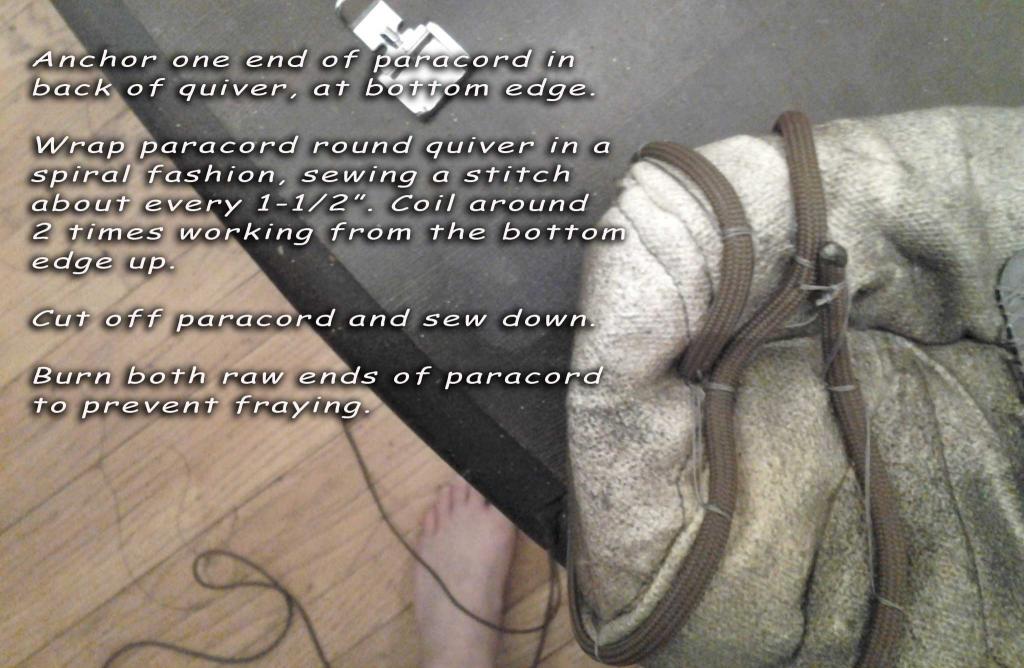
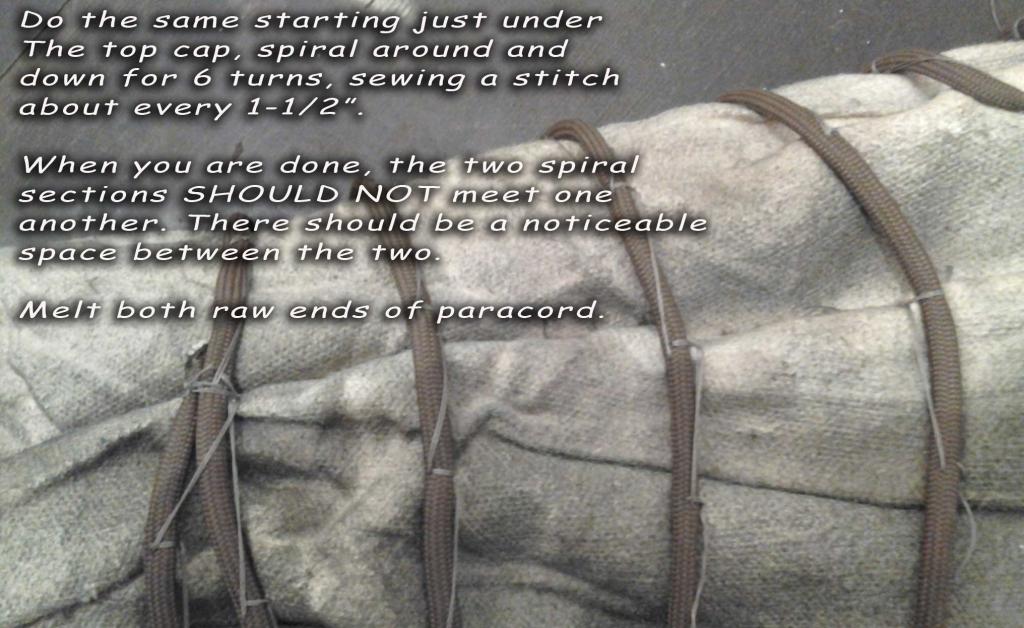
I use this to add detail to the top lip of the Quiver, and also for the "spiral"
wrapping on the outside of the quiver.
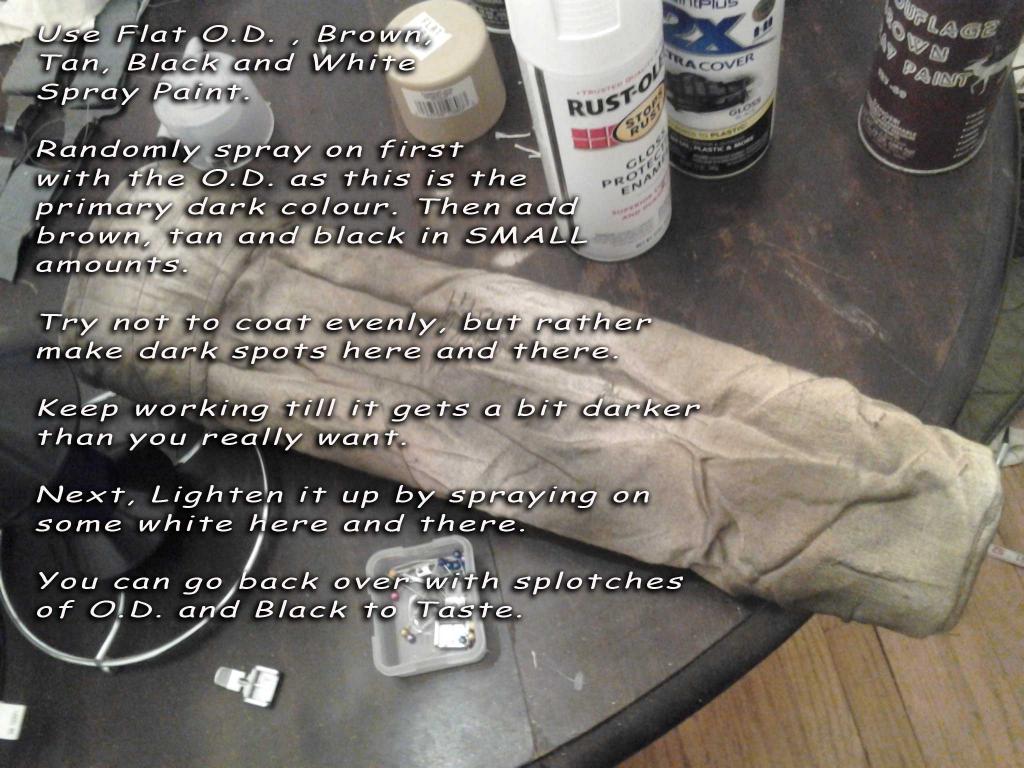
4. Olive Drab, Brown, Black and White Spray Paint.
This will be used to colour and distress the canvas.
5. Sewing Machine, O.D. thread, lots of patience.
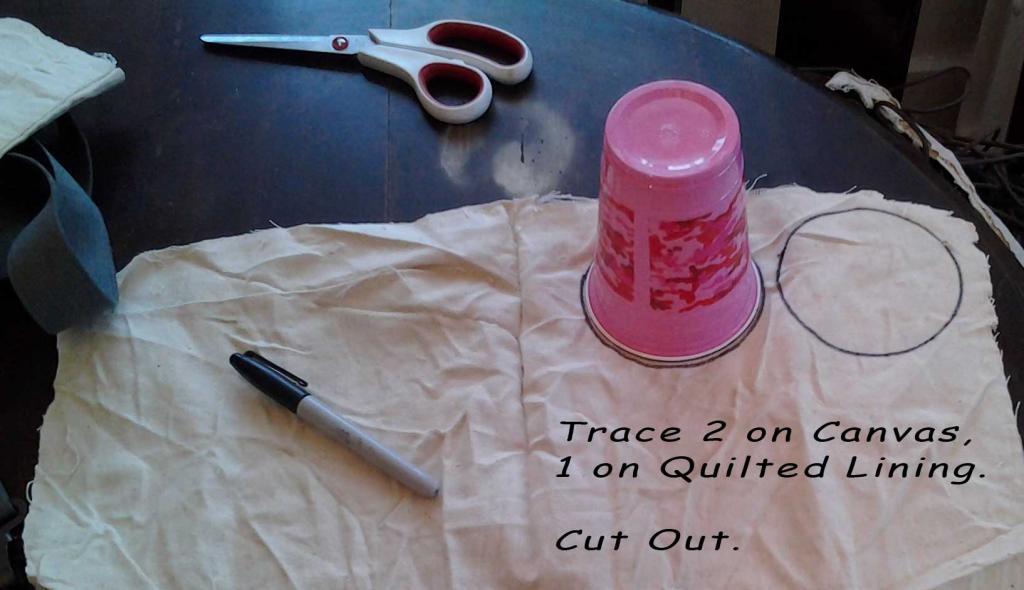
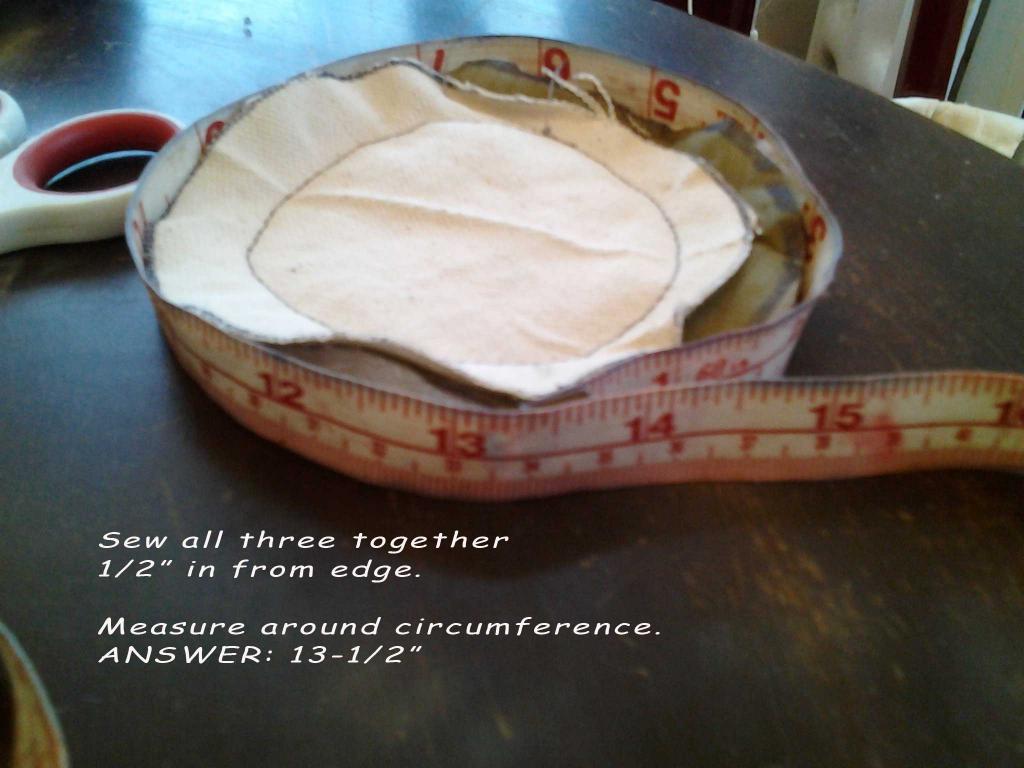
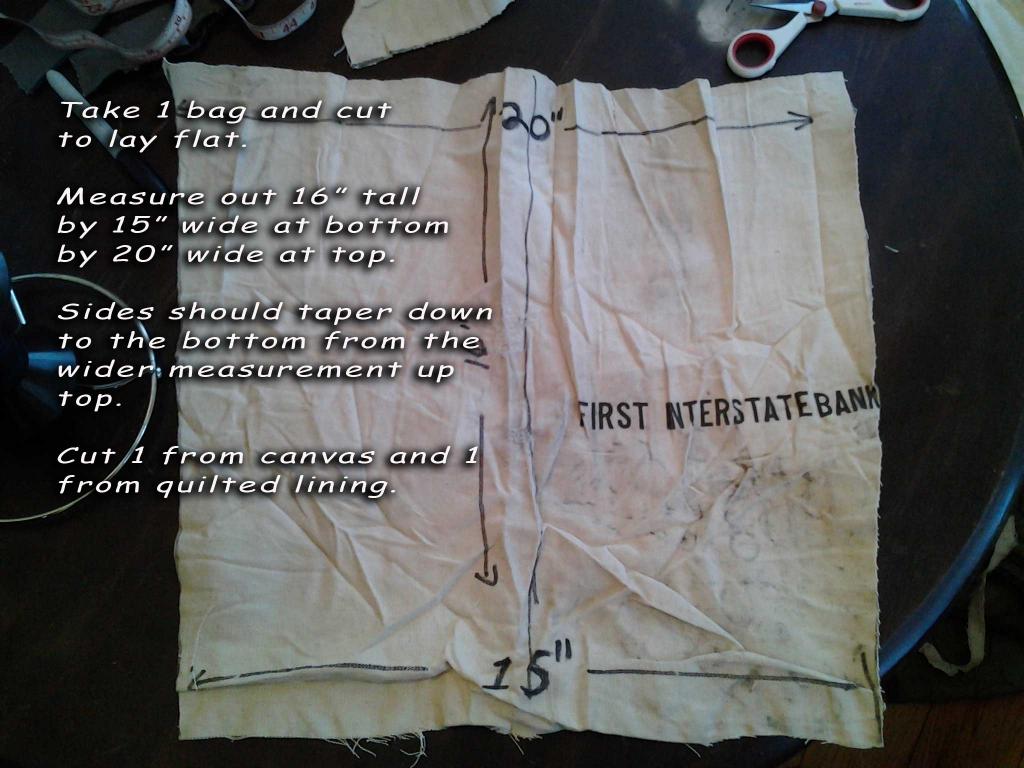
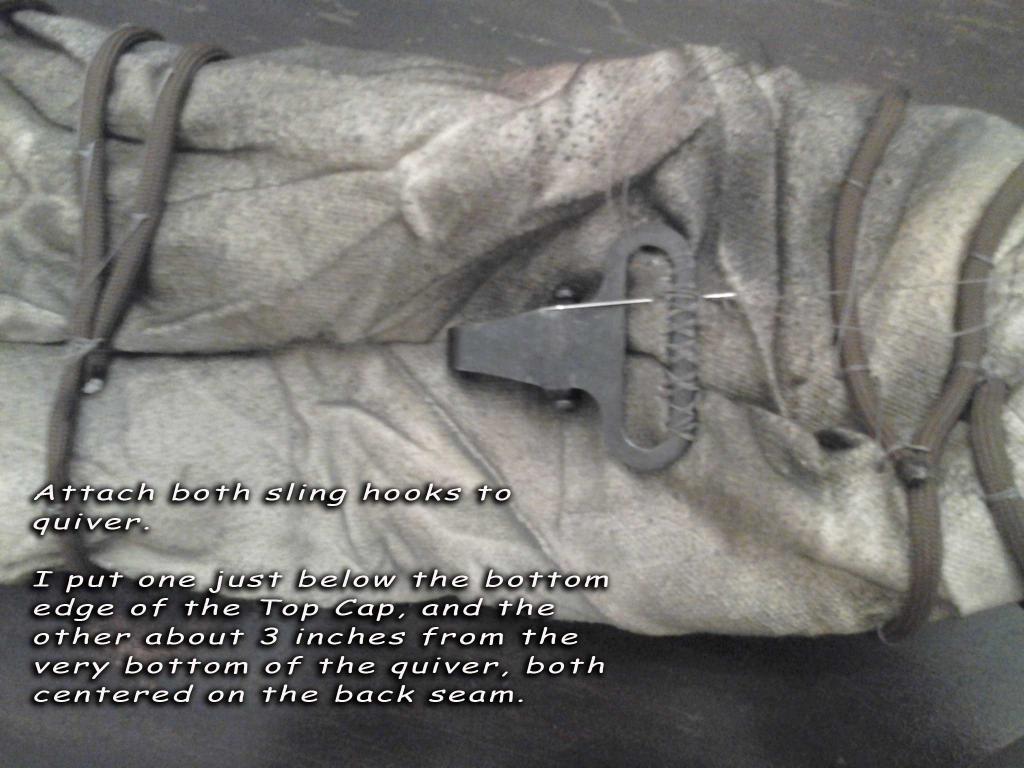
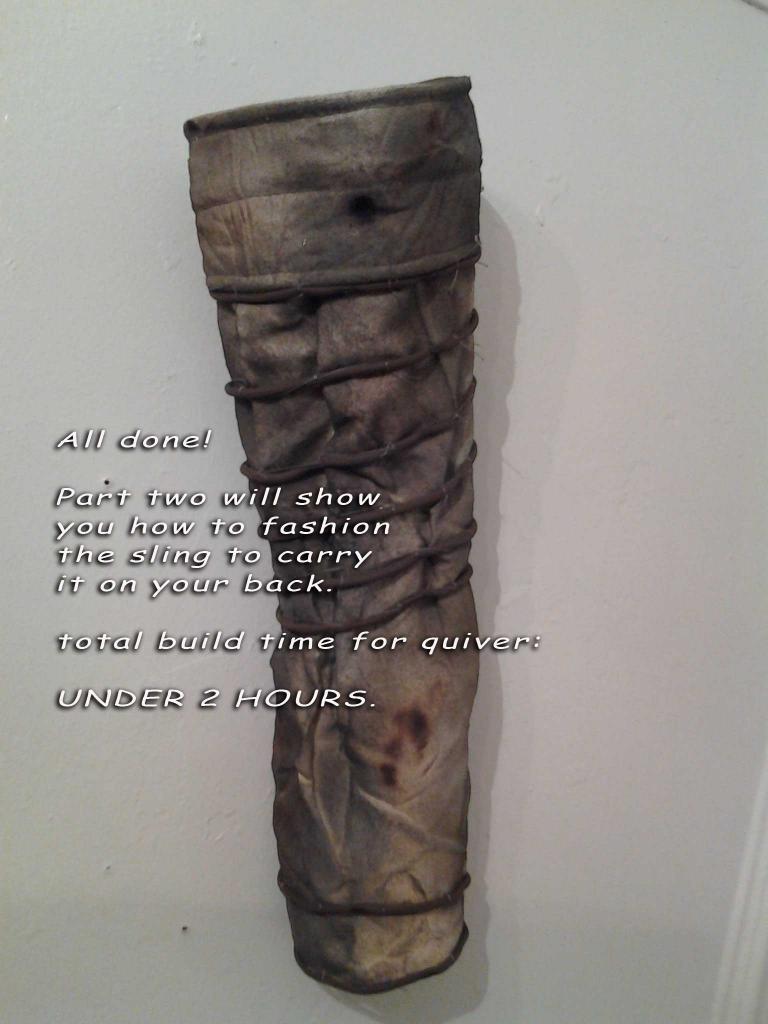
Here we go with the pictures:

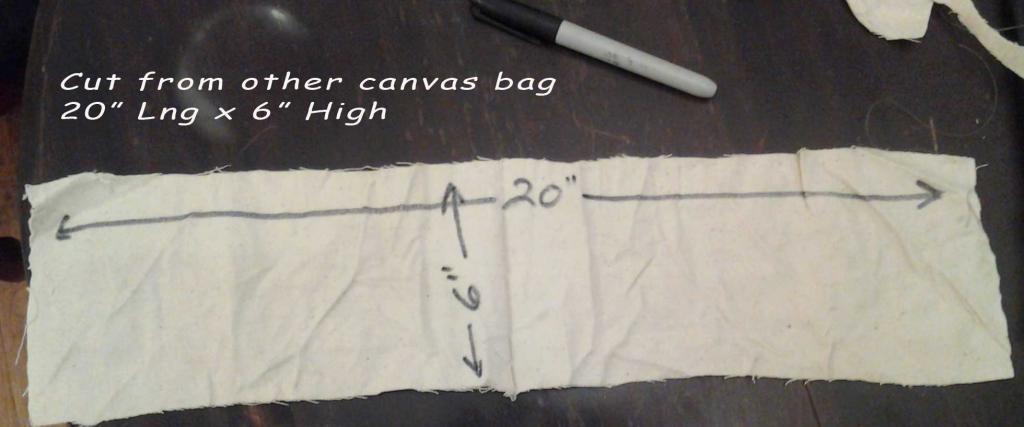

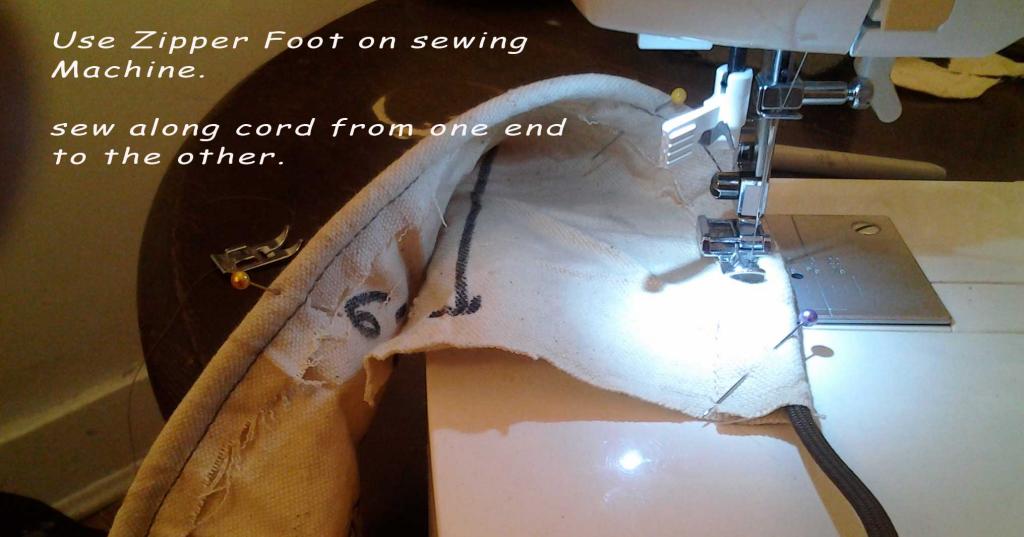

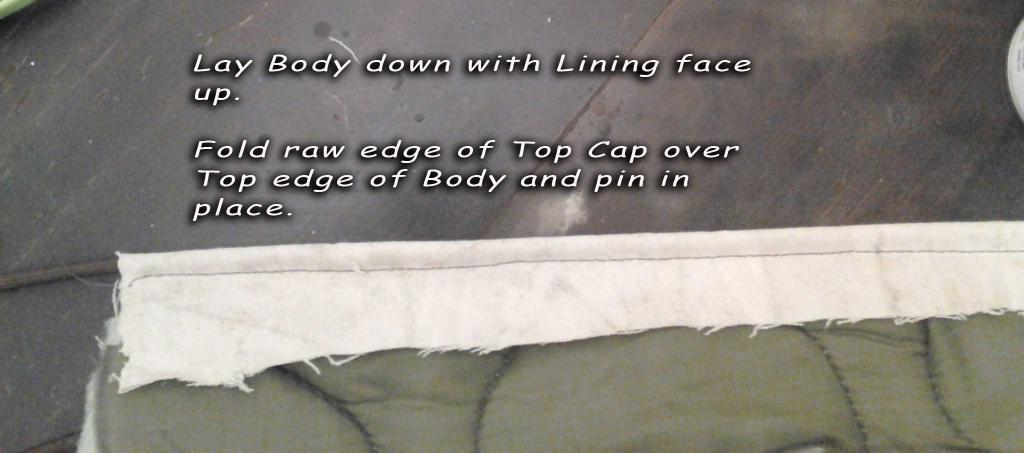

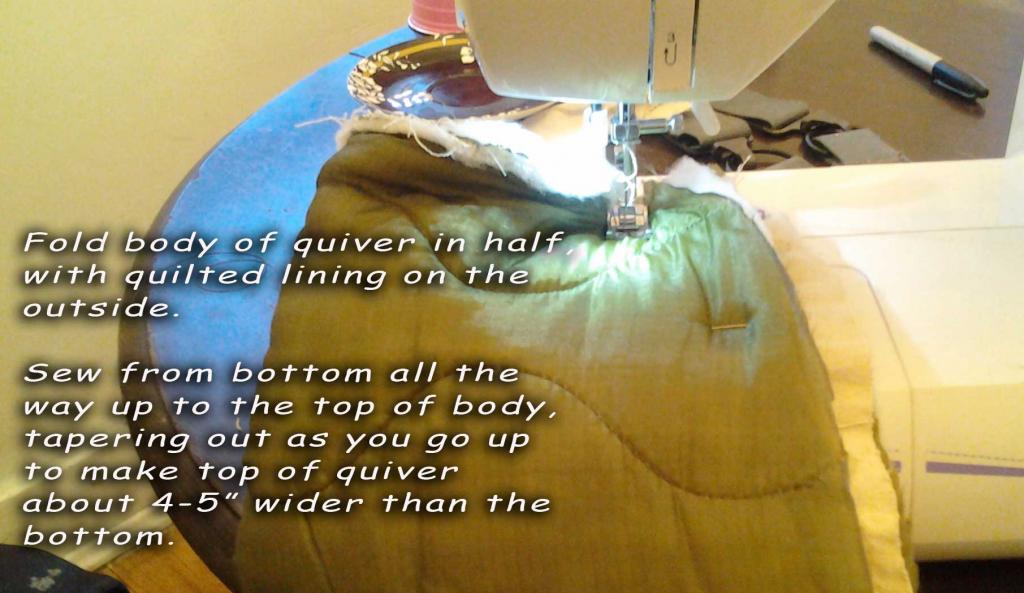
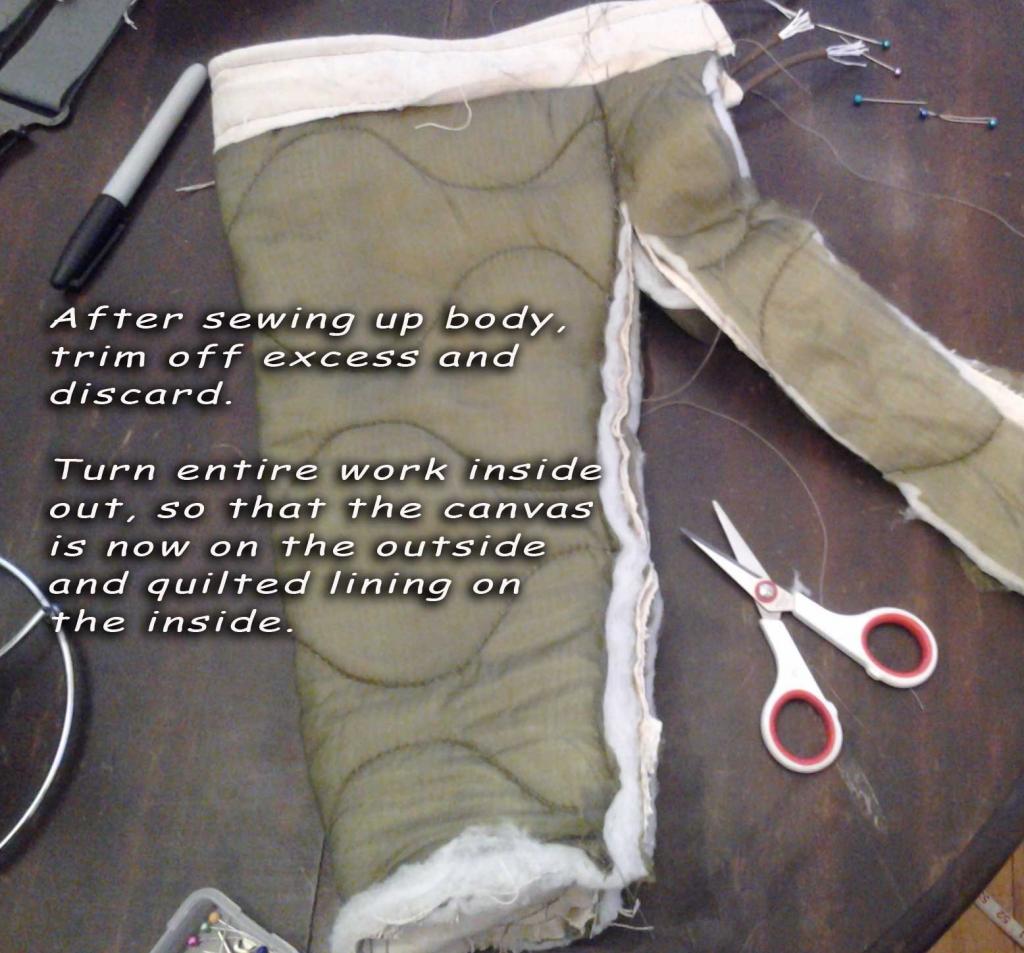

NEXT: PART TWO CLICK HERE
|