| Tomb Raider
Underworld Thor's Belt by
Sara |
|
In the cinematic where Lara obtains the belt , you see her pull out a small buckle that is freed from the stone belt. What she actually wears is only that little piece. So my idea is to make the buckle out of clay like FIMO or Sculpy, then make the backing that holds on to your belt out of Metal Sheeting and Craft foam that covers it so it's safe to wear and touch. Then glue all of it together. here is my tutorial where it is explained in detail, I hope it helps you complete your cosplay.
Reference:
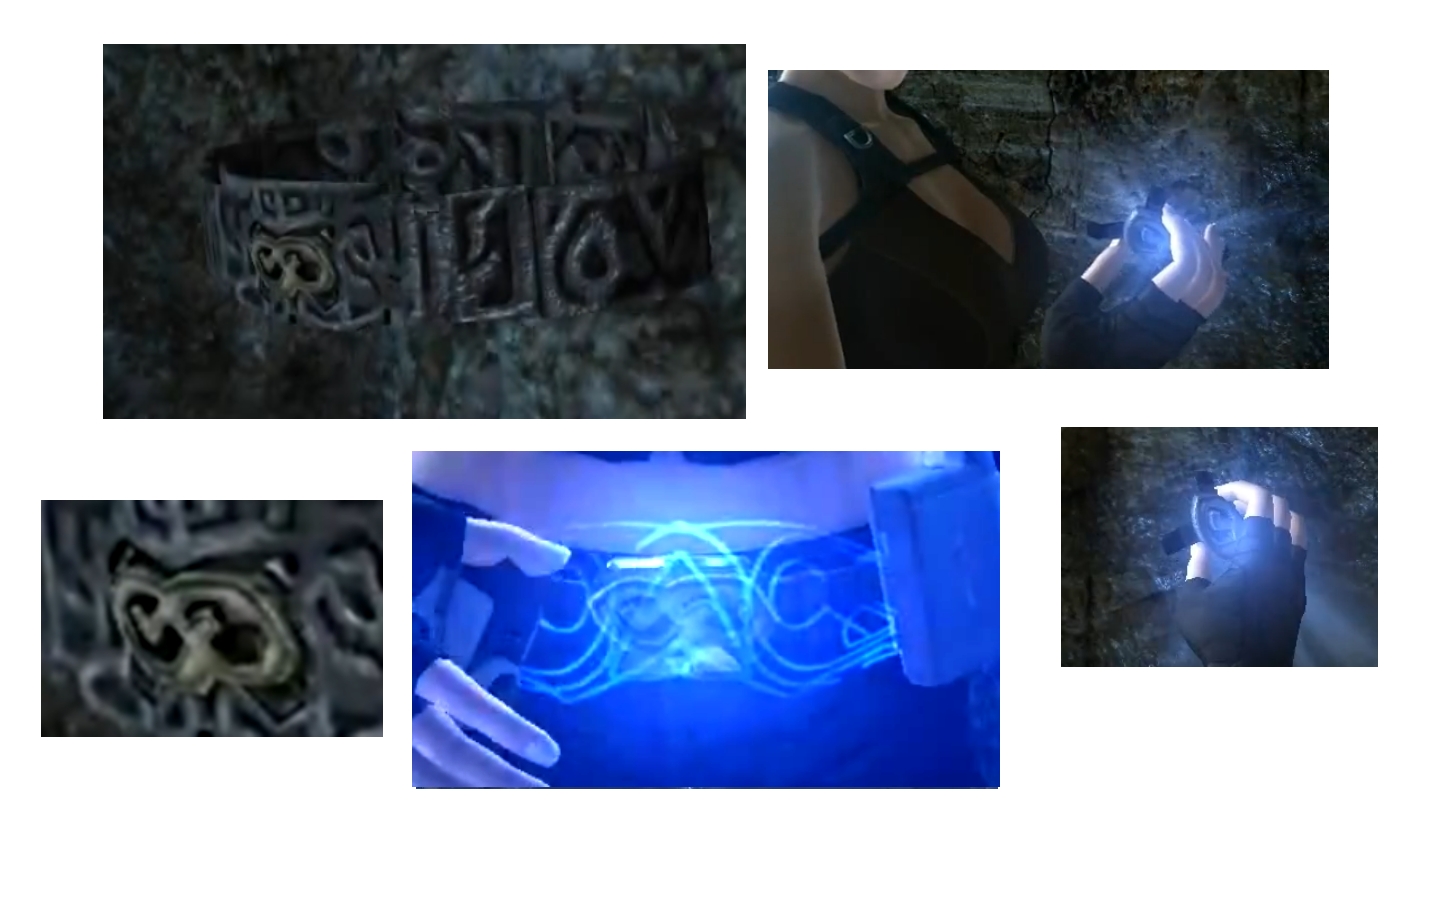
What you need:
- Baking Clay (FIMO, Sculpy etc)
- Black Craft Foam
- Gold and Silver Paint
- Metal Flashing (although it is very easily manipulated, be VERY careful when cutting, have an adult do it)
- Shears to cut the metal
- Hot glue gun and glue sticks
- Safety glasses and gloves
1. You need to sculpt the clay into the buckle shape, here's how I did mine: |

Make a long worm like shape |
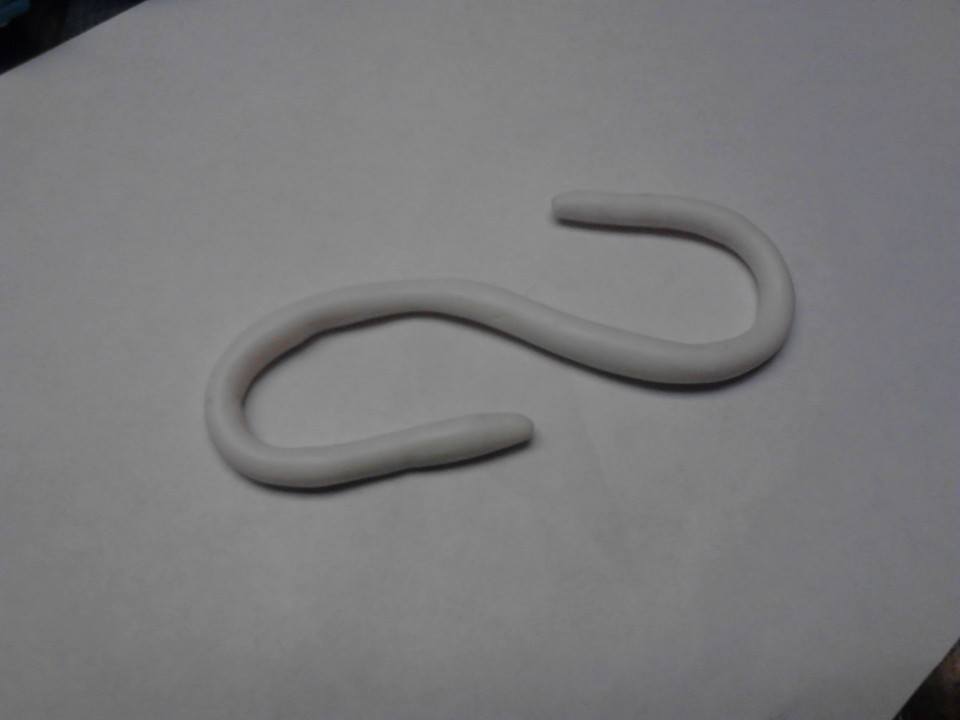
Turn it into a rough "S" shape |

Bring the tips together, parallel to each other then press down hard |
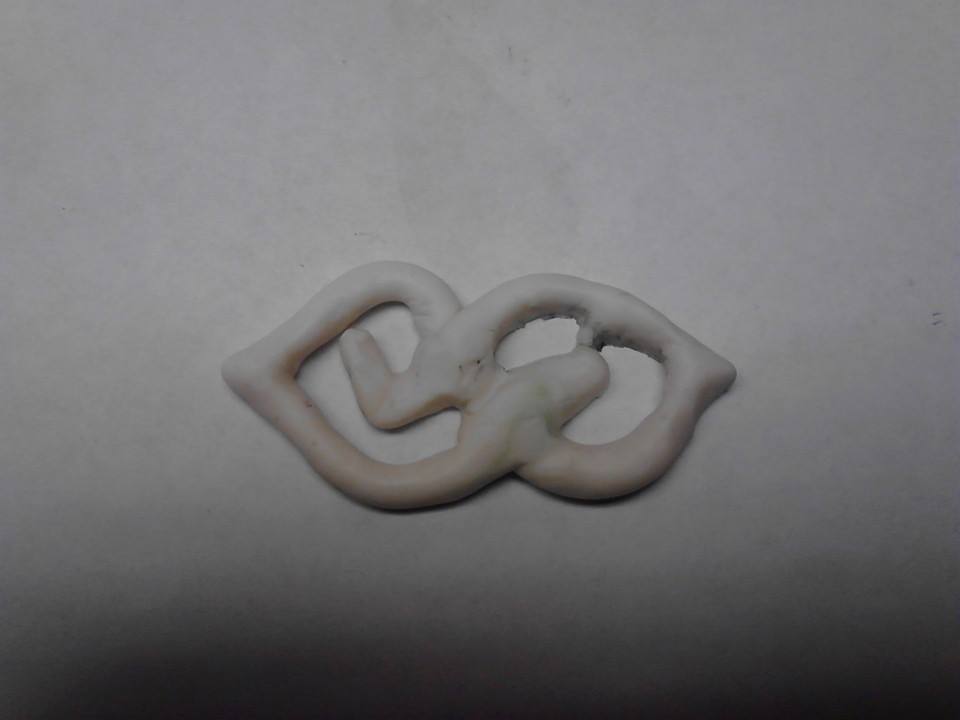
Pinch the sides & make an "L" shape out of the left tip , then pinch the top
middle corner. |
2. Bake the clay according to the temperature and time on the package and then let it cool off
3. Get a 6 by 4 inch piece of metal flashing, this is very dangerous work, you
need an adult and you need safety glasses and gloves because the metal has lead
in it. it is poisonous.

Cut the metal shape into an "X" shape like so: |
.jpg) |
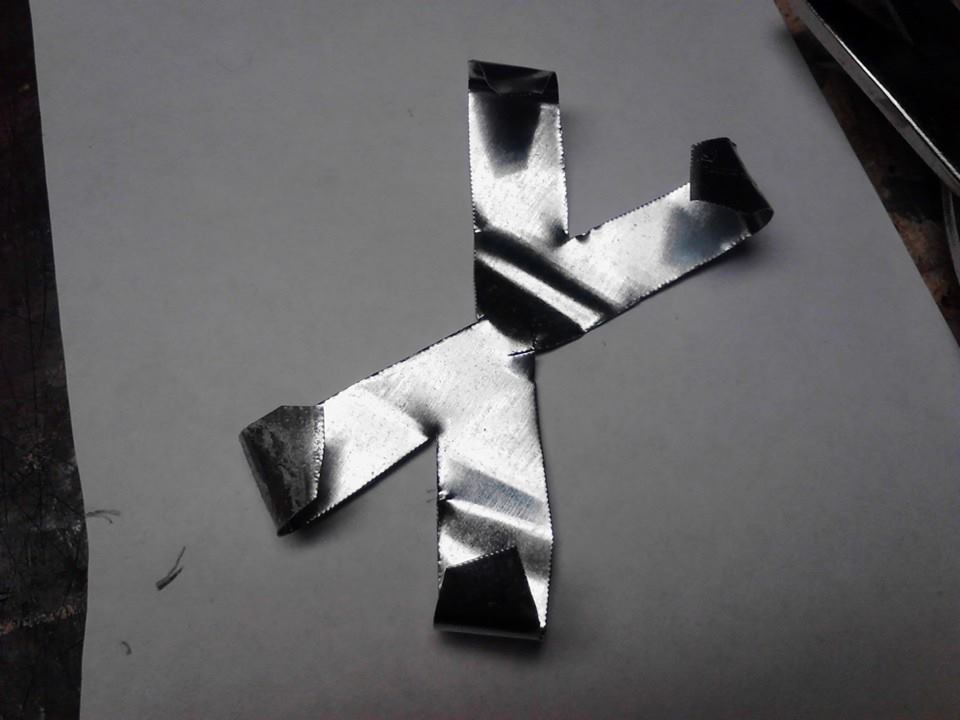
When you get that "X" shape, bend the sides to get a feel for how it will attach
to your buckle. The metal is very soft and easy to manipulate but will hold its shape as you mount it on your belt
When you get the size right you are ready for the next step. |
|
3. Lay it on a piece of craft foam, glue the metal right on the foam with hot
glue, as long as it's low temp, you won't melt the foam. Do this on both sides, so you cover the whole thing so it becomes safe to touch |
 |
 |
 |
|
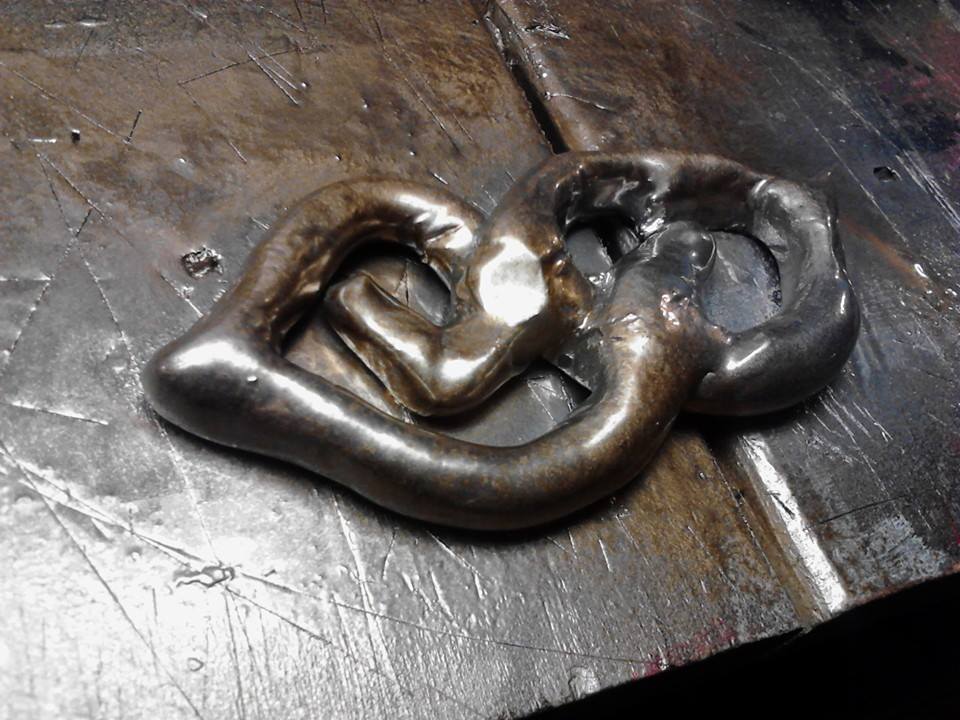
4. Time to paint the clay part, I gave it a silver tone then
light dusting with gold. |
 |
 |
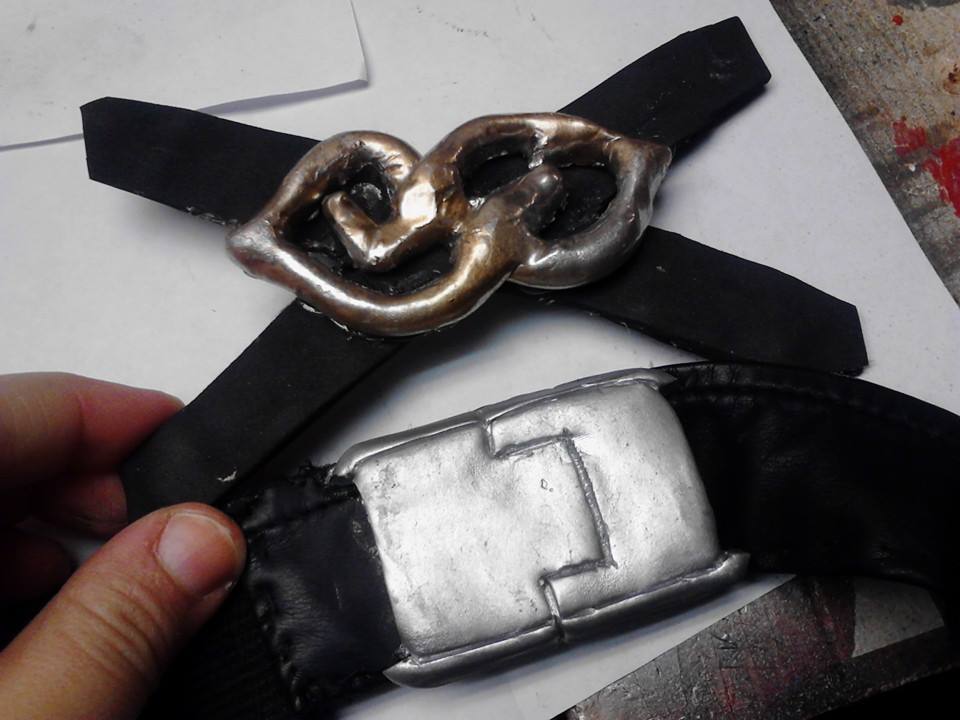
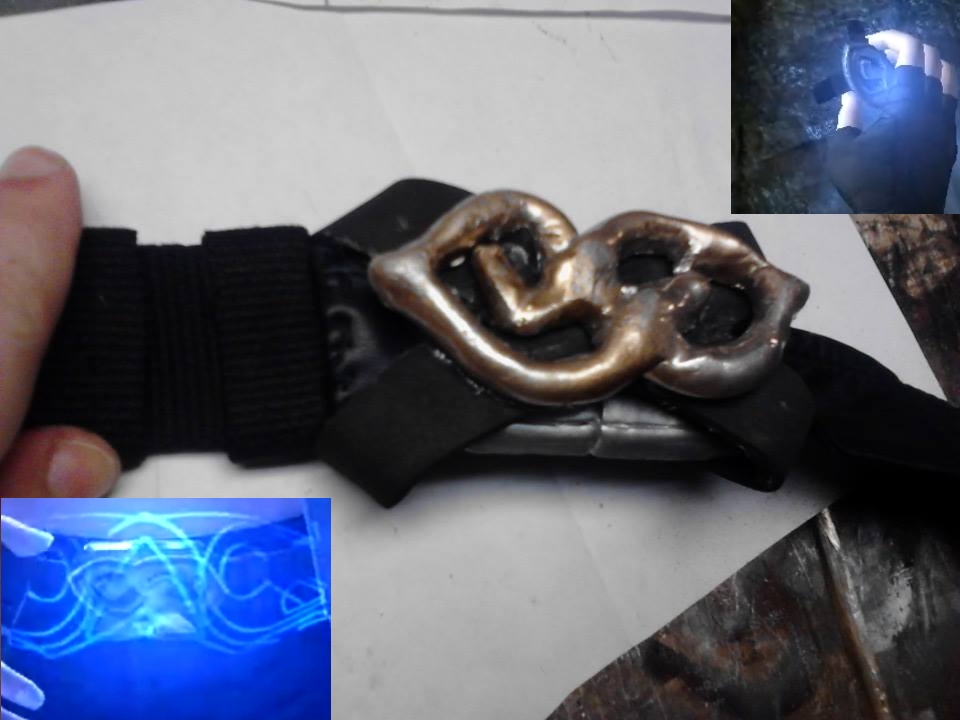
5. After it is dried you can now glue the whole thing together,
and you should end up with something like this:
 |
|
Bend the corners to fit over the underworld belt buckle and
you're all set :) |
 |
 |
|
|