|
This was a fun little project to
do and didn't take a whole lot of money to make since I had leather from other
projects. Here is what I used:
15"x15" piece of untanned medium/thick leather hide
1 small strip of medium/thick leather hide for the closure tab on the lid
two strips and one tiny strip of brown garment quality leather (from remnants)
Button Stud- $3.50ea
http://www.tandyleather.com/en-usd/search/searchresults/11310-02.aspx
Waxed Polyester Thread- $5
http://www.tandyleather.com/en-usd/home/department/lacing/1206-02.aspx
Dye (Dark Mahogany and Dark Brown)- $13
http://www.tandyleather.com/en-usd/home/department/leather-dye/2600-08.aspx
http://www.tandyleather.com/en-usd/home/department/leather-dye/2602-02.aspx
2x small rivets
http://www.tandyleather.com/en-usd/search/searchresults/1373-12.aspx
sewing awl (speedy stitcher)-$27
http://www.joann.com/speedy-stitcher-sewing-awl-/13423447.html
diluted bleach water
plastic scrubbing brush
---------------------------------------
HOW IT'S MADE
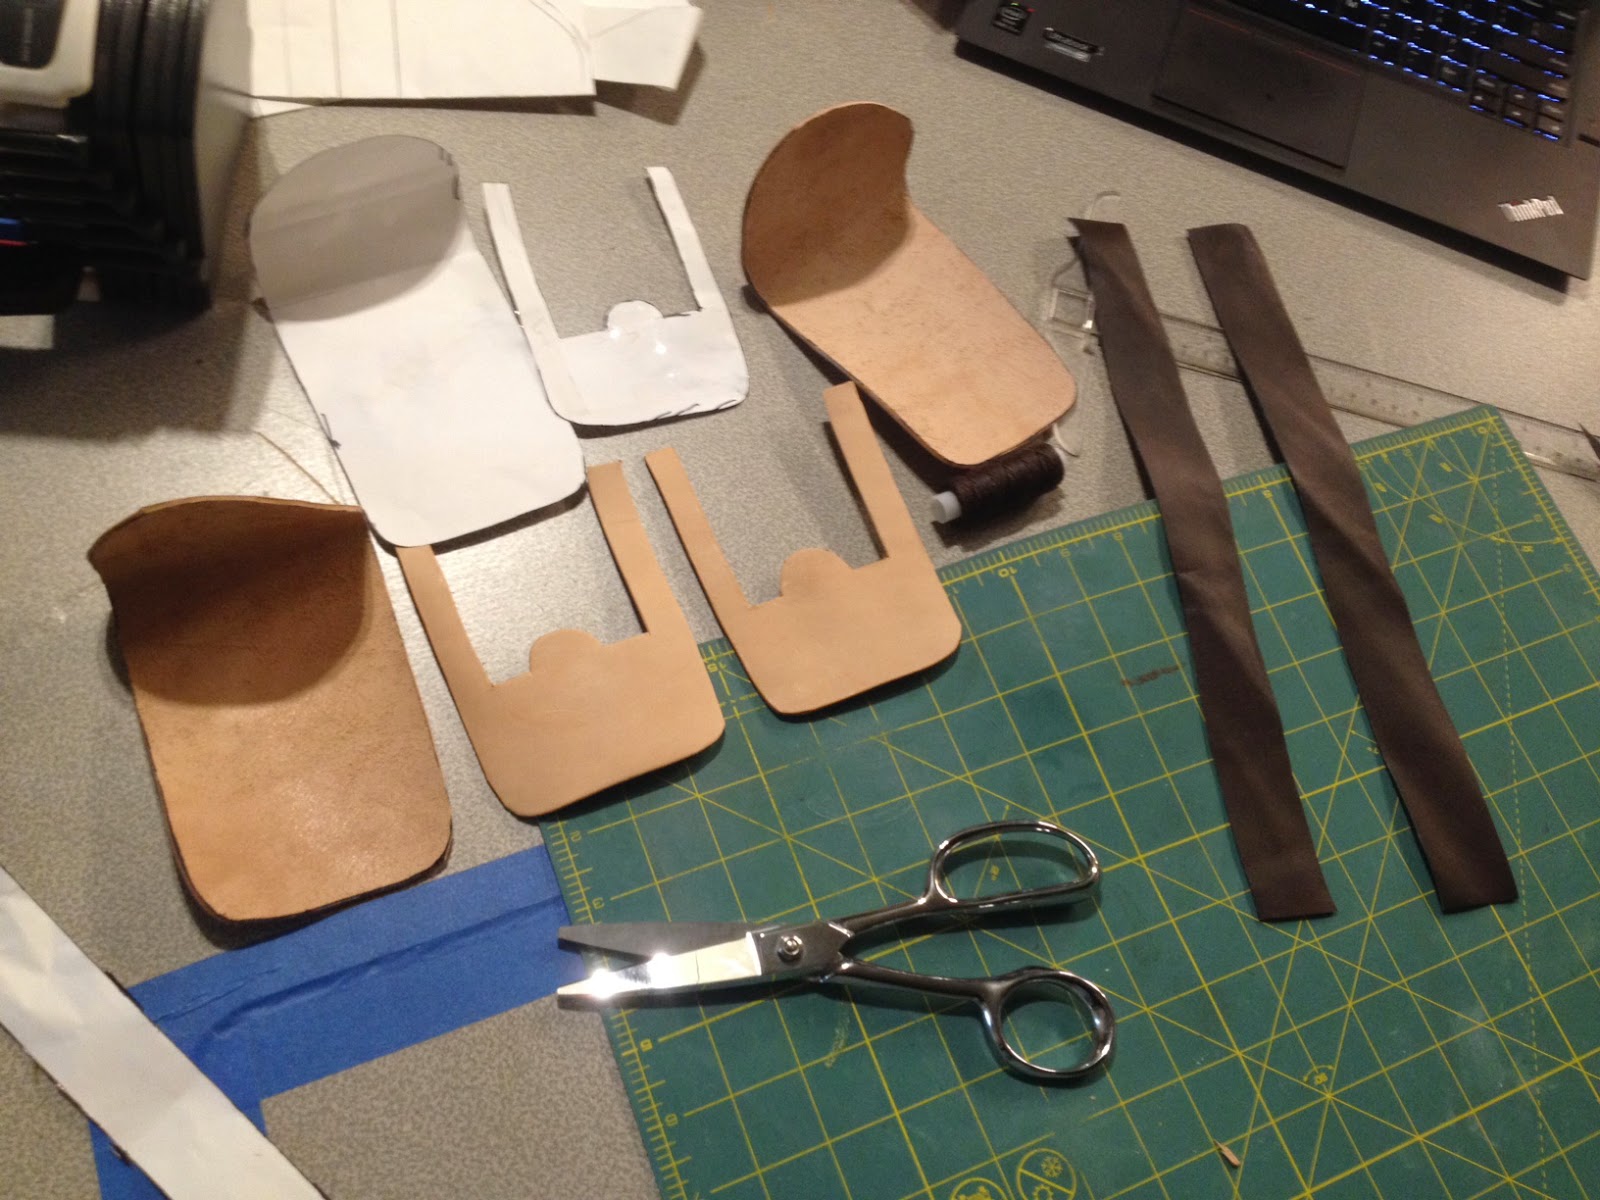
This pouch was patterned by Meagan Marie. It's pretty a pretty simple three
piece box pattern, with a front, a back that includes a flip down lid, and one
long strip for the three walls. I cut out the pattern in the thick leather
first.
Then I started sewing the brown strip leather to the front piece going all the
way around the sides and bottom of the front part of the pouch.
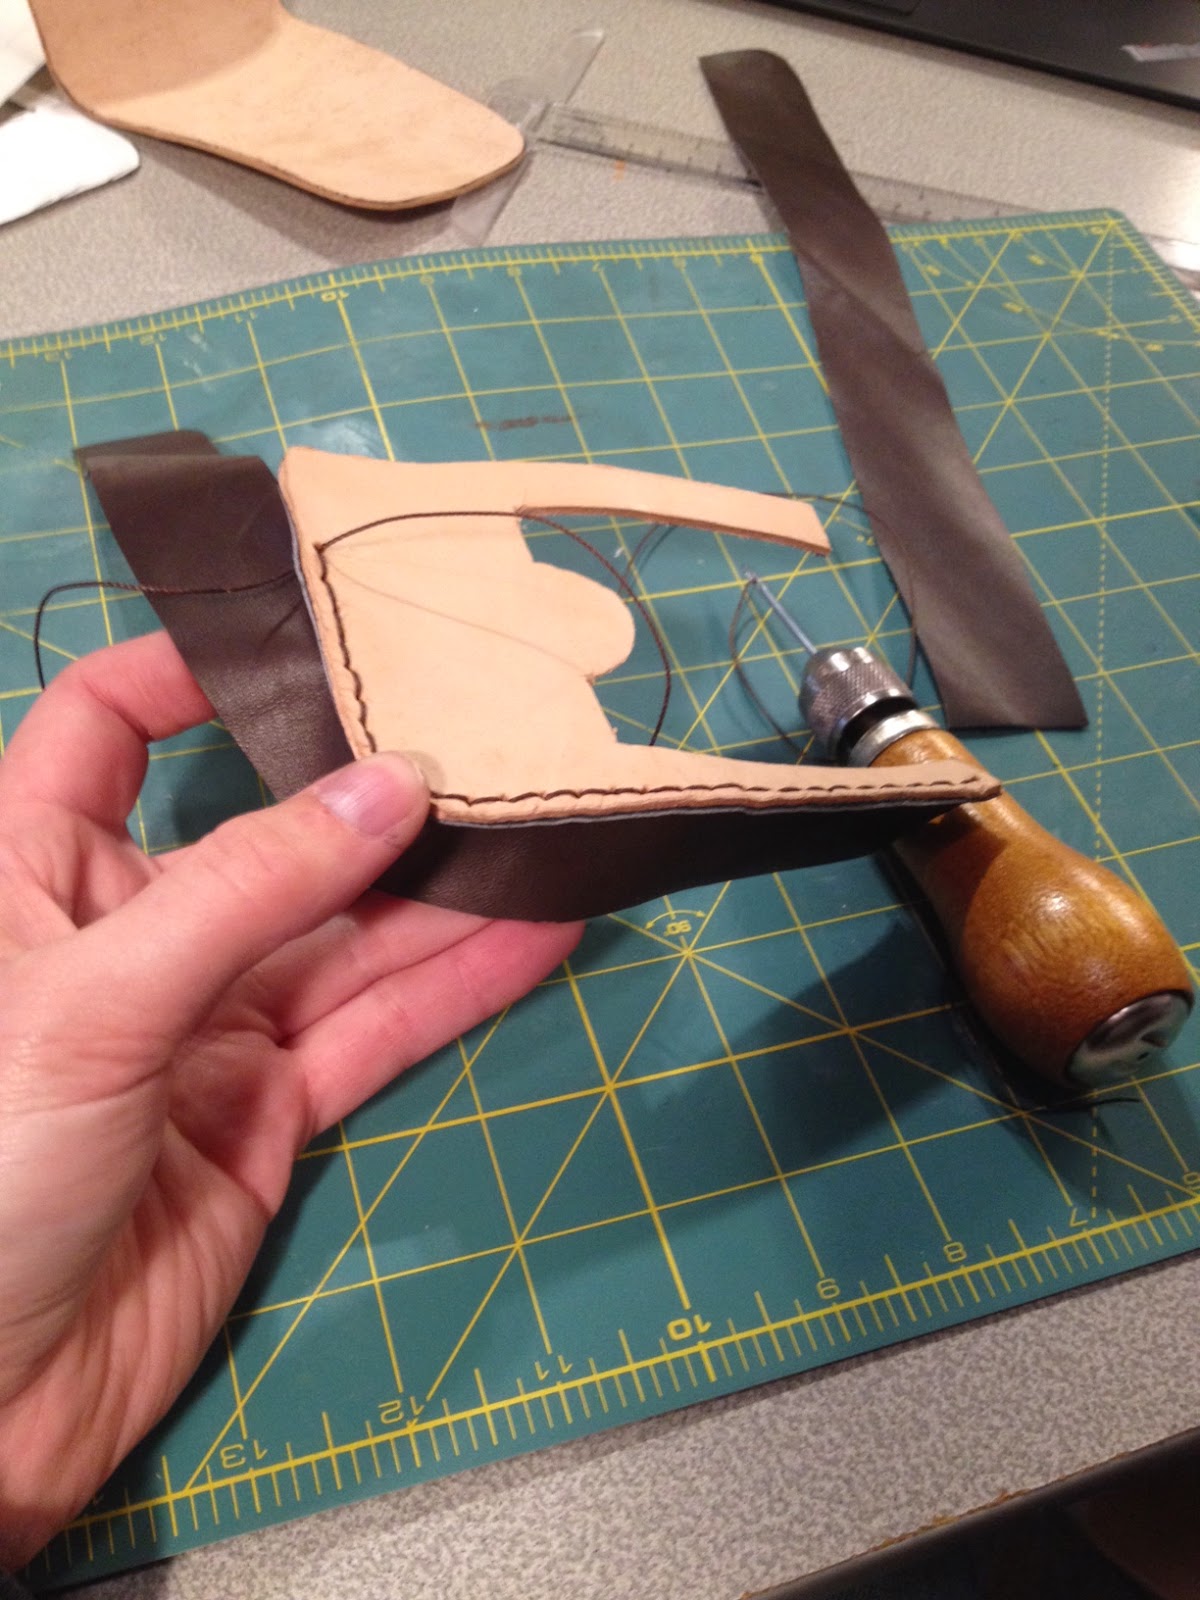
I did the same with the back/lid of the pouch, attaching it to the side walls
and adding decorative stitches along the edge of the lid. After I did that I
sewed the small strip of thick leather to the lid to act as a closure tab,
making sure to sew all around the perimeter of the strip to add detail to the
pouch.
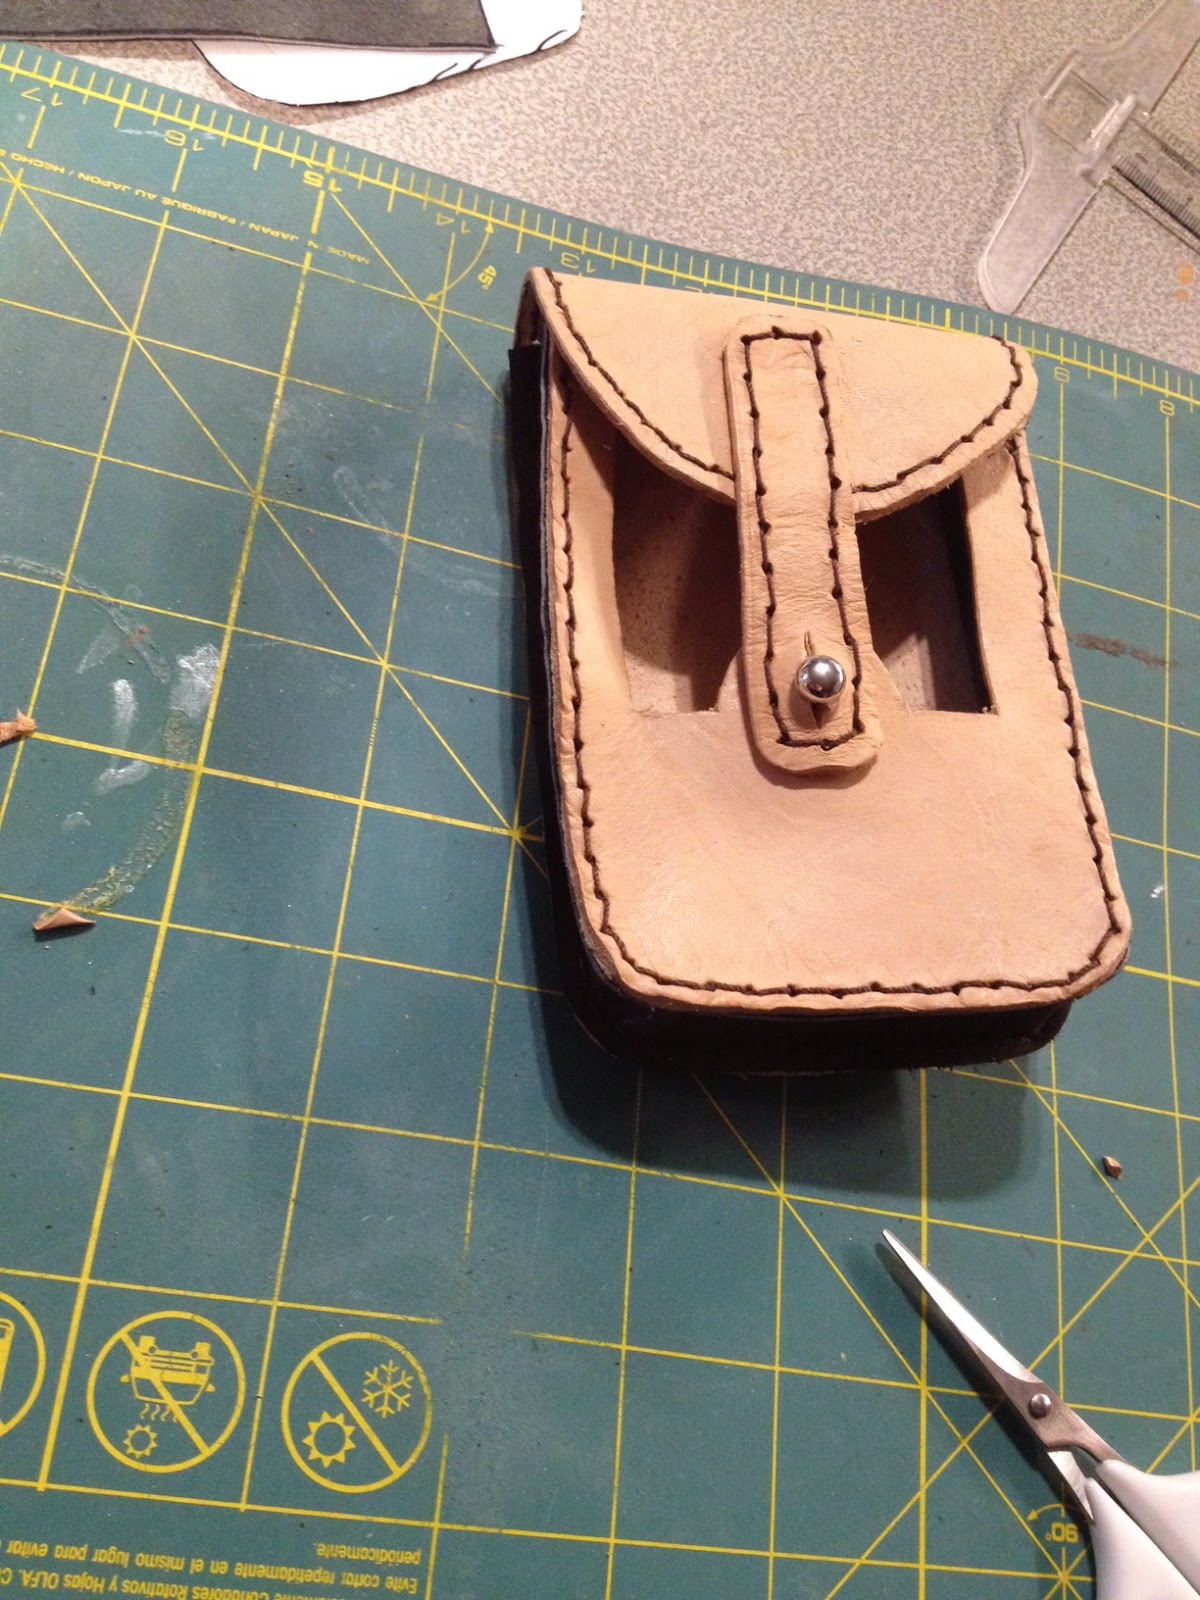
After I did that I added a hole to the closure tab and added the button stud to
the round part on the front of the pouch.
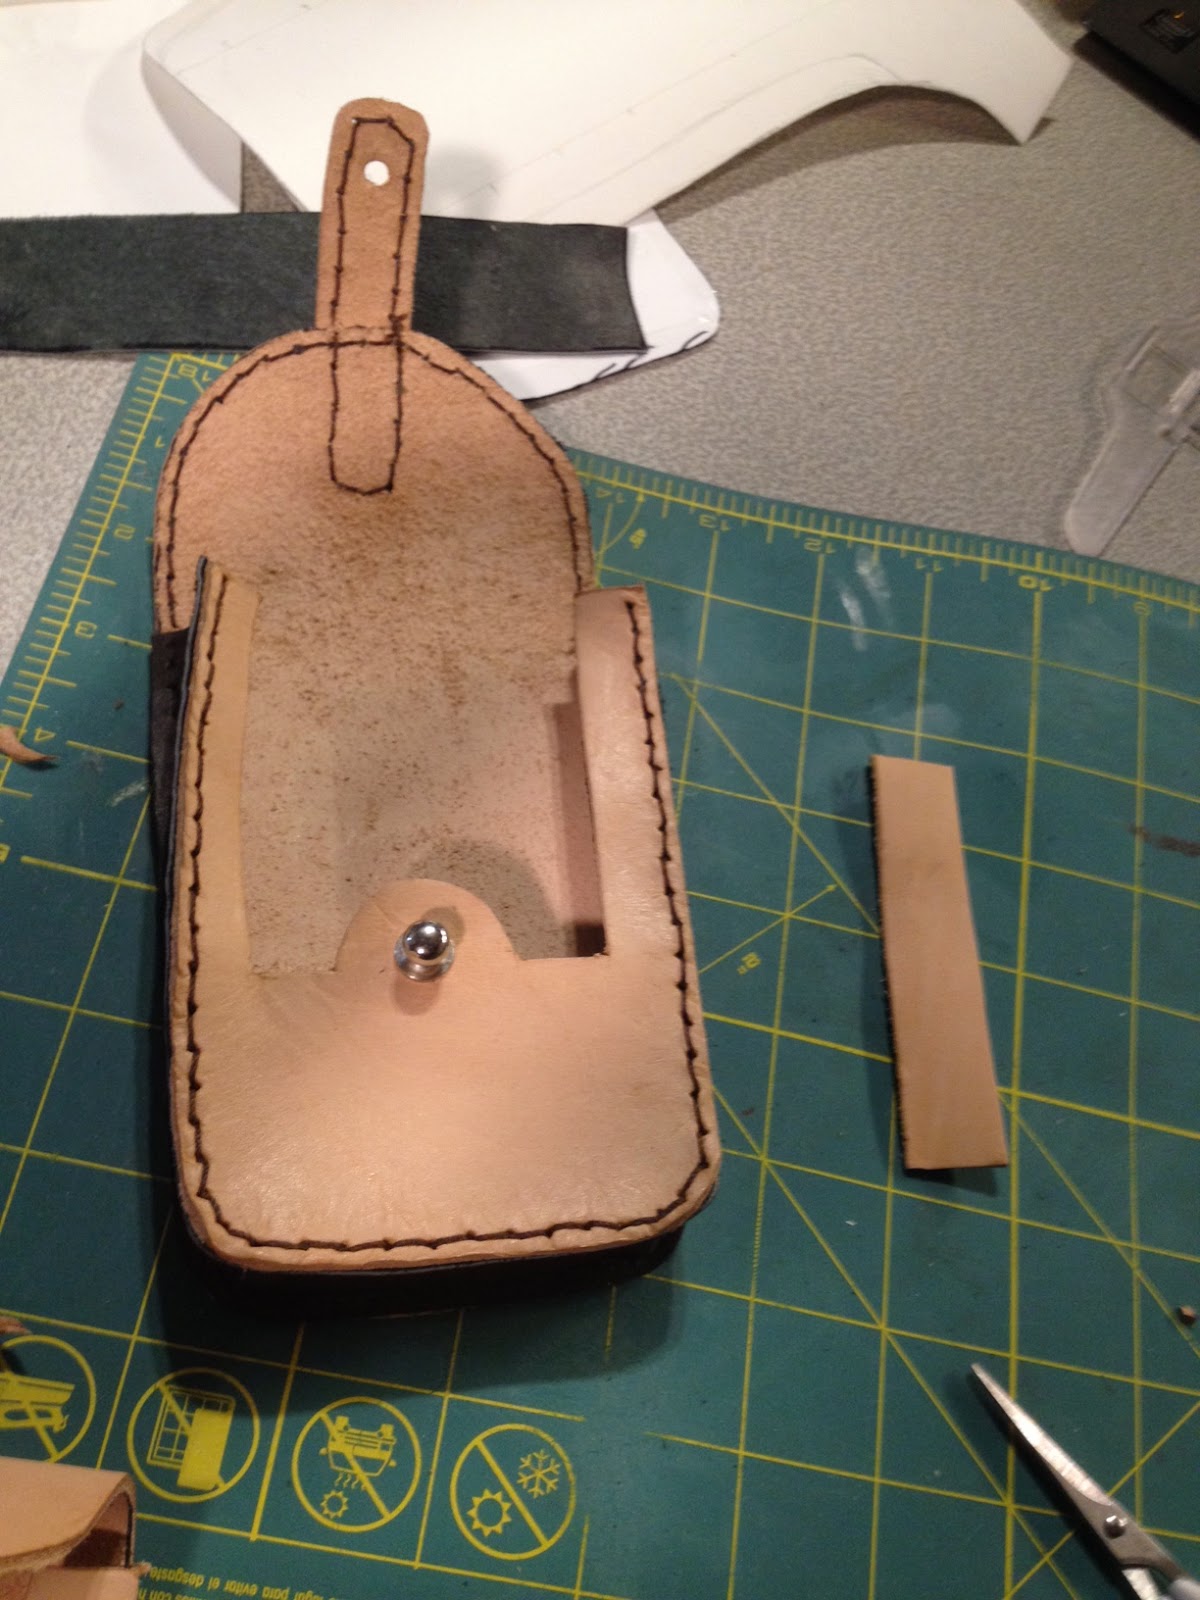
You can see how the pouch closes with the button stud. I had to make the hole
relatively large to accomodate this. You can do this with a dremel or a leather
hole punch and then add two slits on the top and bottom of the hole to make it
open wider but still close around the button stud.
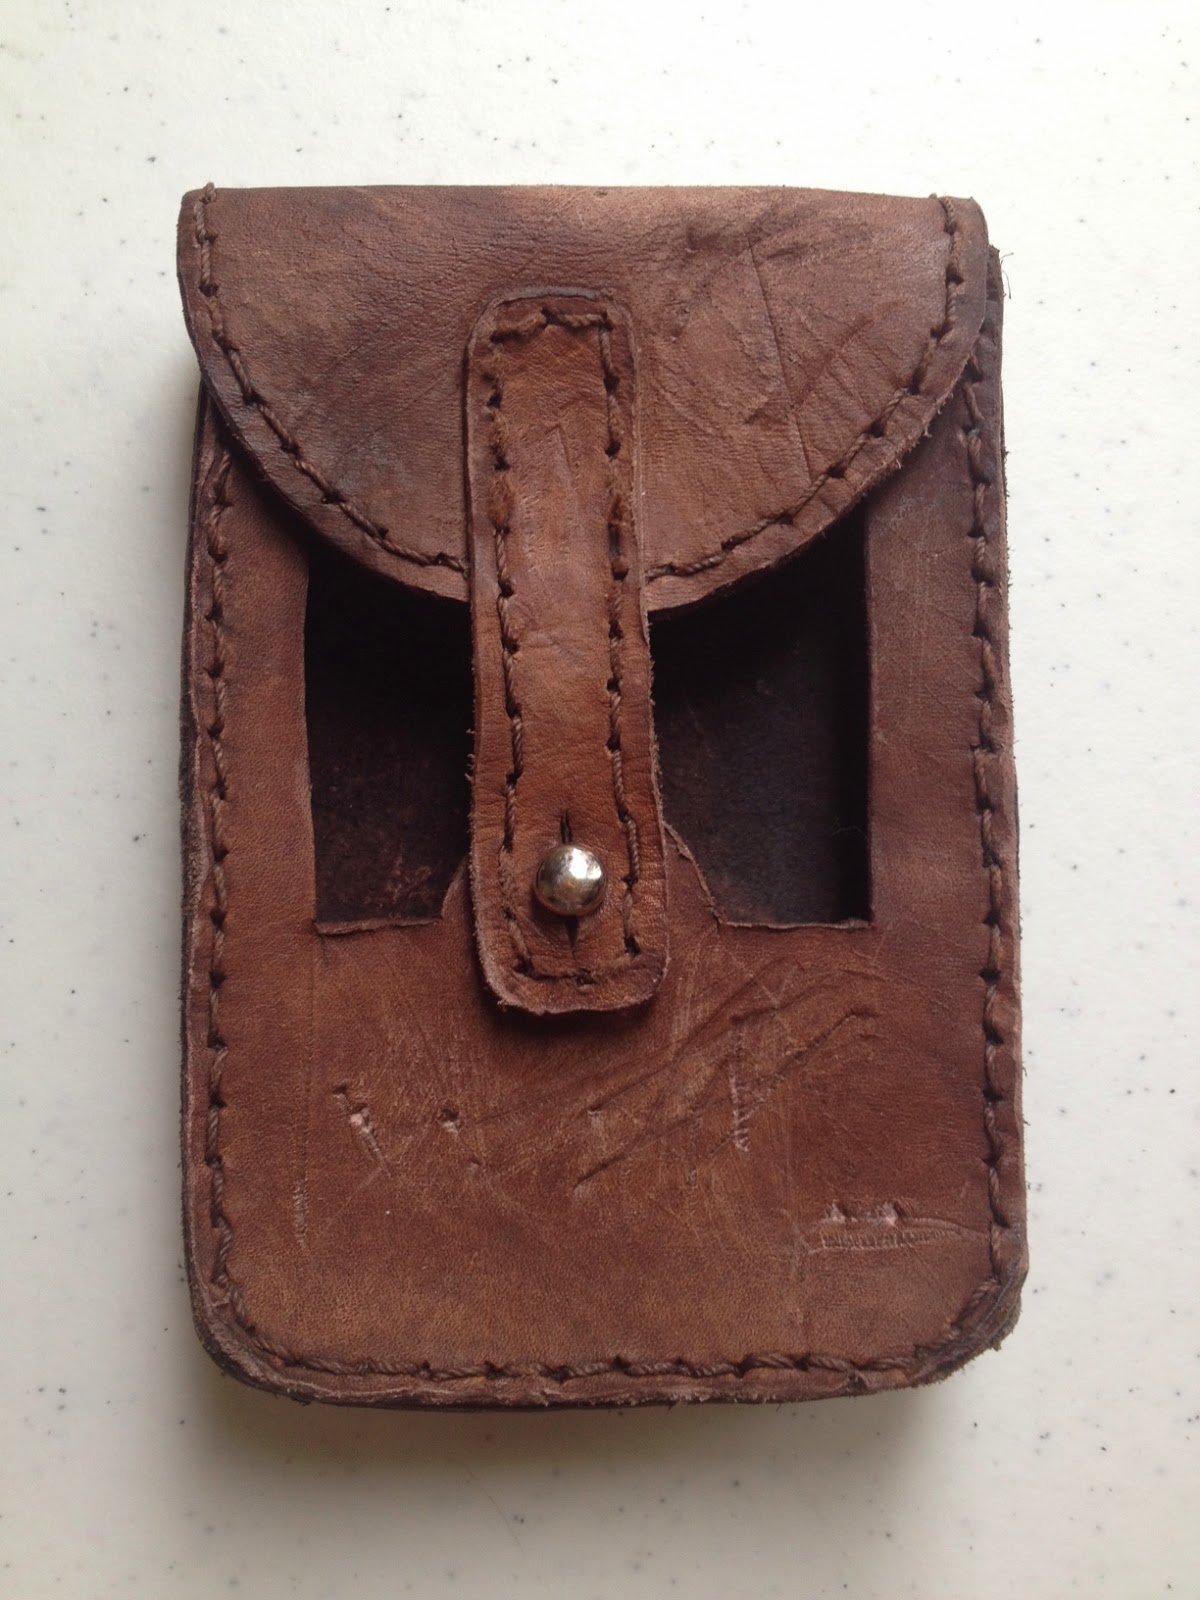
Once the pouch was assembled I dyed it with a mixture of dark mahogany with a
tiny bit of dark brown added. Immediately after it was dyed the pouch took on a
VERY dark color and so I took my mixture of bleach water and a brush and
scrubbed the leather to lighten these areas and make the pouch look sun bleached
and aged. I then added some scratches and scuffs so it looks adequately beat-up.
After that was done I decided to add a belt loop on the back so it can slide
right onto my gunbelt. This was what the small strip of garment leather is for.
Rivet the strip to the pouch on the top and the bottom of the strip, allowing
enough space inbetween for a belt to fit.
Next it was time to add the rifle cartridges. I found some once-fired 30-06
caliber brass cartridges online that would do very nicely. Problem is, I needed
something to fill the bottom of the pouch since the cartridges aren't long
enough to fill the entire window of the pouch. This is where syrofoam comes into
play. I cut a piece the proper size and lined the bottom of the pouch with it
and pressed each brass casing into it to hold it in place.
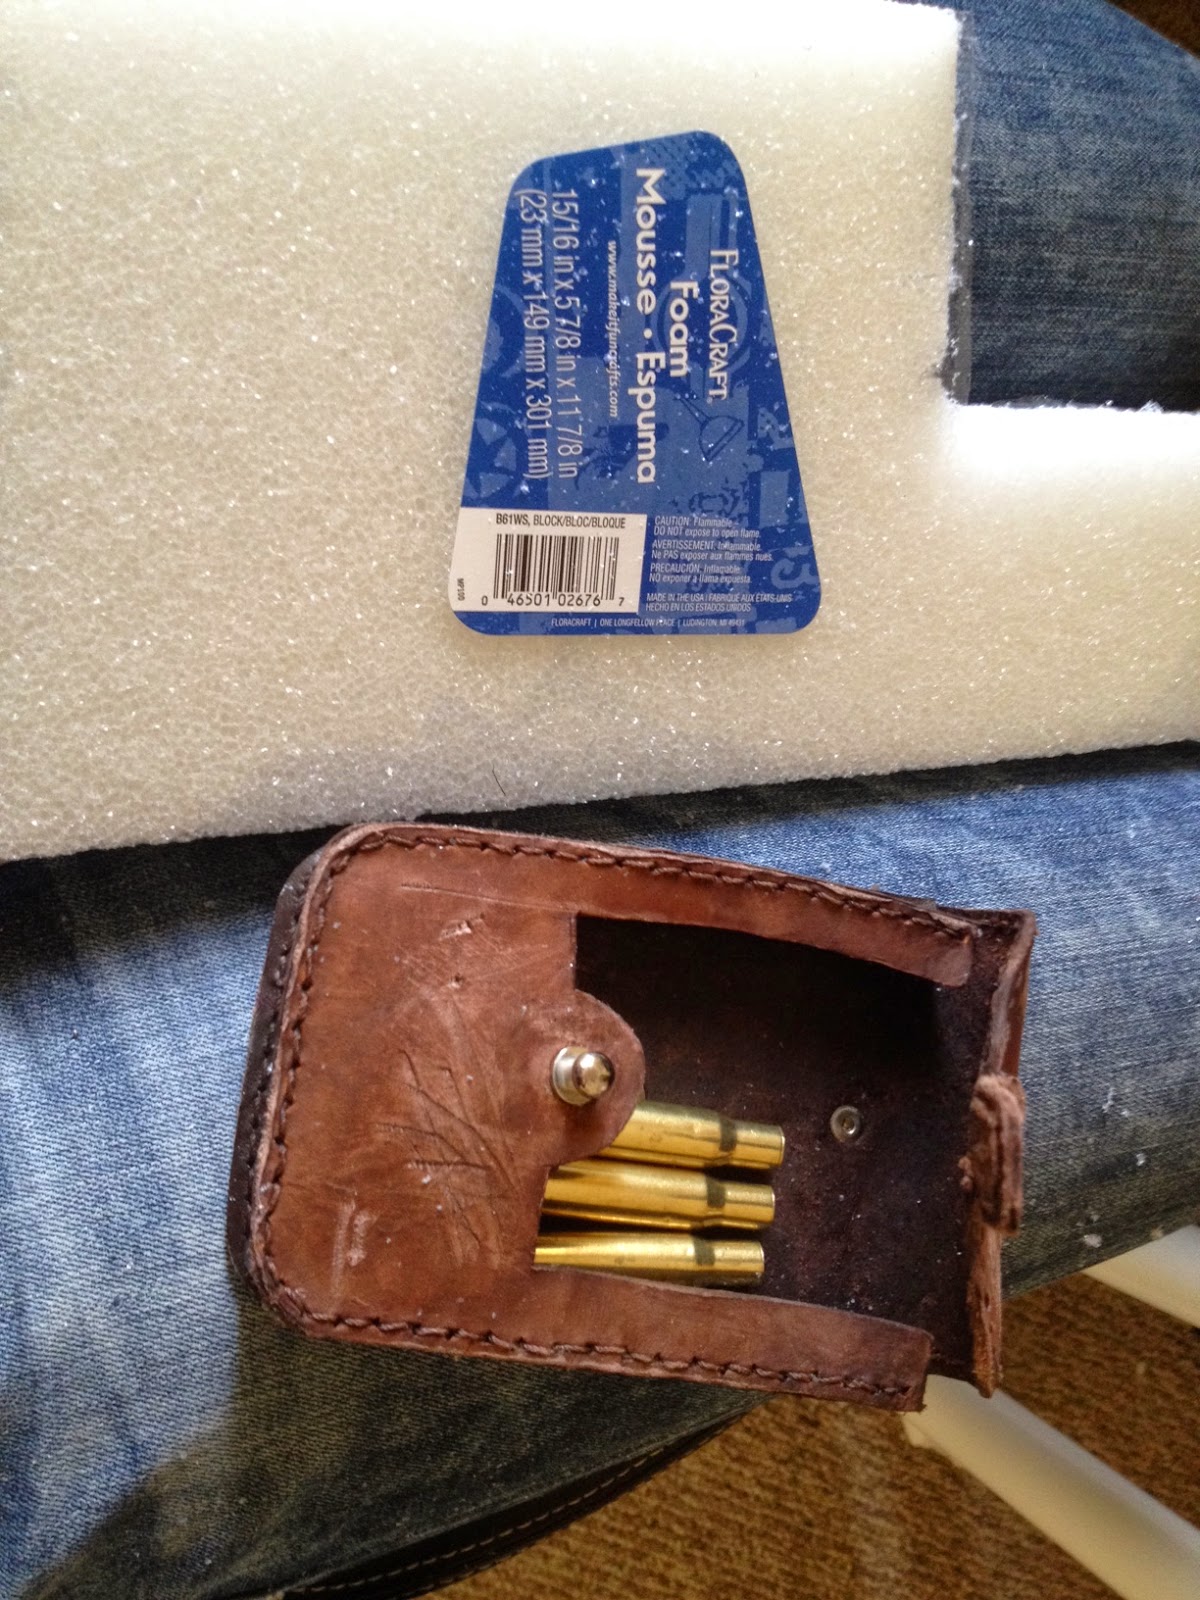
Once that was done I got something that looks like this. All ready for an
adventure!
 |