|
This was a fun little project that didn't take a whole lot of time. It also
doesn't cost much money and can be made from leftover materials from your other
projects (Such as the rifle ammo pouch or holster) or remnant bags, which are
pretty affordable. Here is a list of materials I used for mine:
Upholstery leather from remnants (Any neutral color)- $6
http://www.tandyleather.com/en-usd/home/department/leather/remnant-bags/5046-03.aspx
Small scrap of 2-3mm thickness leather- $6
http://www.tandyleather.com/en-usd/home/department/leather/remnant-bags/5046-01.aspx
Cording- $6.99
http://www.michaels.com/bead-landing-jute-cord/M10443674.html?dwvar_M10443674_color=Natural#q=cord&start=38
Wood Beads- $3.50
http://www.michaels.com/bead-landing-wood-beads-brown/10442941.html#q=wood+beads&start=16
Waxed Polyester Thread (brown)- $5
http://www.tandyleather.com/en-usd/home/department/lacing/1206-02.aspx
Angelus Brand Leather Paint (Light Brown and Rich Brown)- $6.60
https://www.etsy.com/listing/113063084/light-brown-angelus-acrylic-leather?ref=shop_home_active_2
https://www.etsy.com/listing/113068427/rich-brown-angelus-acrylic-leather-paint?ref=shop_home_active_15
Leather Cement- $4.75
https://www.etsy.com/listing/166773079/fiebings-leathercraft-cement-4-oz?ref=shop_home_active_3
TOOLS
Sewing Machine with brown thread
Scissors
Sewing Awl (Speedy Stitcher)
http://www.joann.com/speedy-stitcher-sewing-awl-/13423447.html
Wood Clamp
Paintbrush
Metal File/sandpaper
Dremel
----------------------------------
HOW IT'S MADE
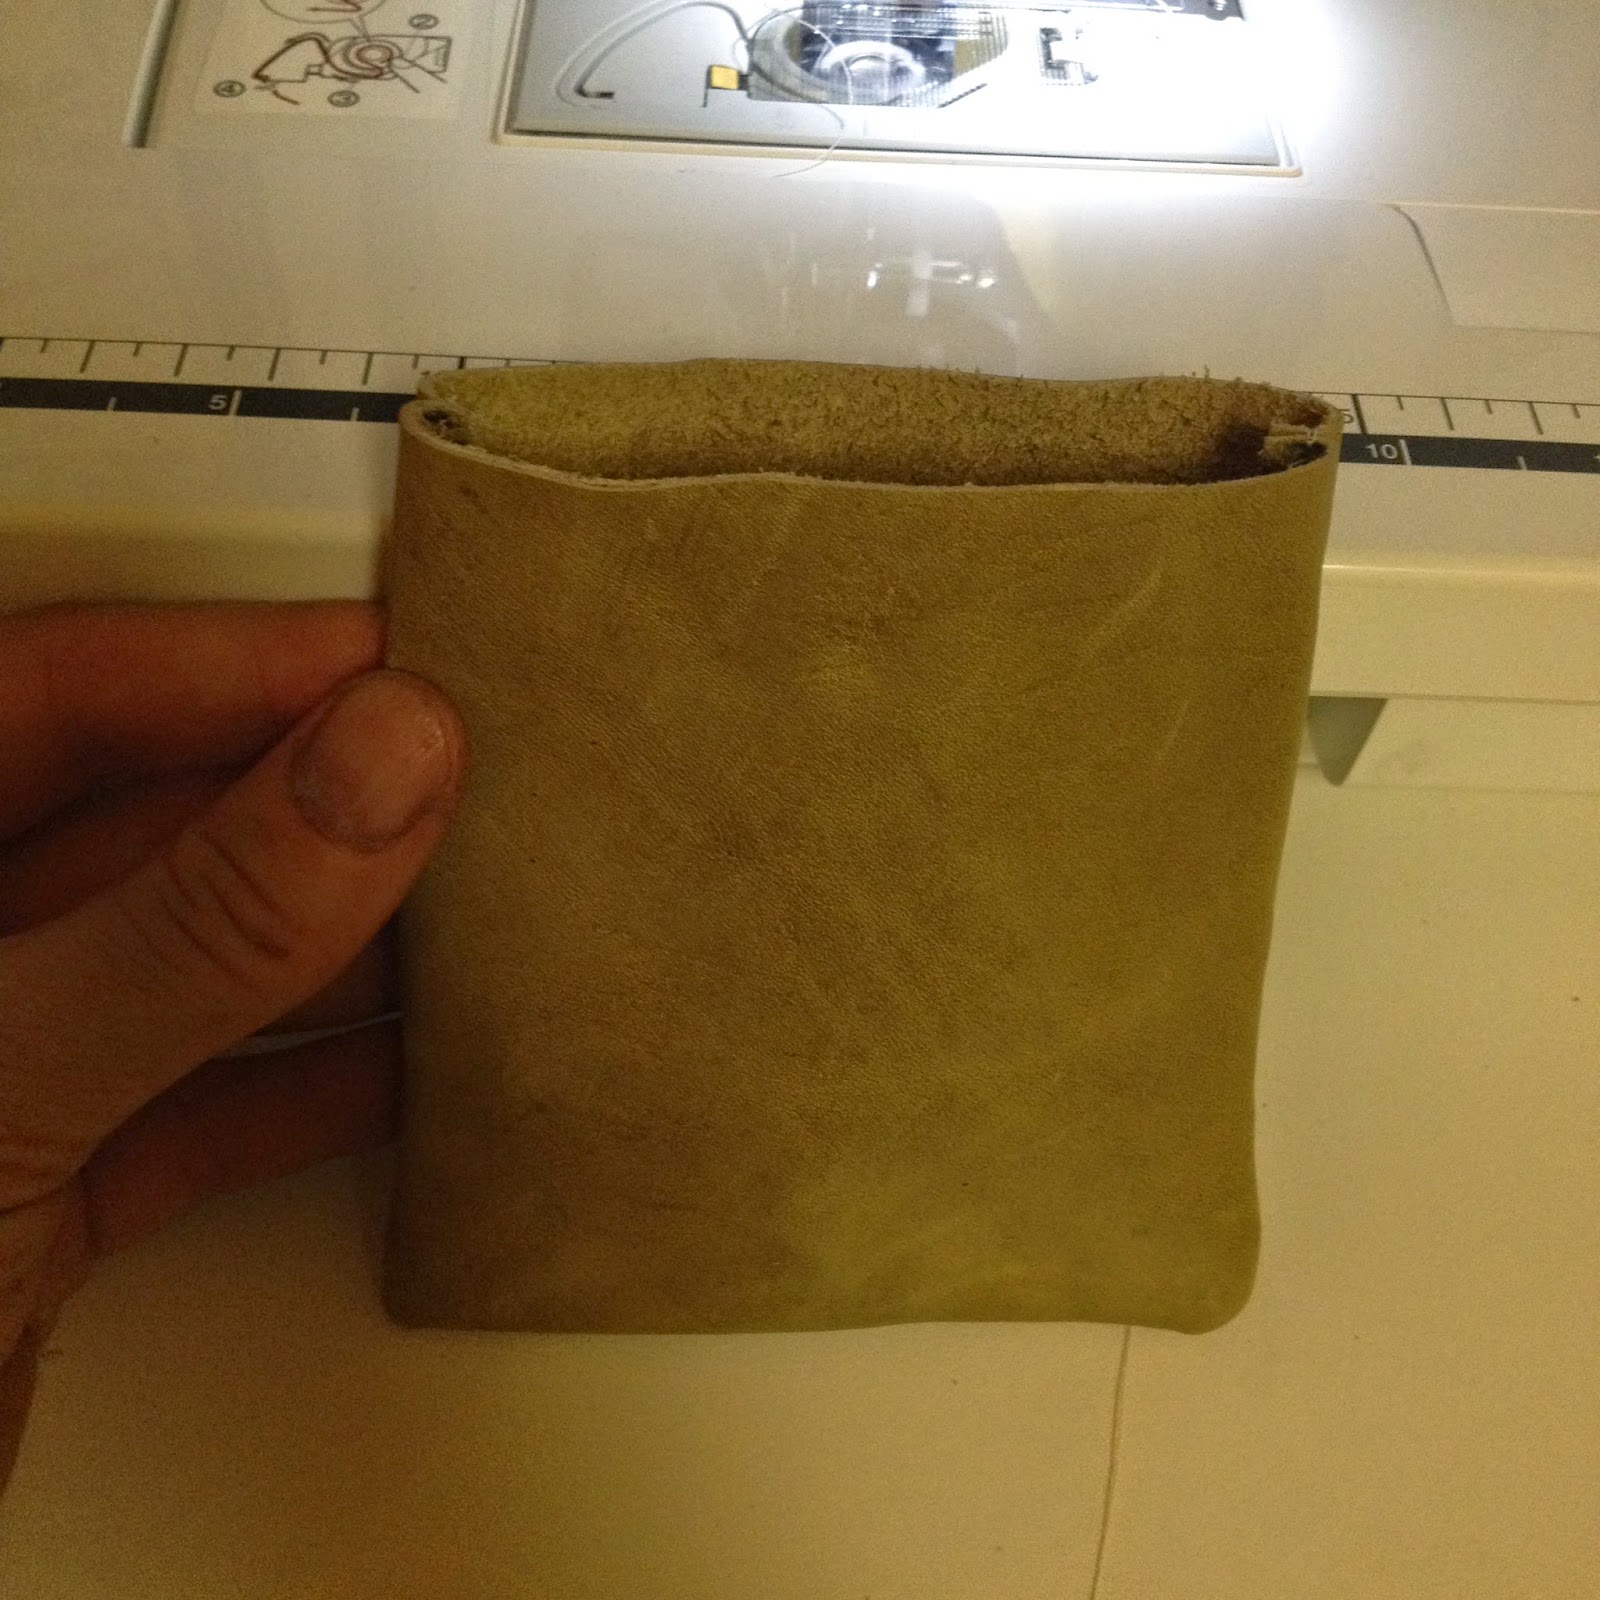
I first start out by cutting out a rectangle of the upholstery leather. I make
sure that if I fold it in half I get two perfect squares.
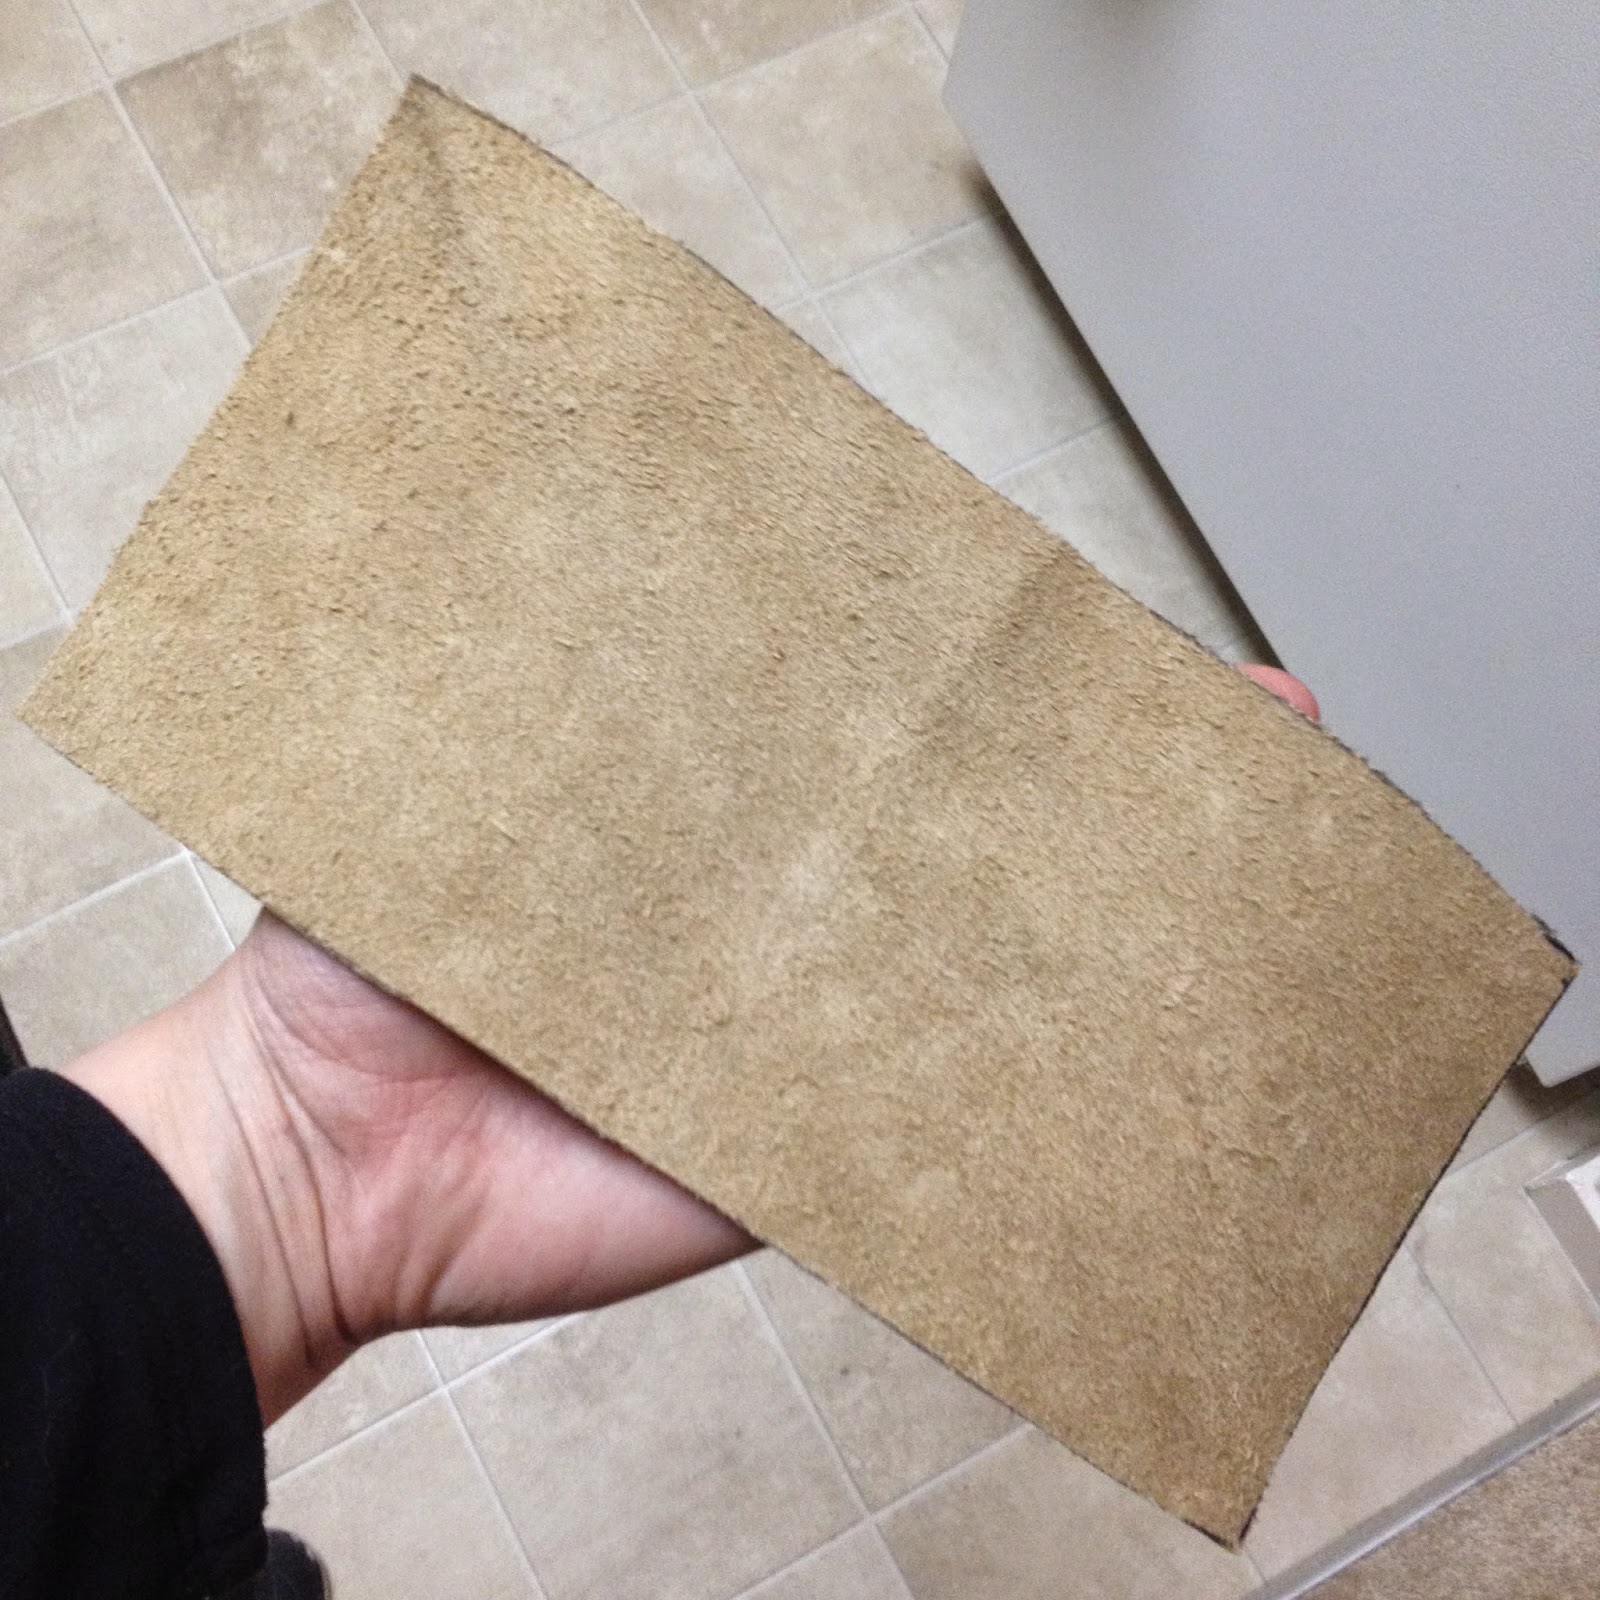
I fold the leather inside out so the rough side is on the outer part and the
nice shiny side is on the inside.
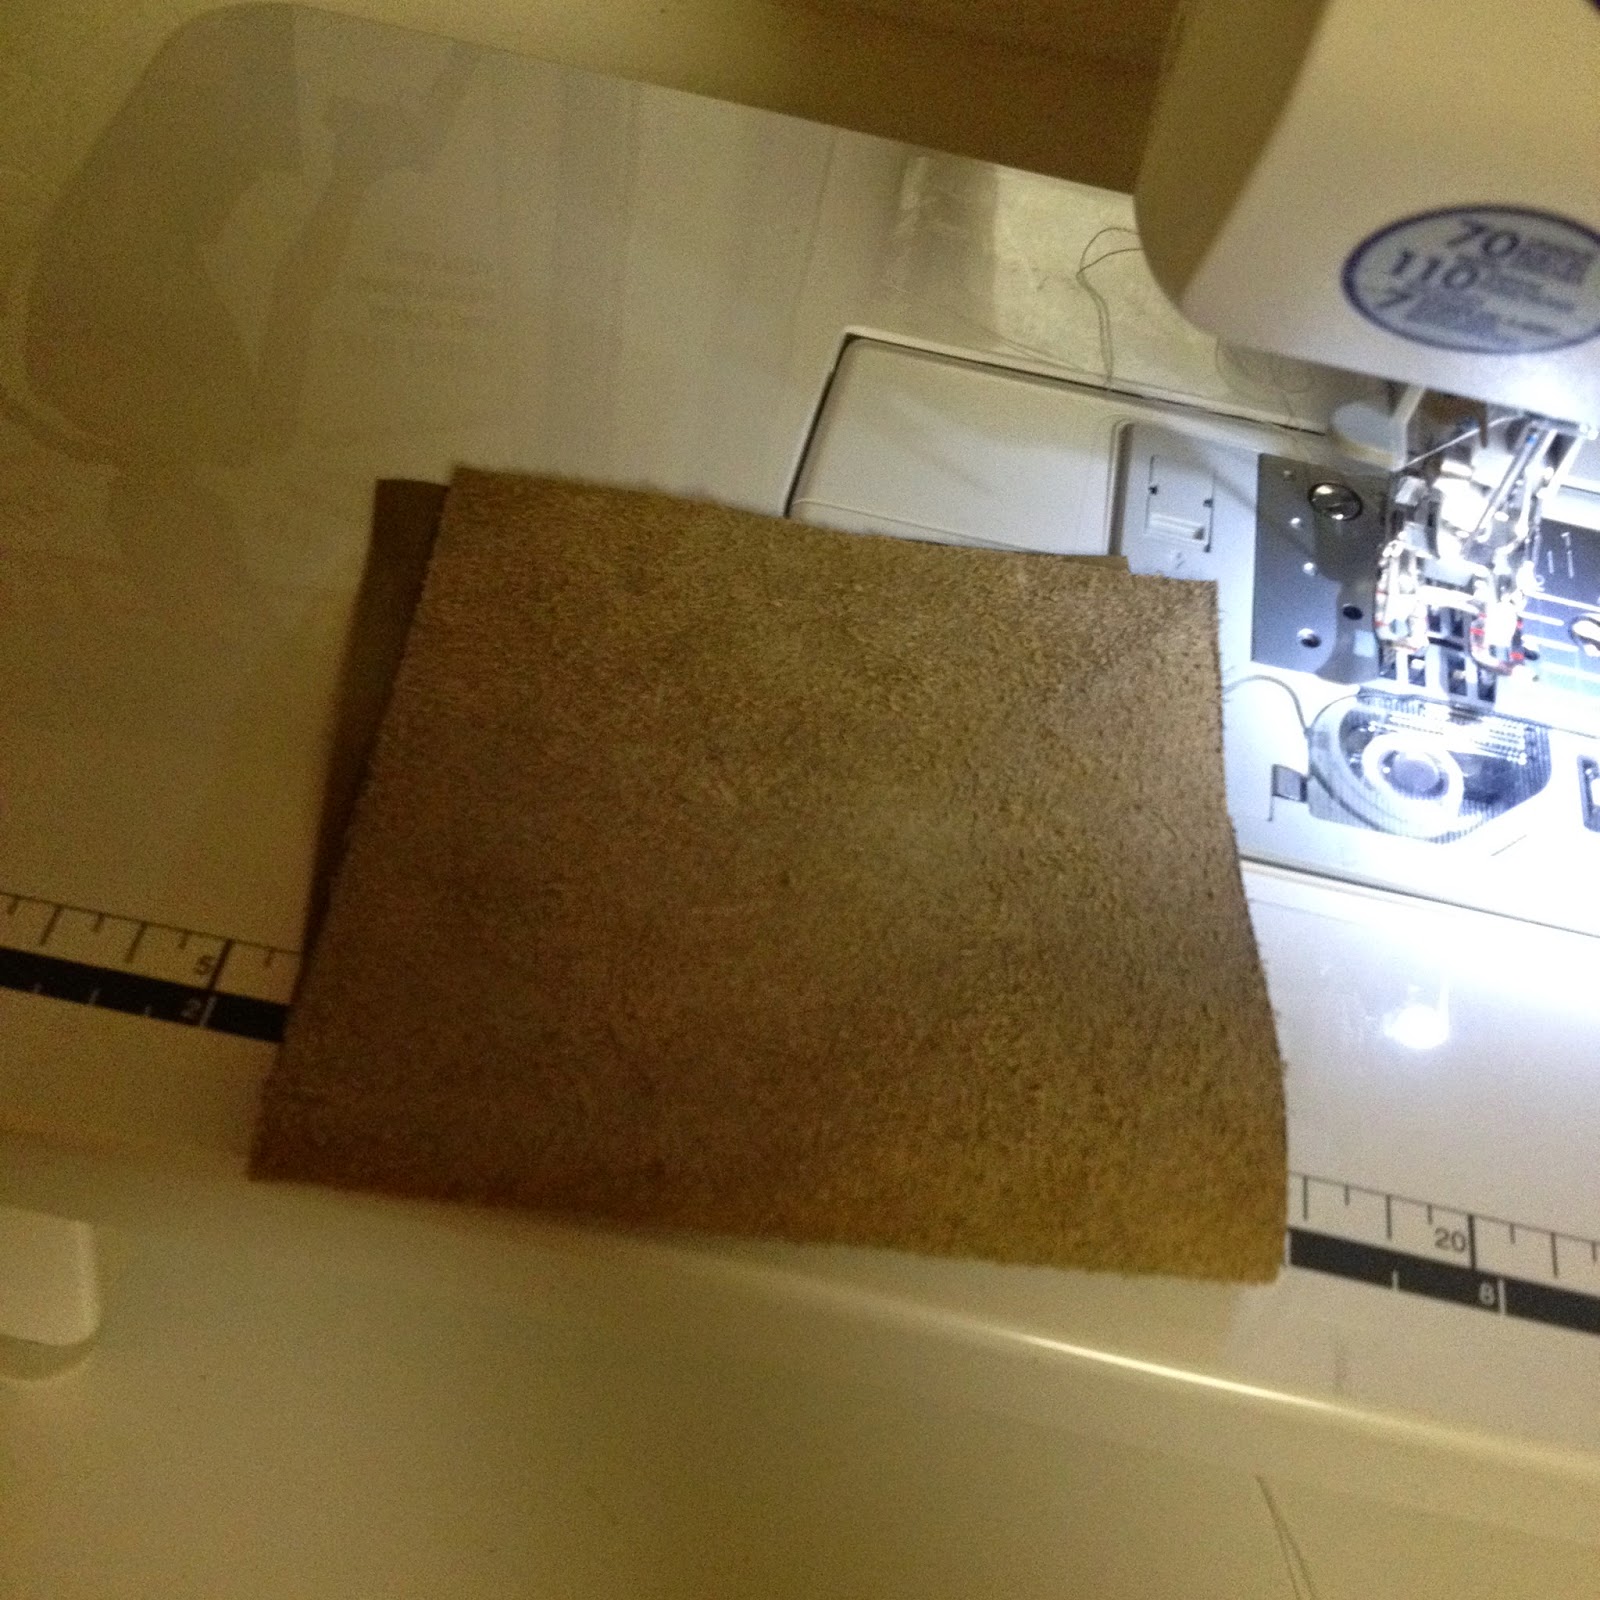
With the folded end closest to me, I sew the left side and the right side,
leaving the top open
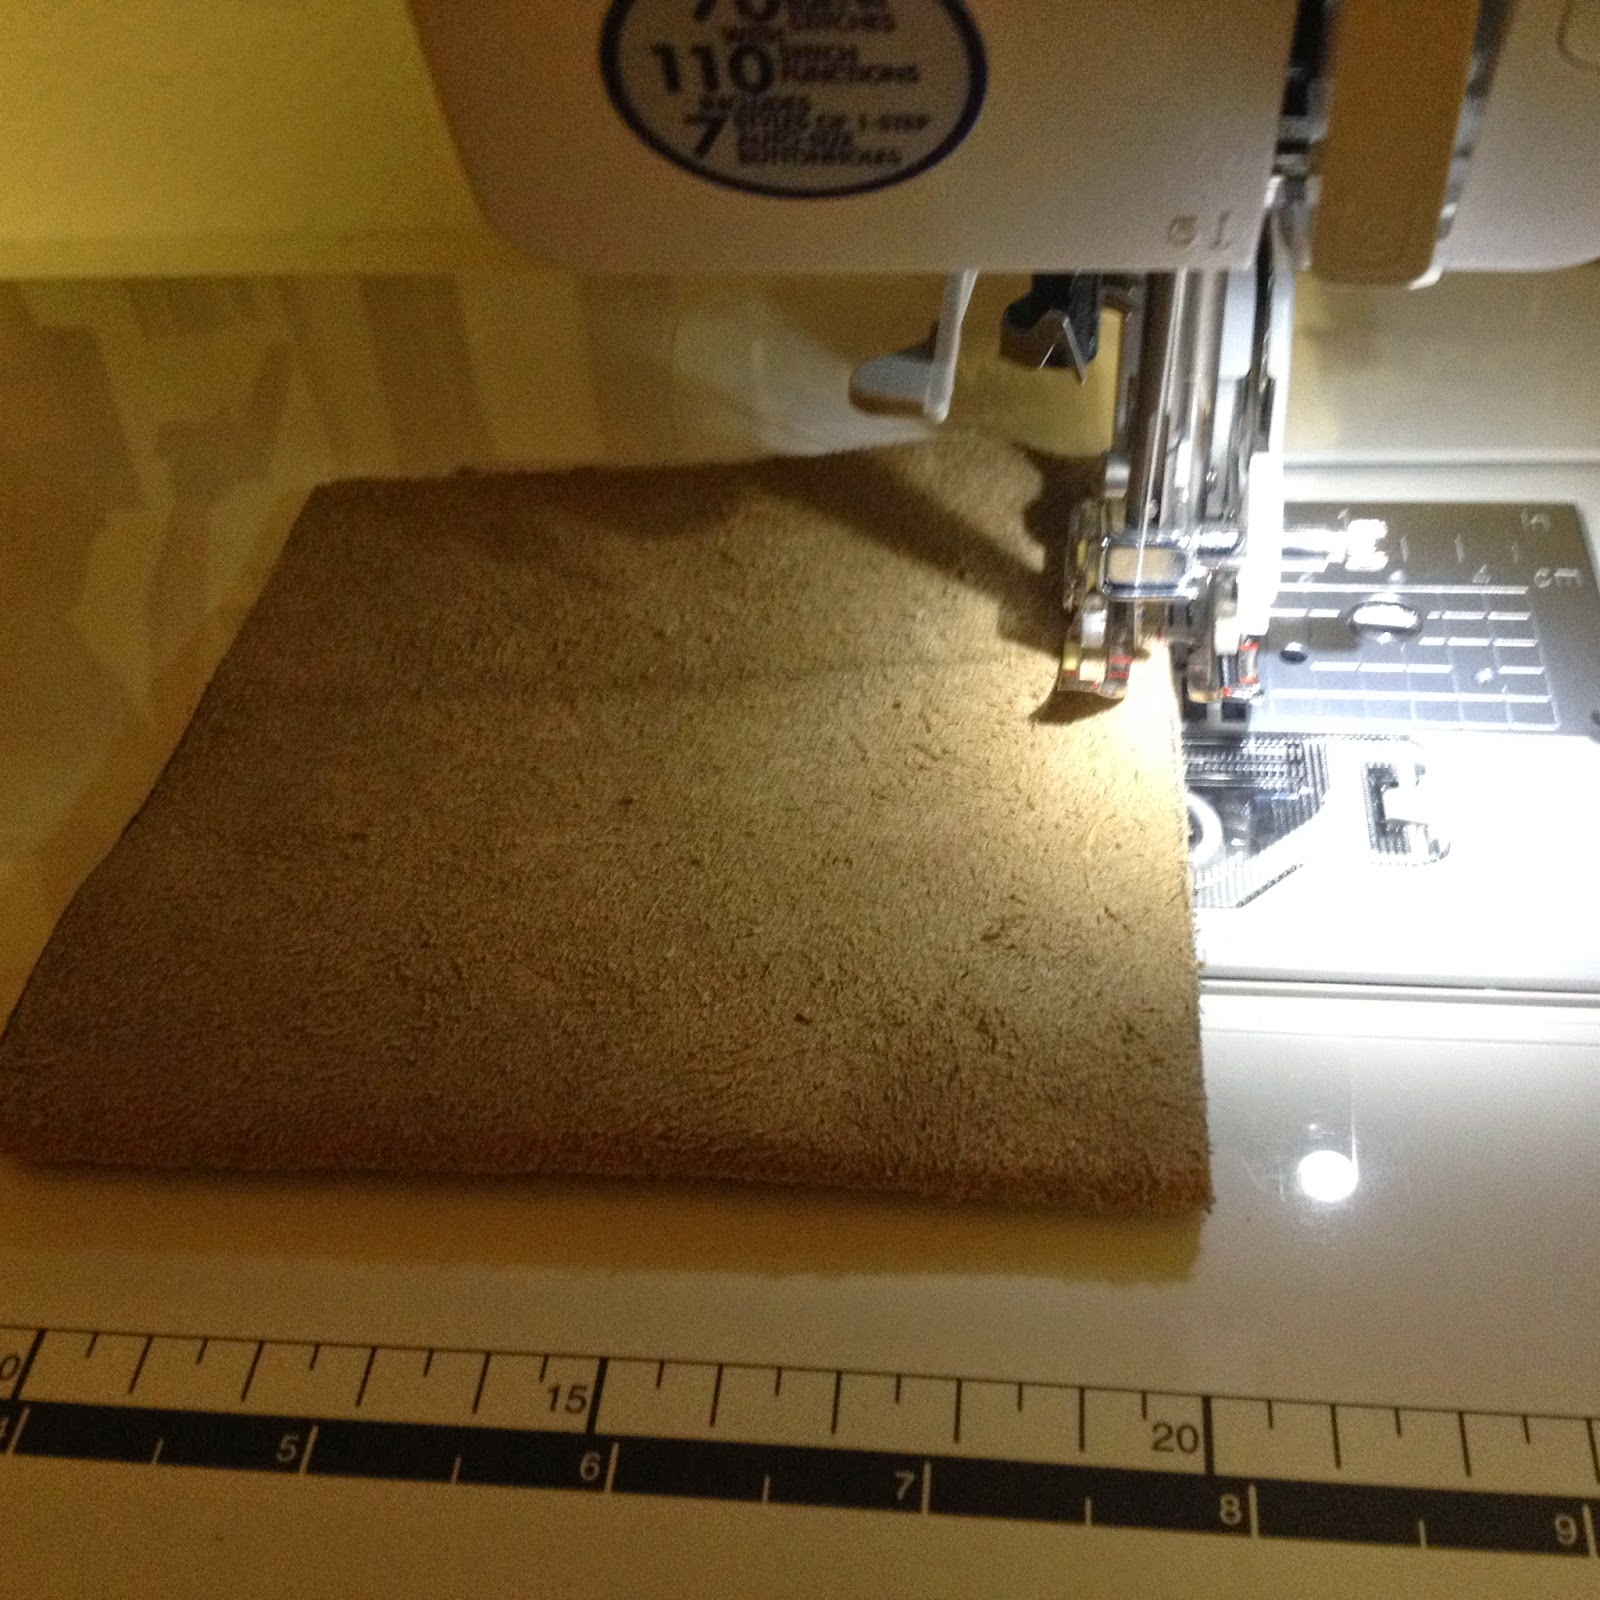
Turn it right side out and you have a finished pocket!
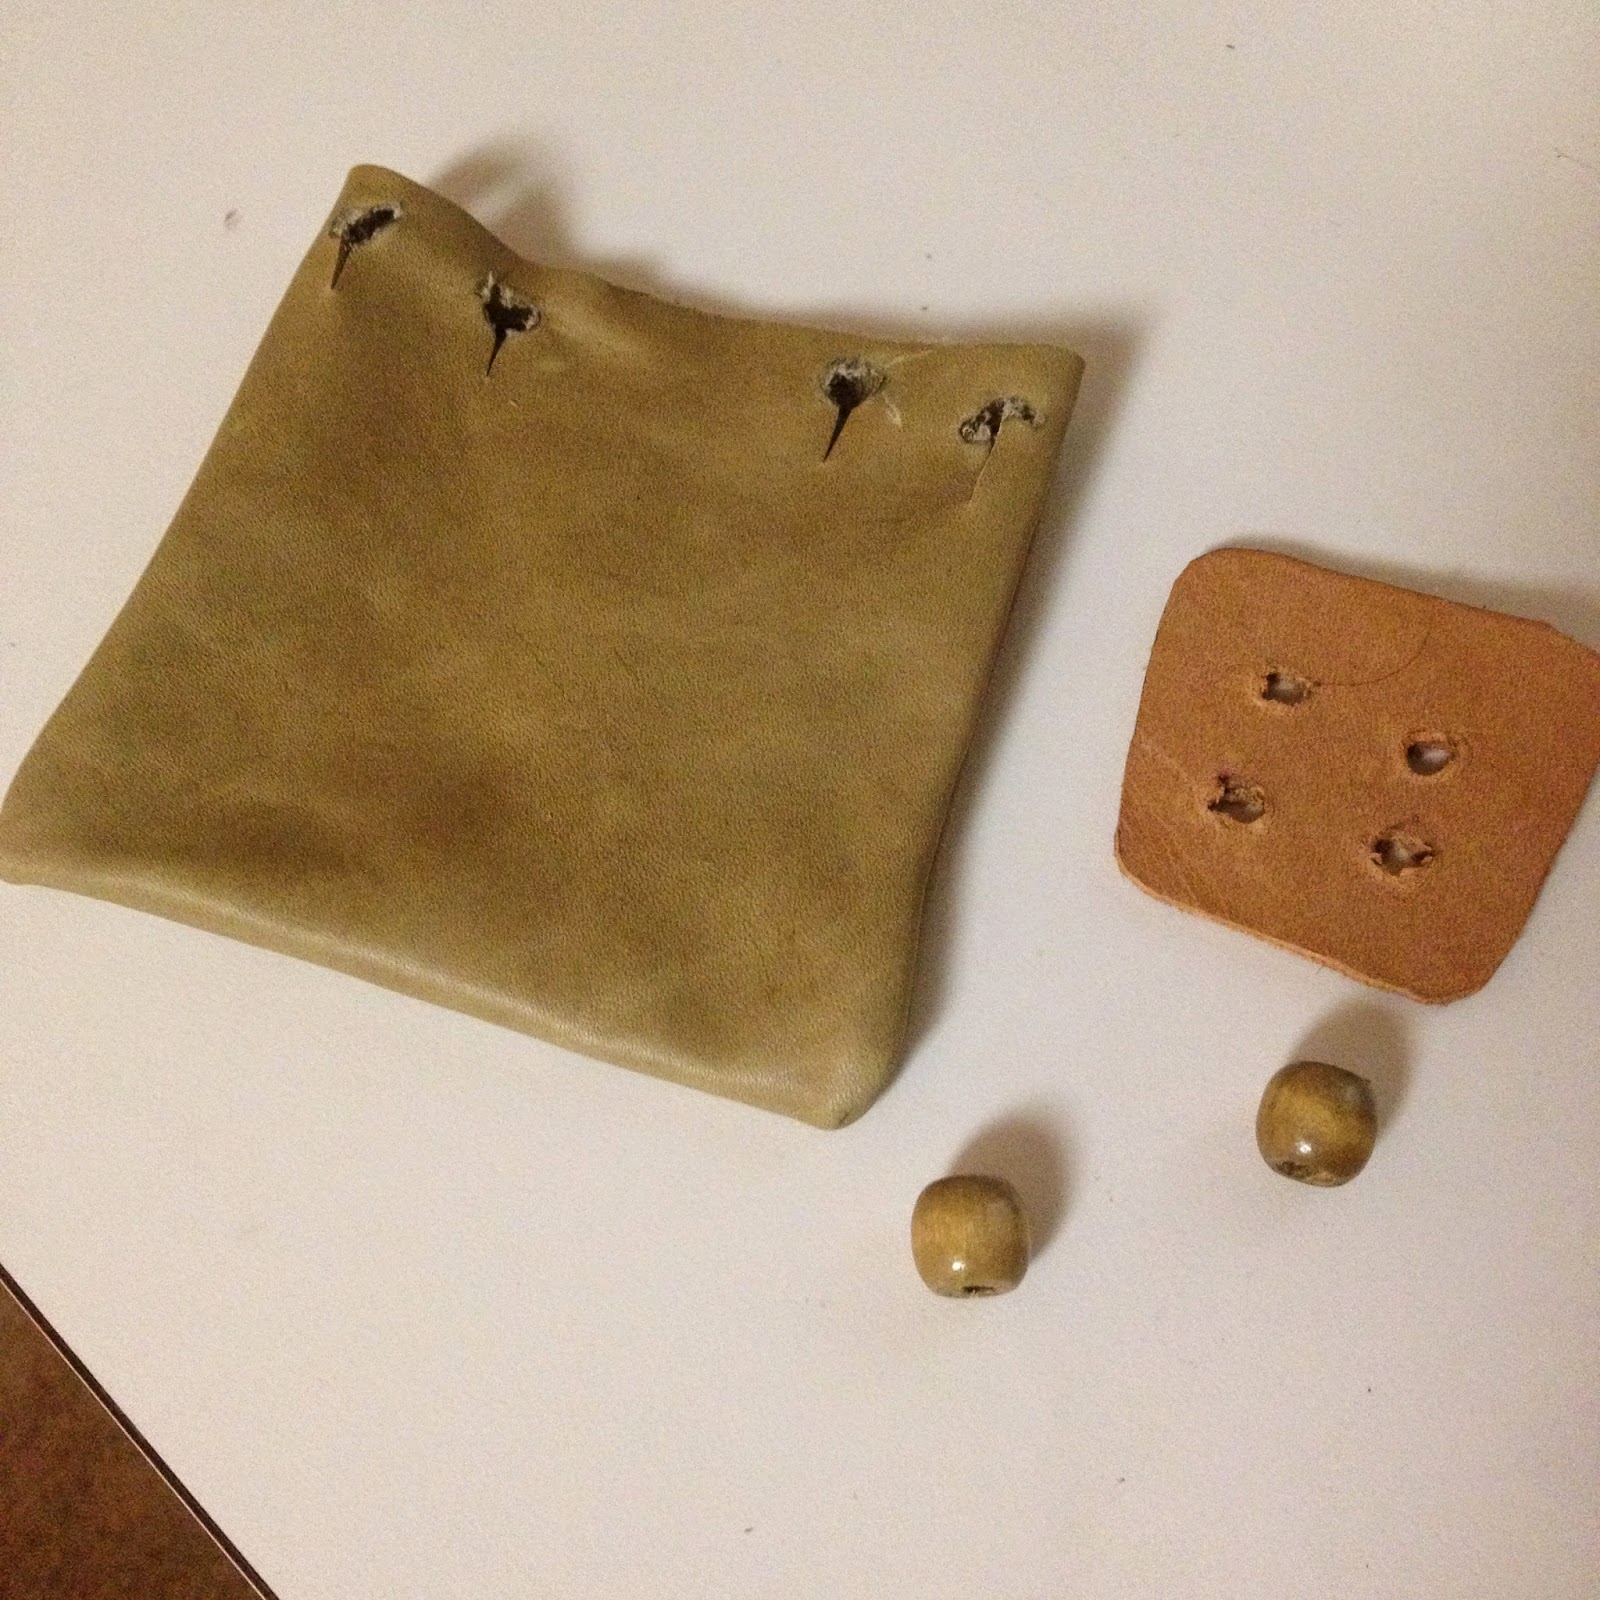
I cut the rough shape of the closing flap to the pouch out of my thick leather
remnant bag. It should be a weird slightly trapezoid shape with rounded corners.

With my dremel I cut four holes in the trapezoid piece. I also cut 8 holes into
the leather pouch. 4 on the front and 4 on the back. They should line up
perfectly with each other.
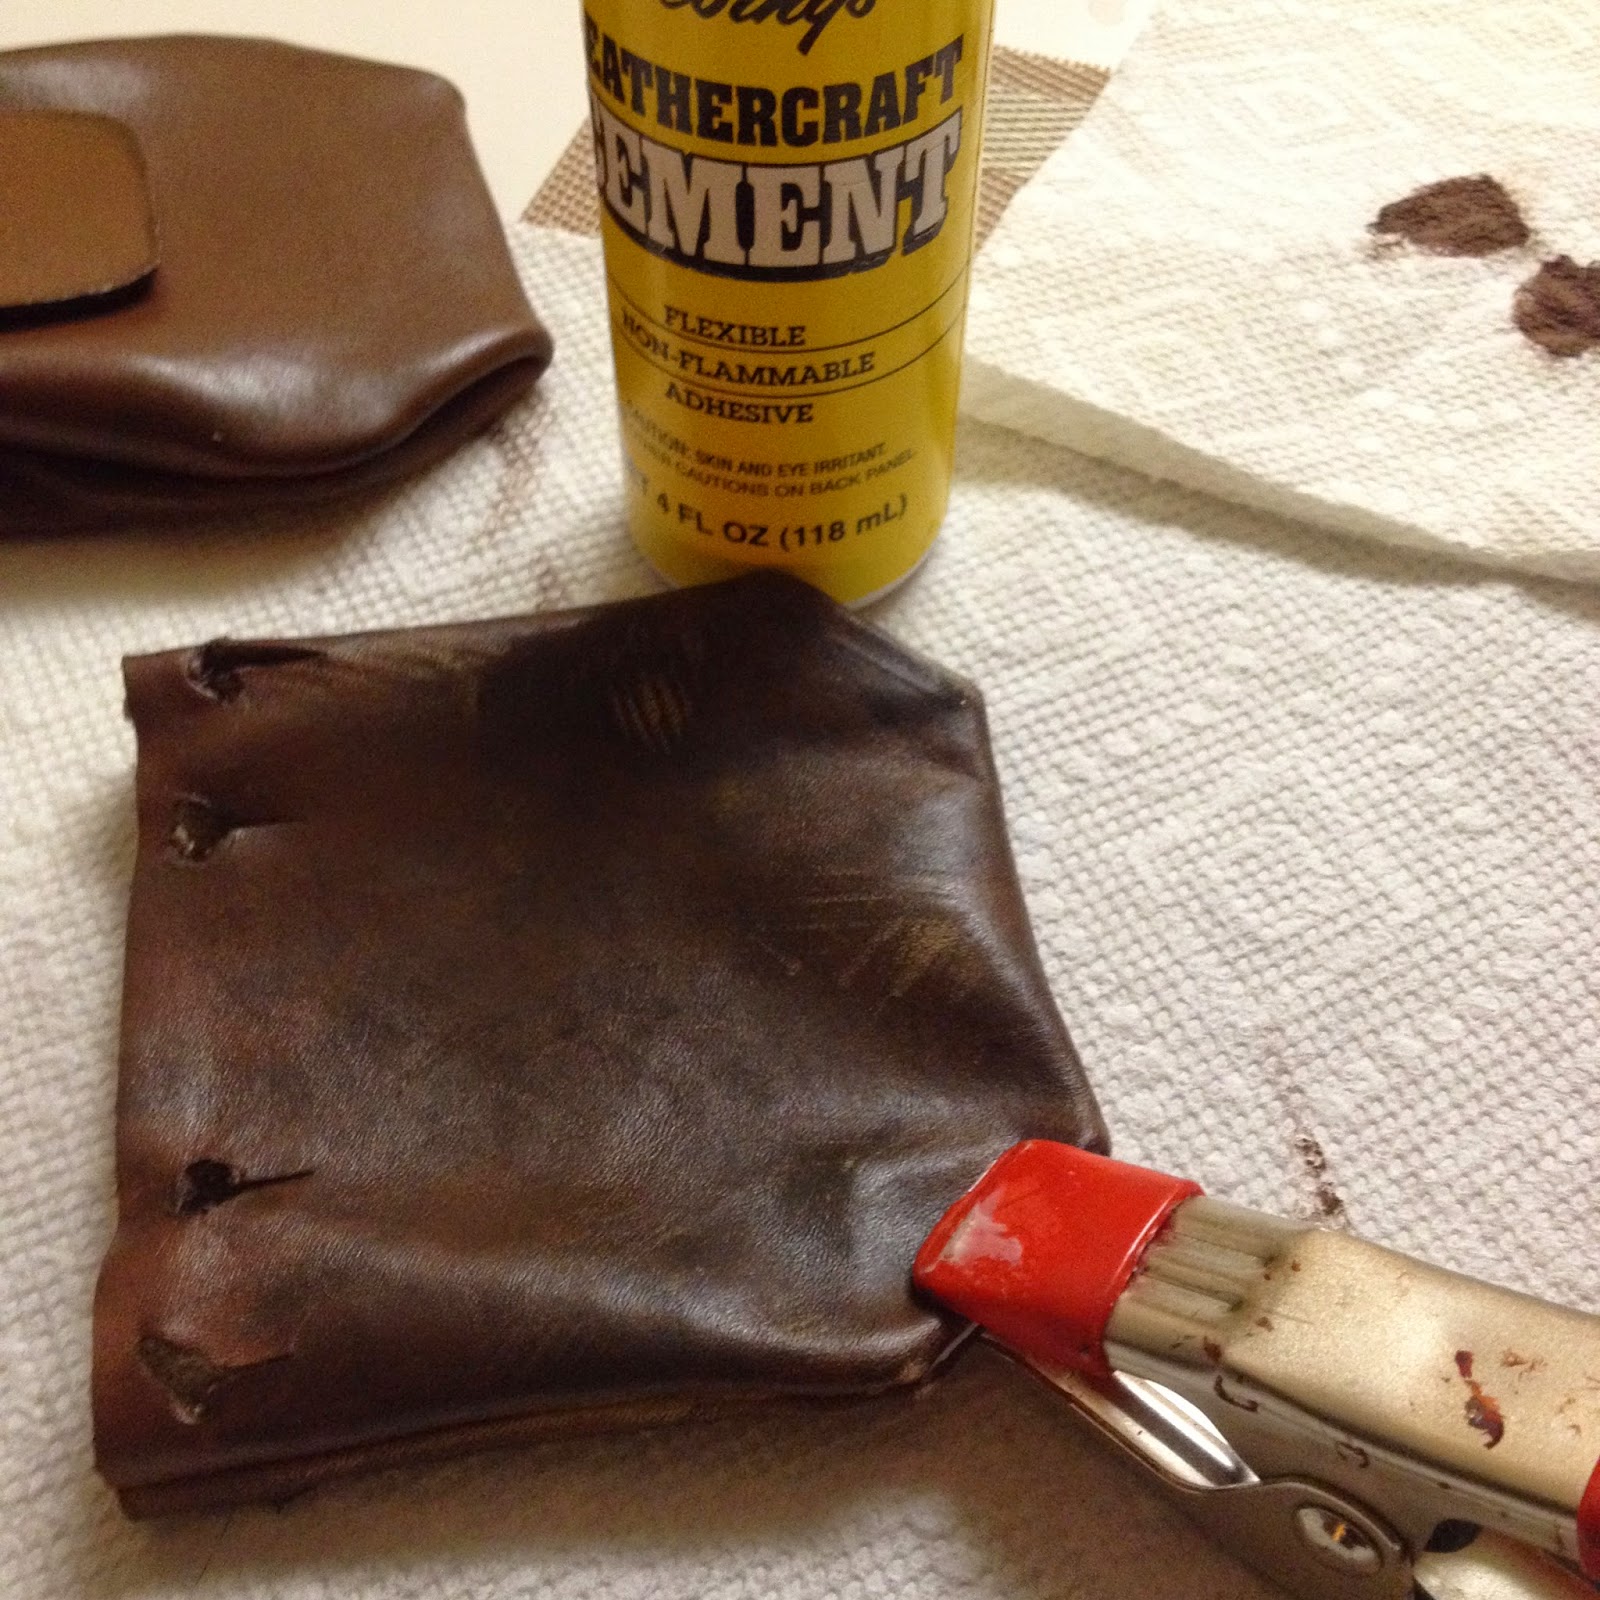
I put a coat of the light brown paint on my pouch and paint some texture onto it
by adding splotches of the rich brown here and there until I found a color I
really liked. I wasn't too happy with the shape of the bottom of the pouch so I
folded the bottom corners in a little bit, put leather cement on it, and clamped
it for about 20 min to seal the shape. If I had to do this project over again I
would have perfected the pattern of the pouch before so I wouldn't have to glue.
Instead of glue you could also just turn the pouch inside out and sew those
corners closed.
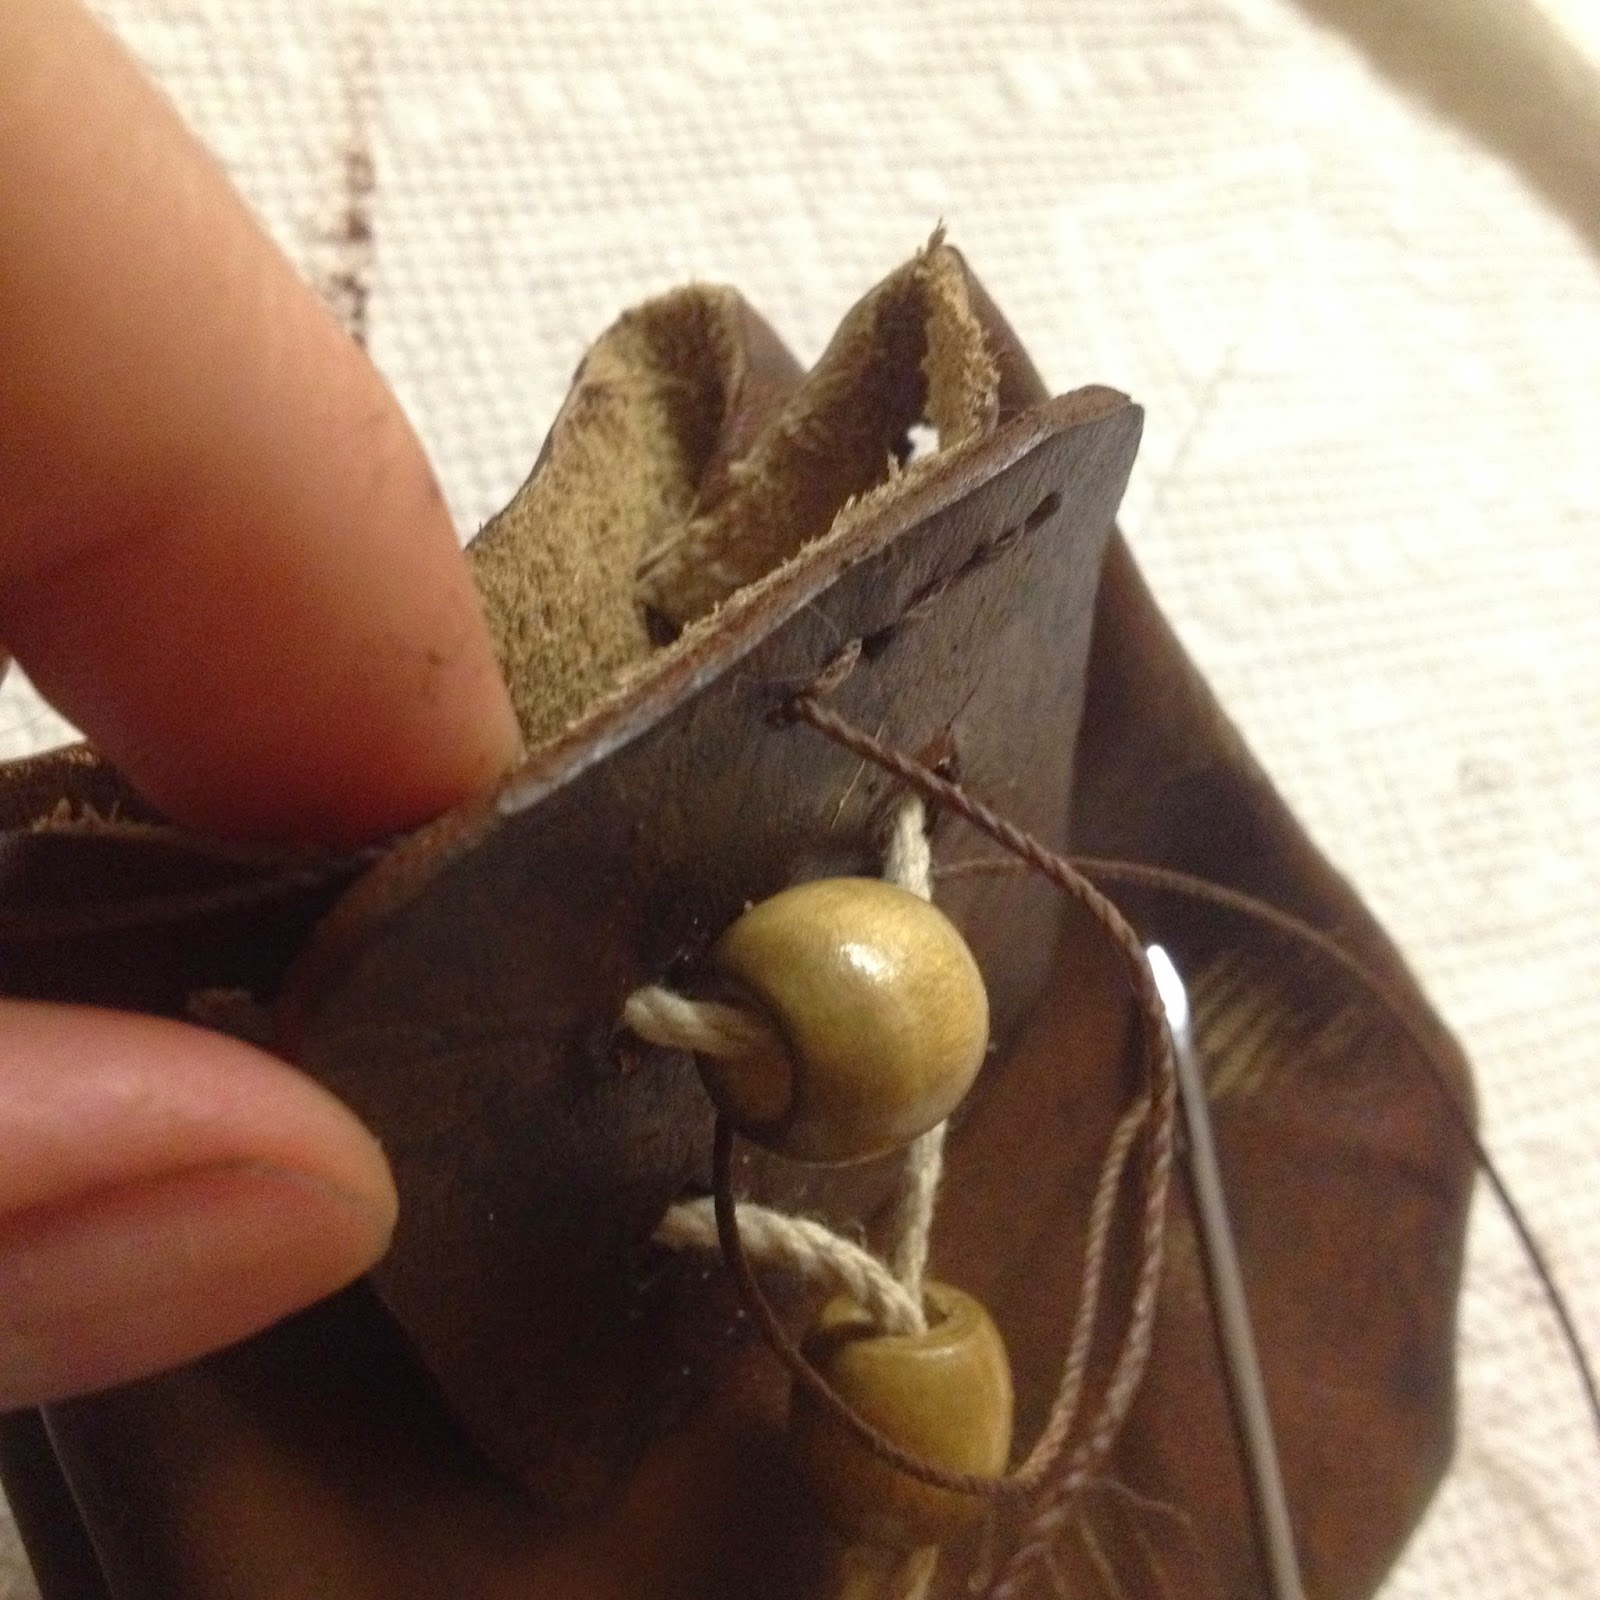
After that was done its time to assemble the pouch and sew the thick leather
flap onto it. First I threaded one of my beads through the cord, making sure the
bead is at the very middle of the cord. I took that cord and threaded each side
through the FRONT of the closing flap, on the top left and right holes.
Then I lined up all the holes on the pouch. I took the seams on the right and
left and folded them inward so that all of the holes on each side are on top of
each other. Once I did that I took one end of the cord with the bead and put
them through the right set of holes and took the other end of the cord and
threaded it through the hole on the left.
Then the cord coming out the back of the right of the pouch goes through the
back of the LEFT side holes and out the front. I did the same with the left
cord, coming out the front of the right set of holes.
Once both ends of the cord are coming out the front, I routed them through the
bottom holes of the closing flap and put them both through the second bead. I
trimmed the excess cord and tied a knot in both ends of the cord so the bead
won't fall off.
Then I proceeded to sew around the perimeter of the flap with the sewing awl and
my waxed brown thread. This flap is ONLY connected to the pouch at the top seam.
Once I turned to stitch down the sides, I didn't go through the pouch, only the
thick flap of leather.
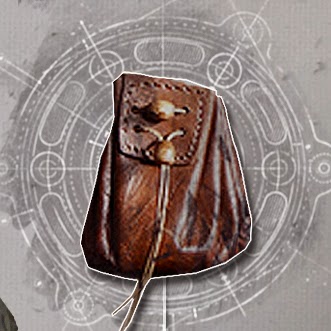
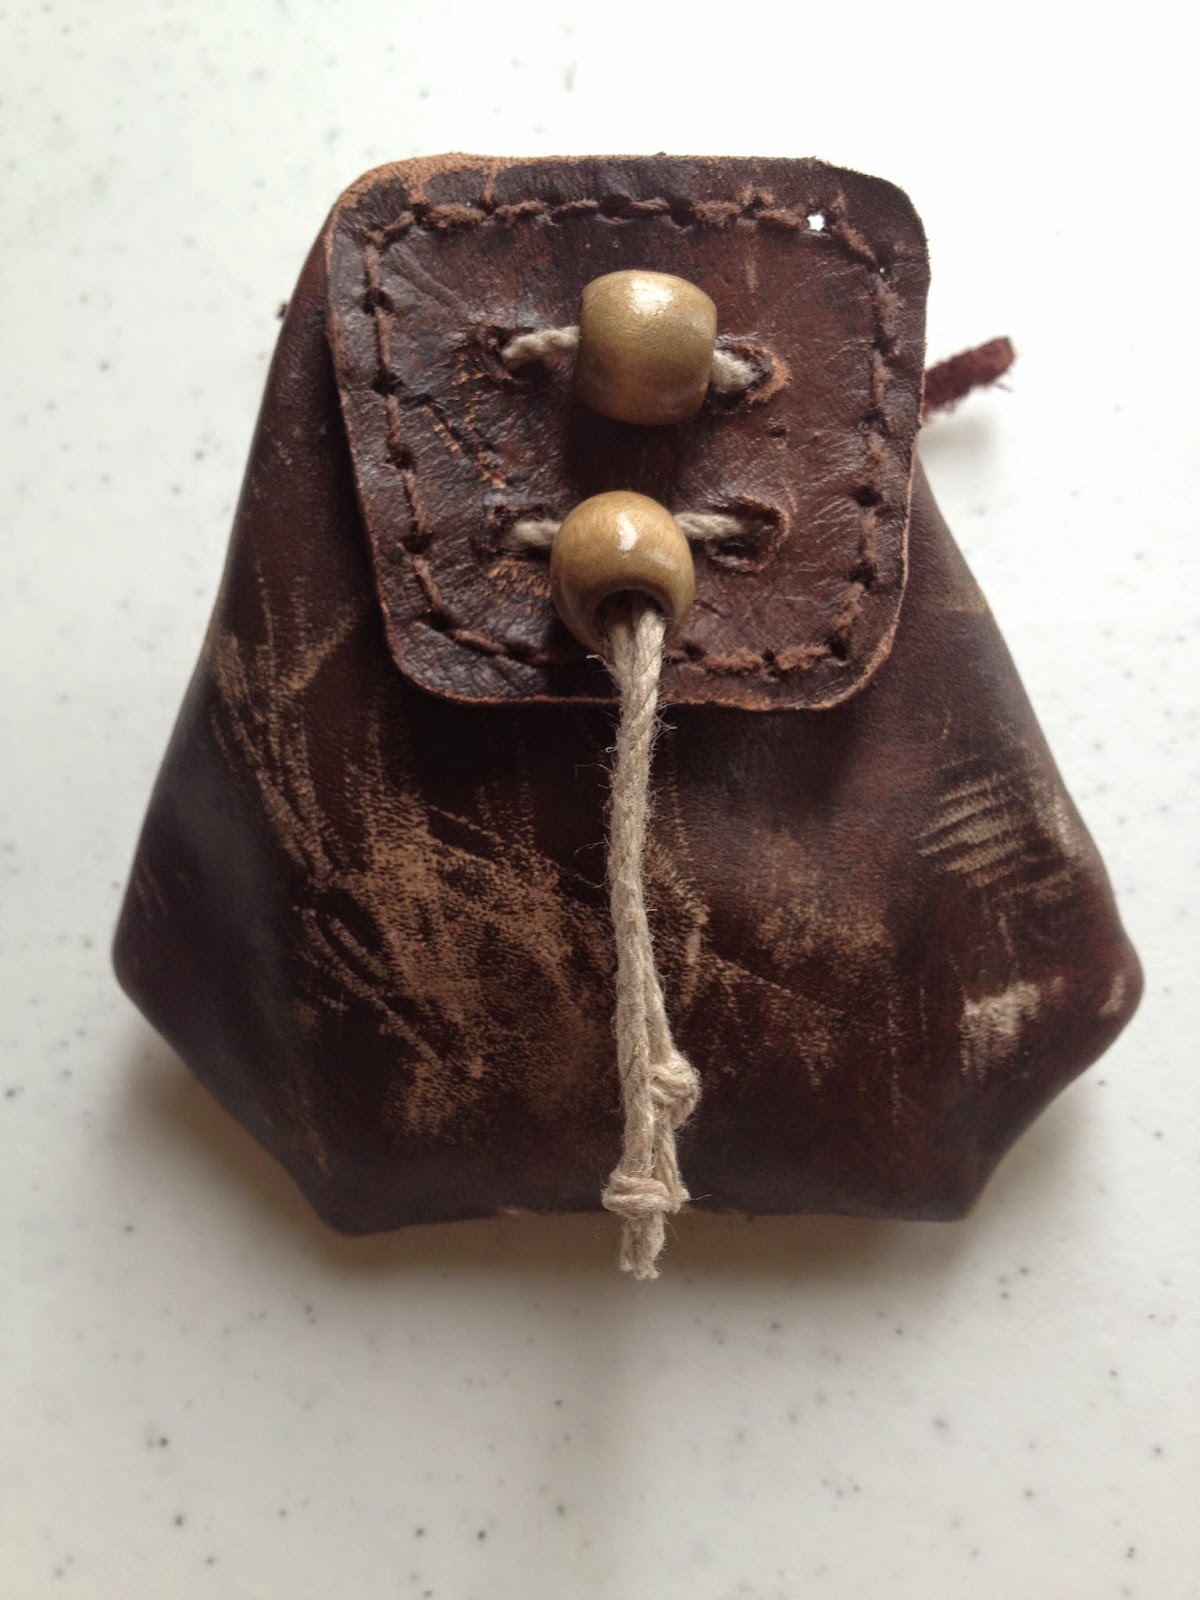
The finished pouch, after I had taken a metal file and scuffed up the paint on
it and made it look beat up. I added a leather thong to the back of it so it can
slide onto my main waist belt.
 |

