Difficulty Level:

Cost Effective:
Time Consumption:
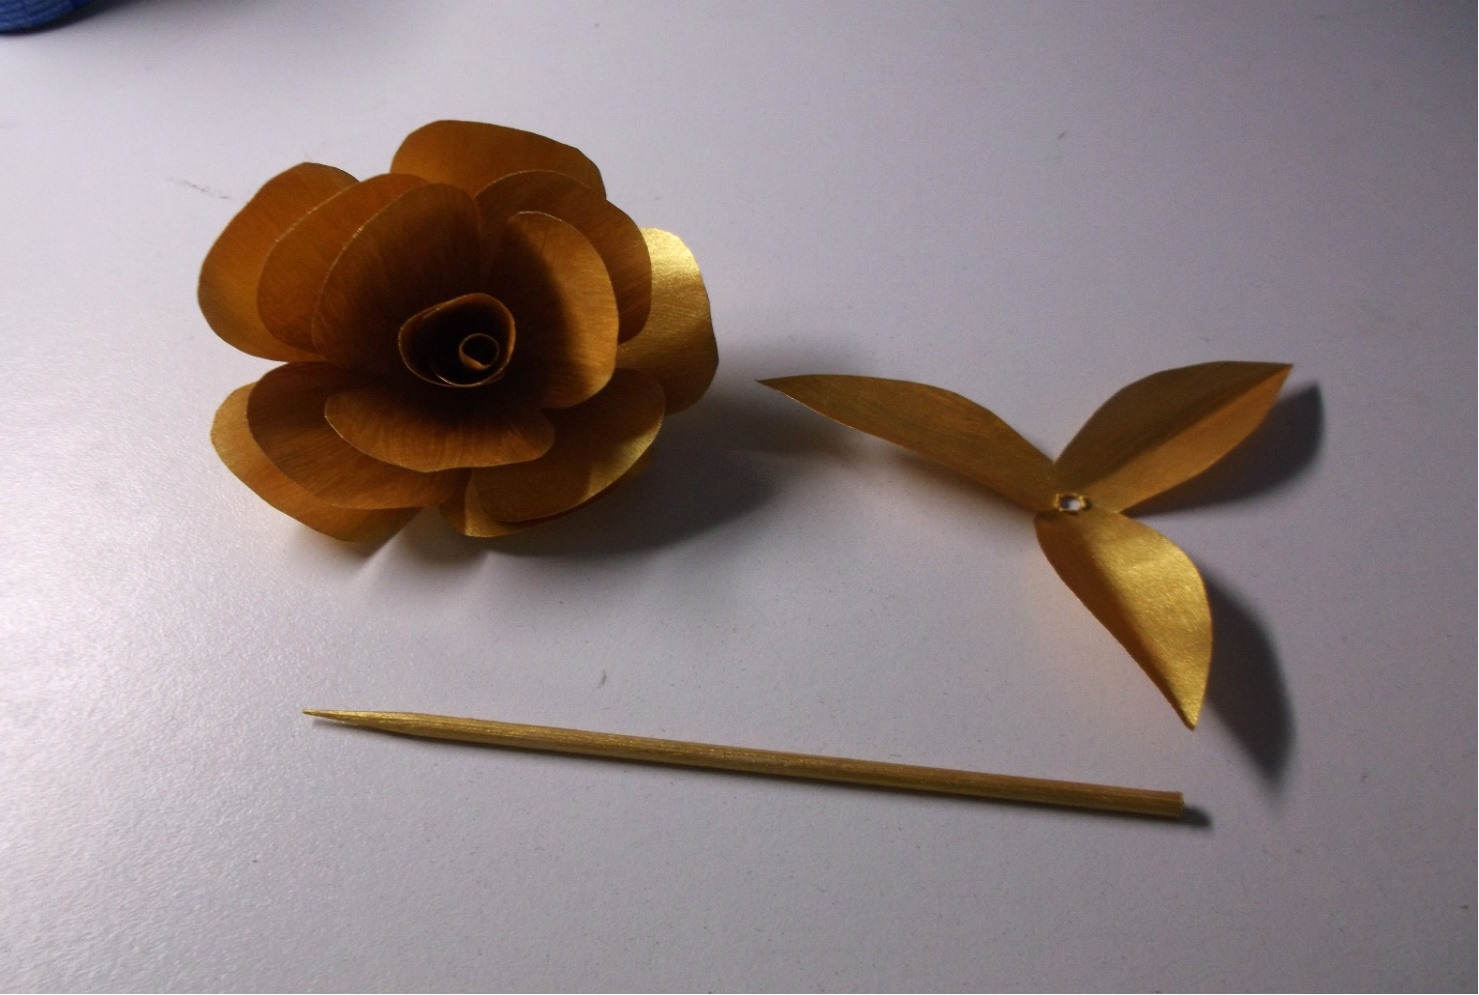
Supplies:
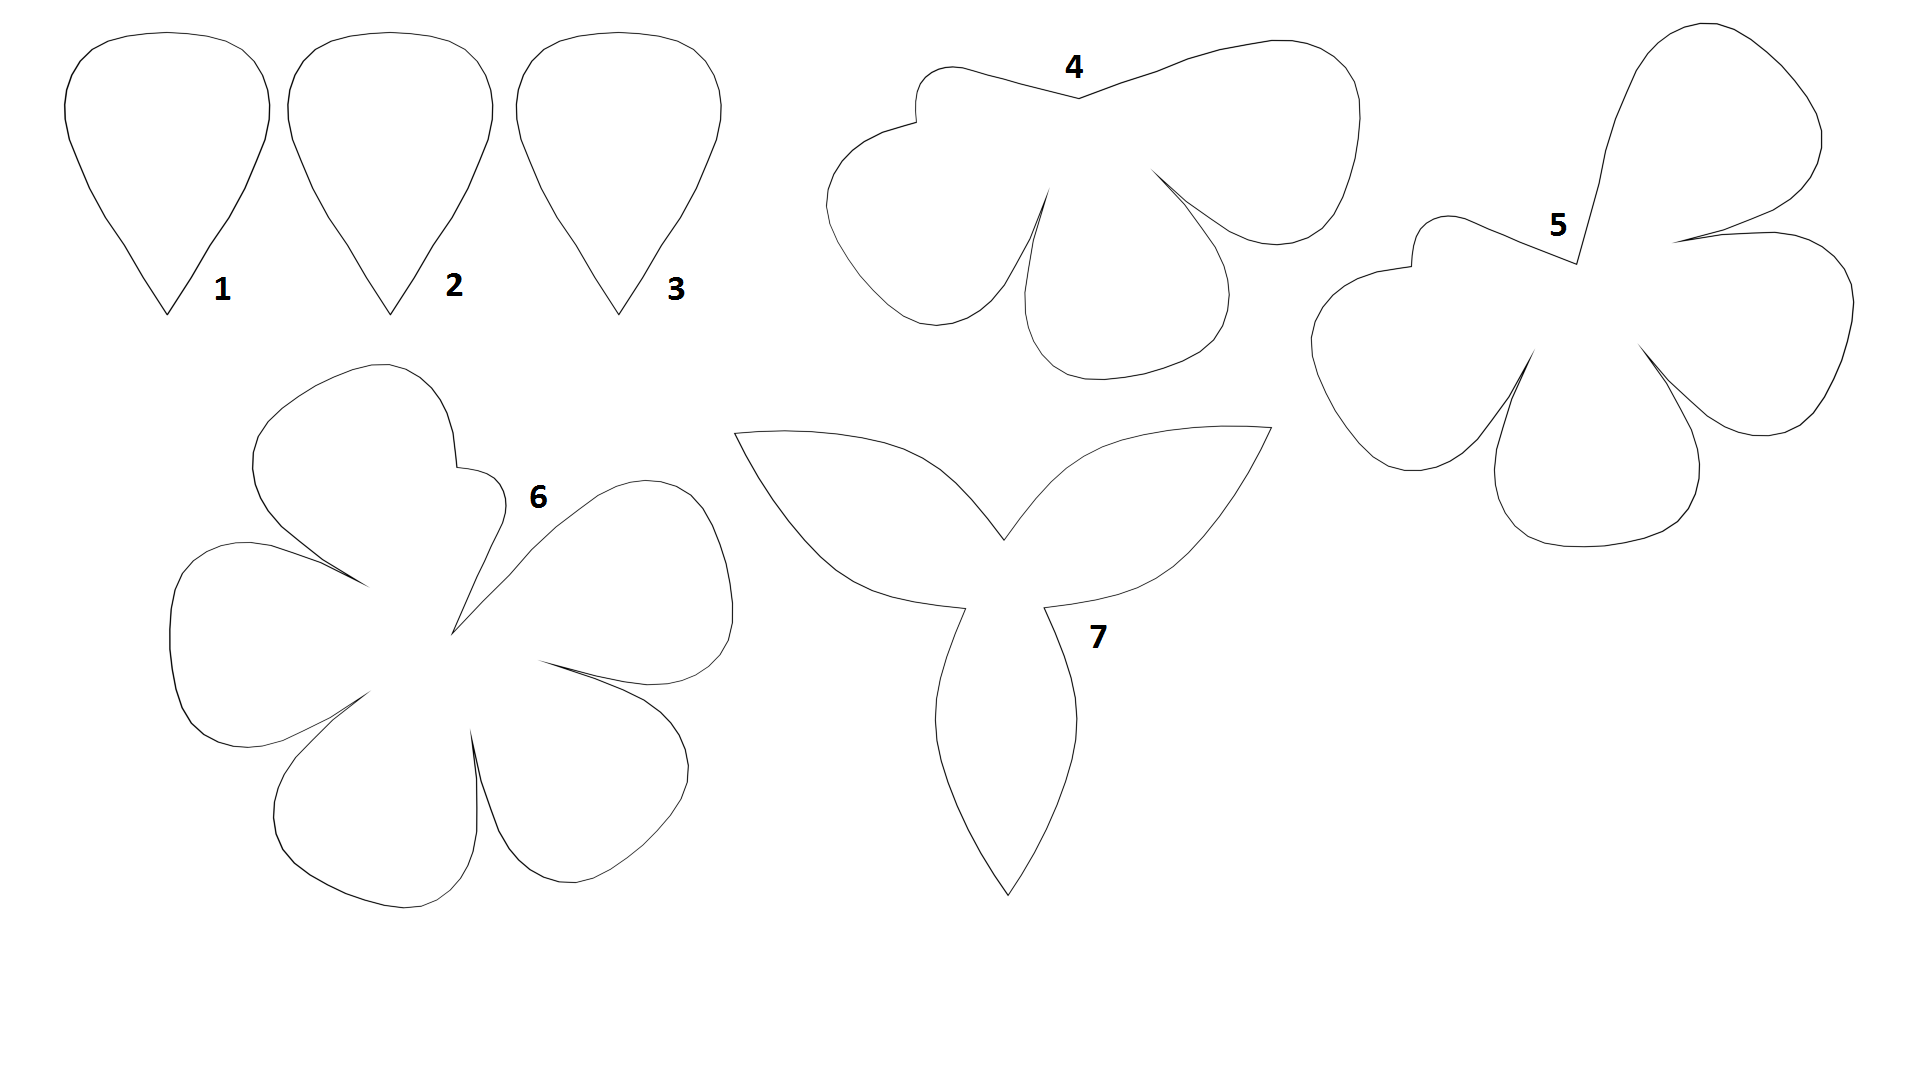
- Template
- Long Toothpick / Party Stick
- Metallic Gold Acrylic Paint
- Scissors
- Glue
The rose was pretty easy and it really took longer to design
the Template on the computer than it actually took to make the rose itself.
1 - First you can start by printing out the Template on a A4 page, either on a
white page that can be painted or gold or if you are lucky to find the proper
gold colour.
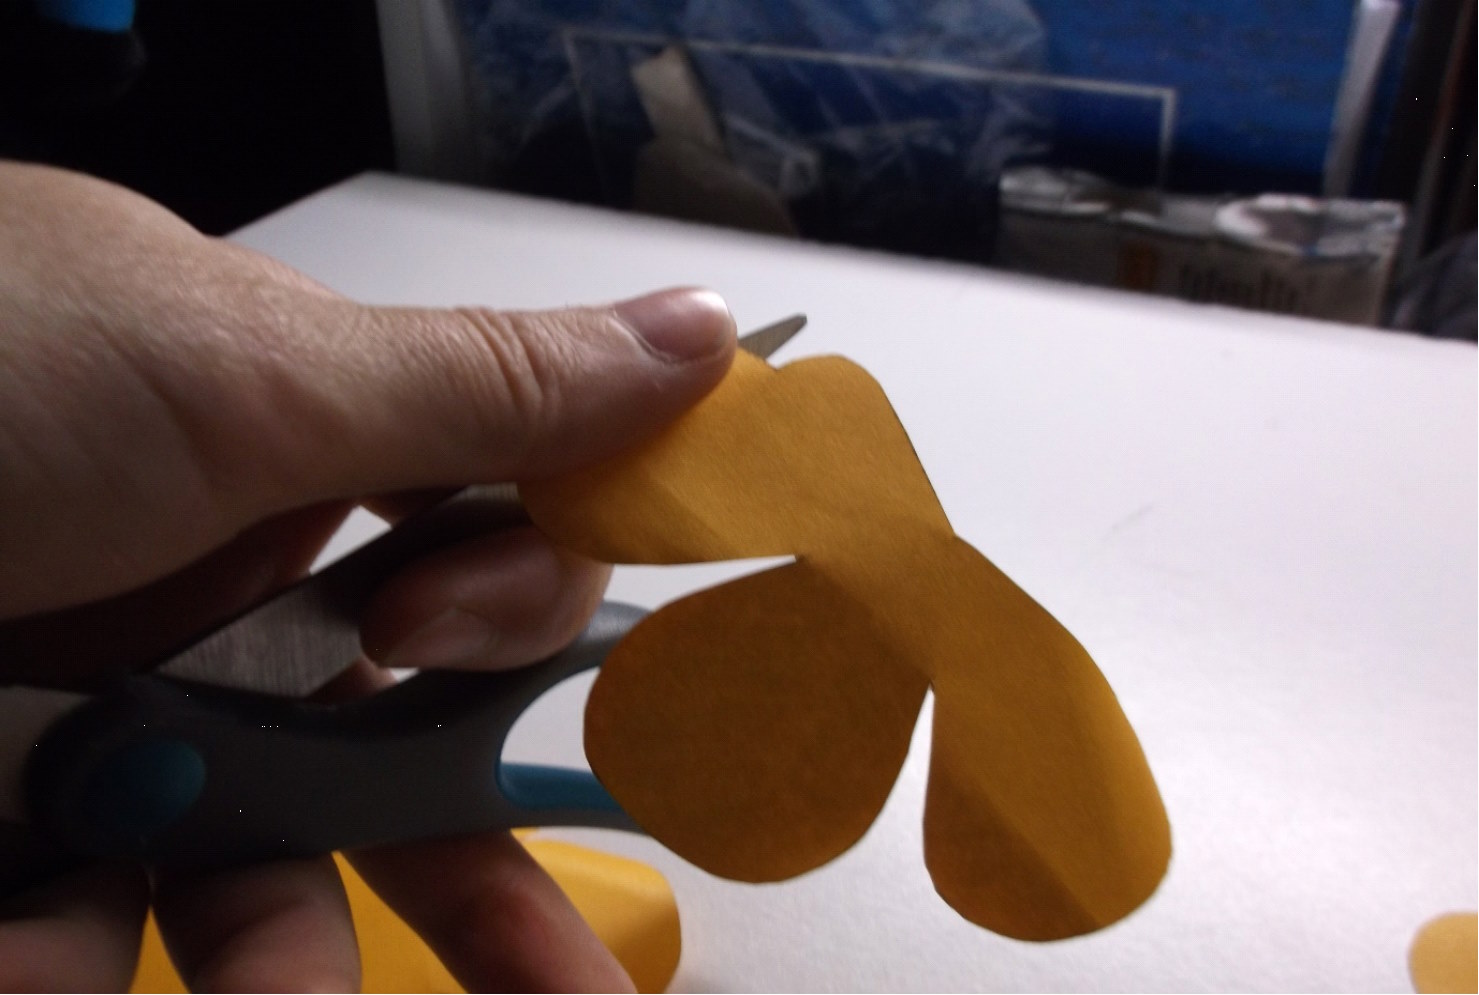
2 - As always the stores are always sold out when I am looking for something so
I simply printed my pattern on a yellow page but it still did not look right and
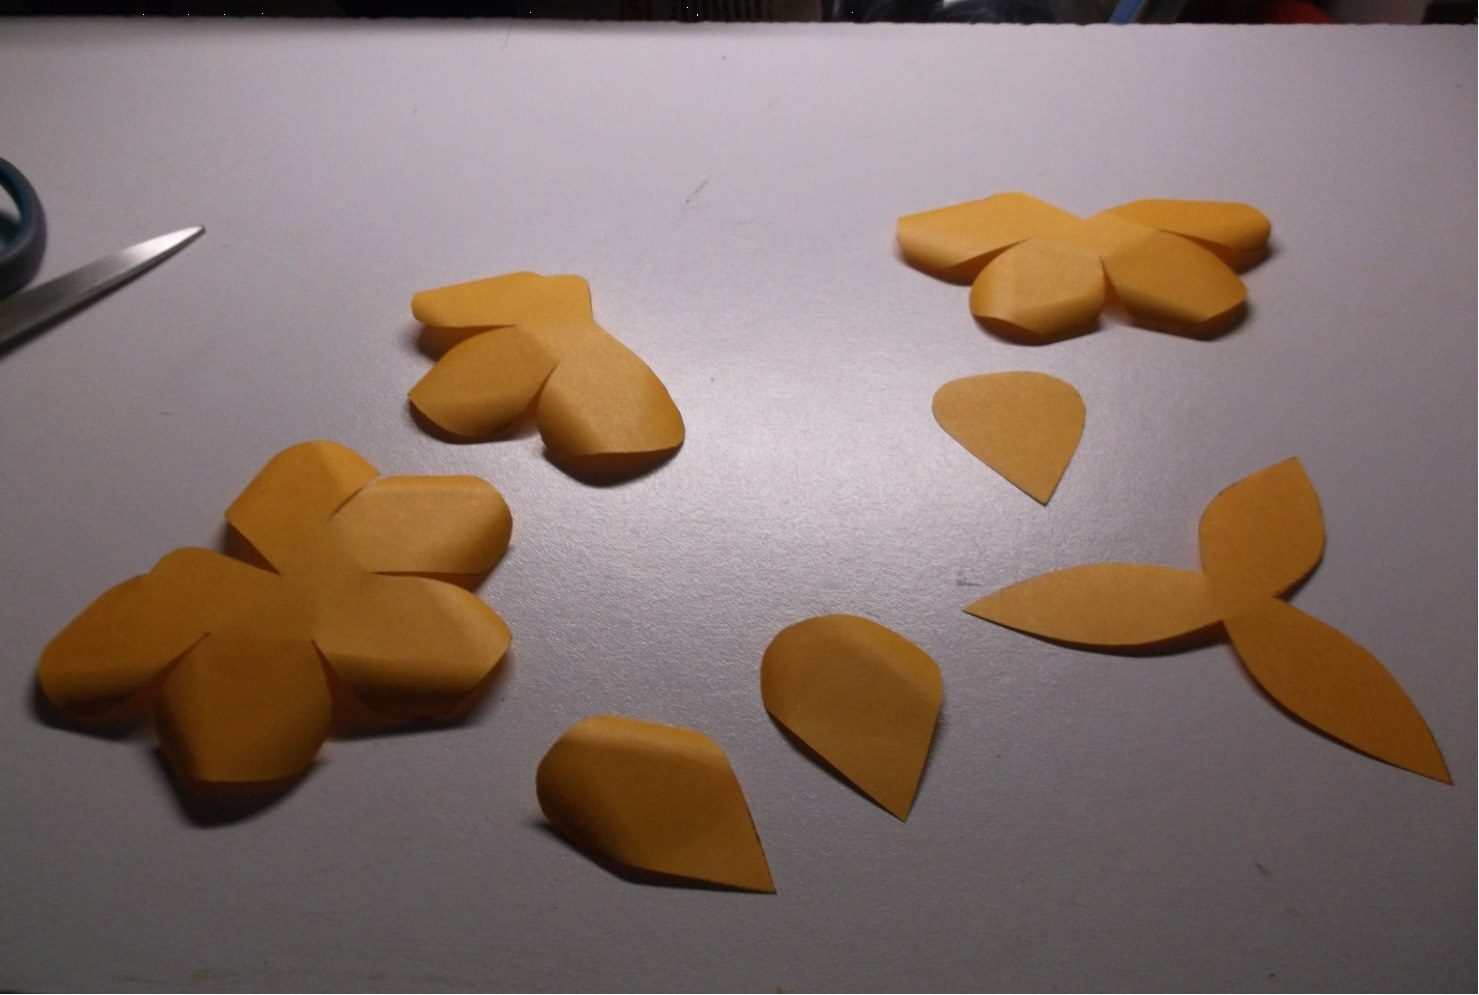
decided to make it gold. First start by cutting out all of the pieces, take the
scissors and curl the sides of the peddles, except for peddle (1) and the leaves
(7).
3 - With that out of the way I grabbed the golden acrylic paint and painted
everything, including the long toothpick.
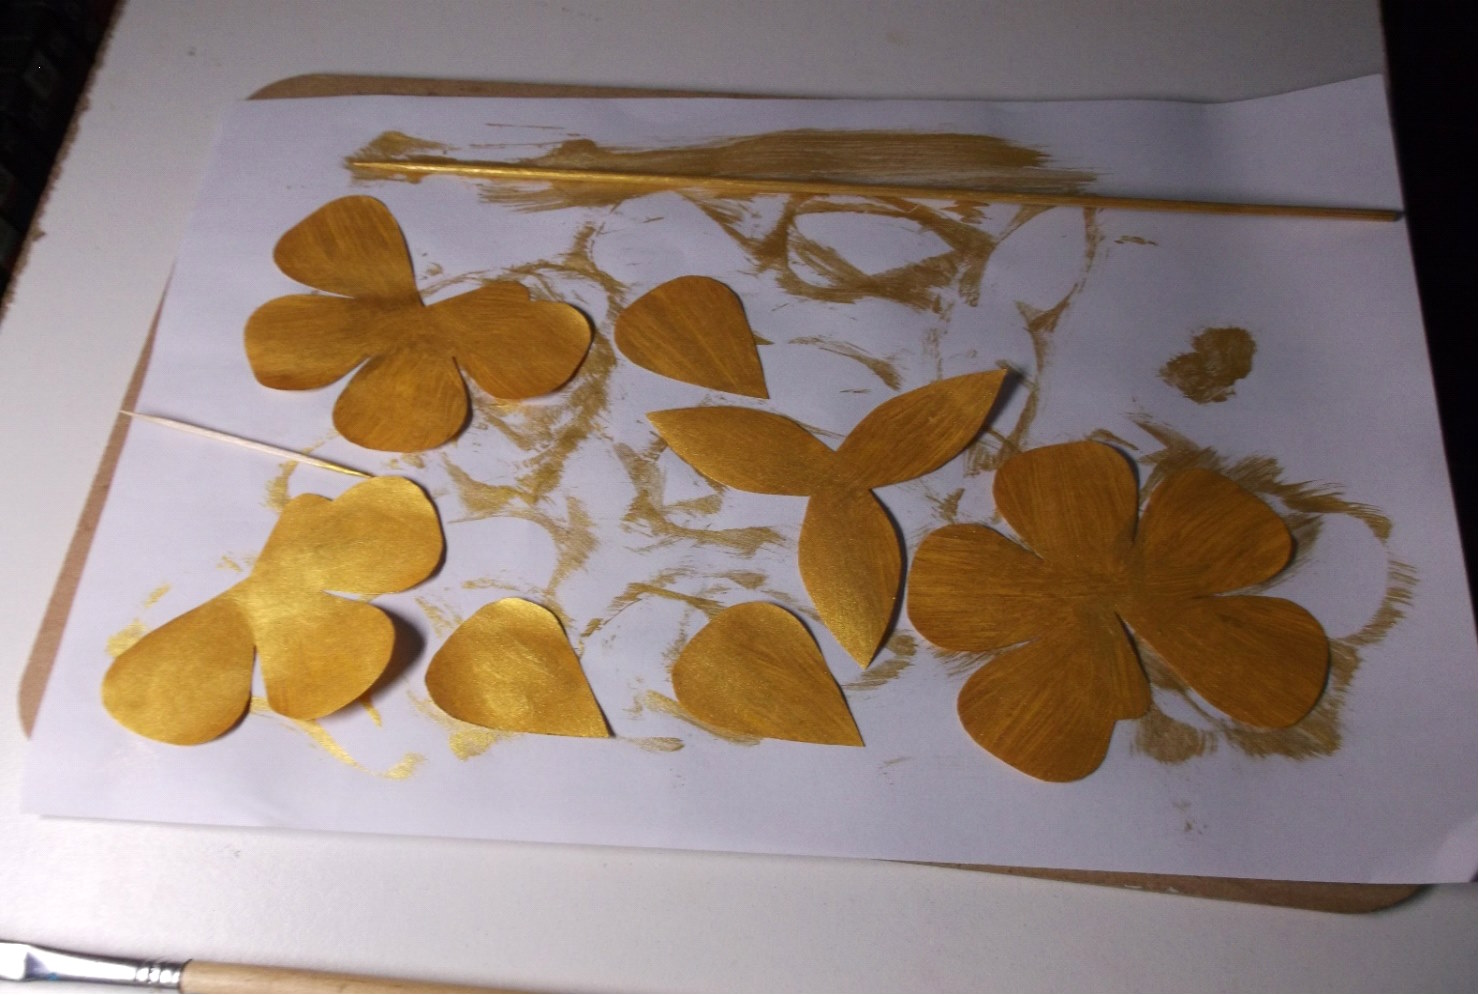
4 - After painted both sides and let I dry completely, most of the peddles
seemed to have been straight again but still had a little curl towards it and
the fun started.
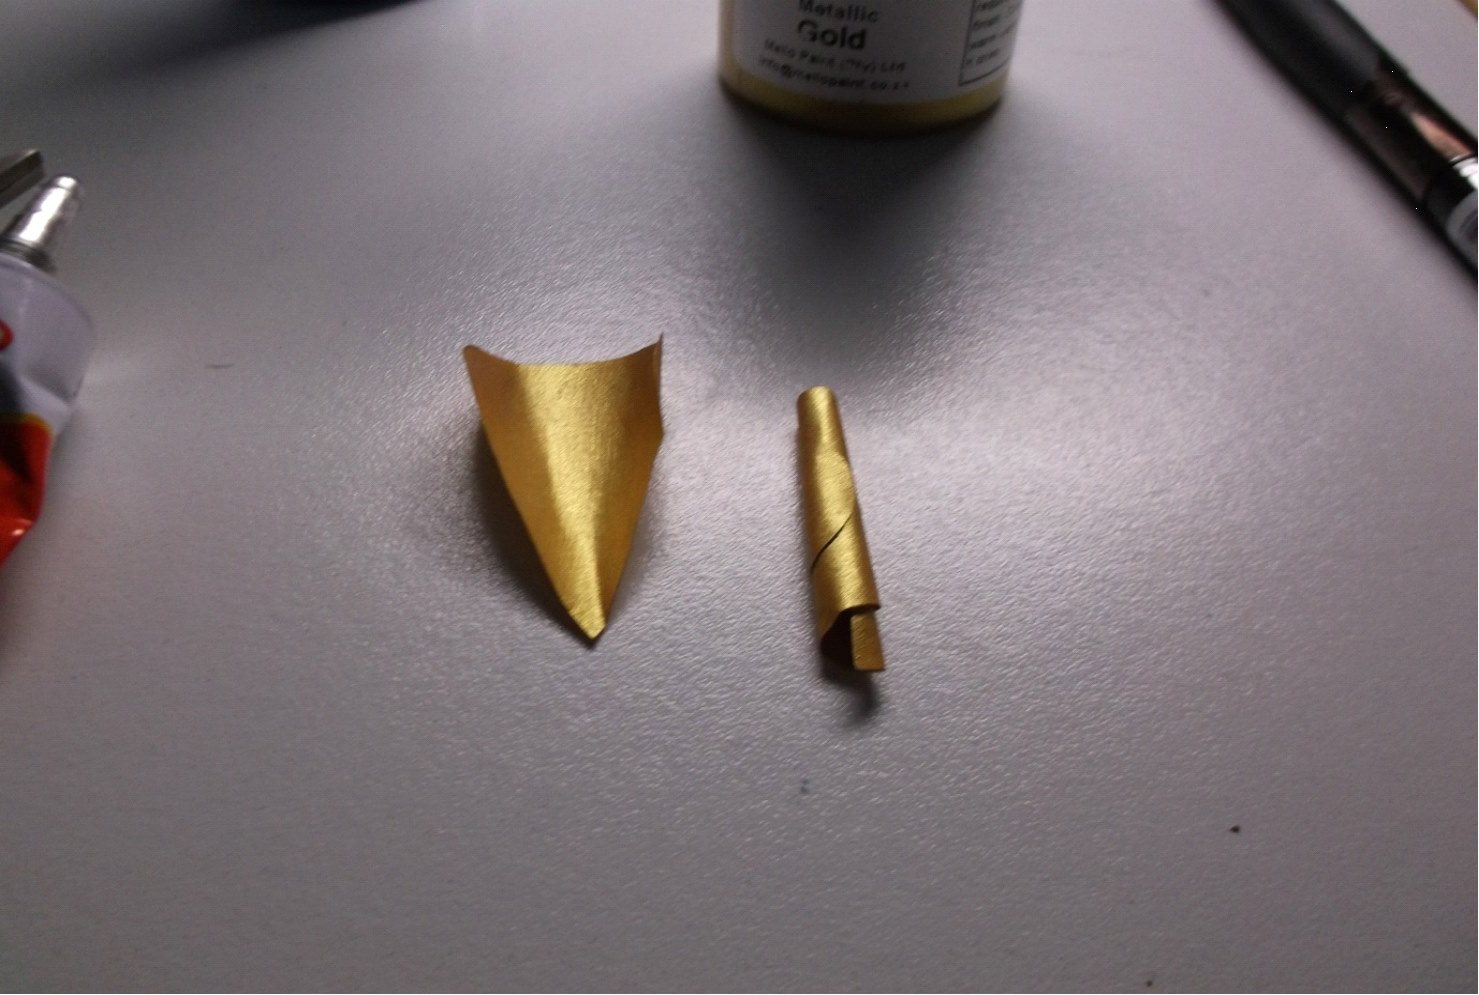
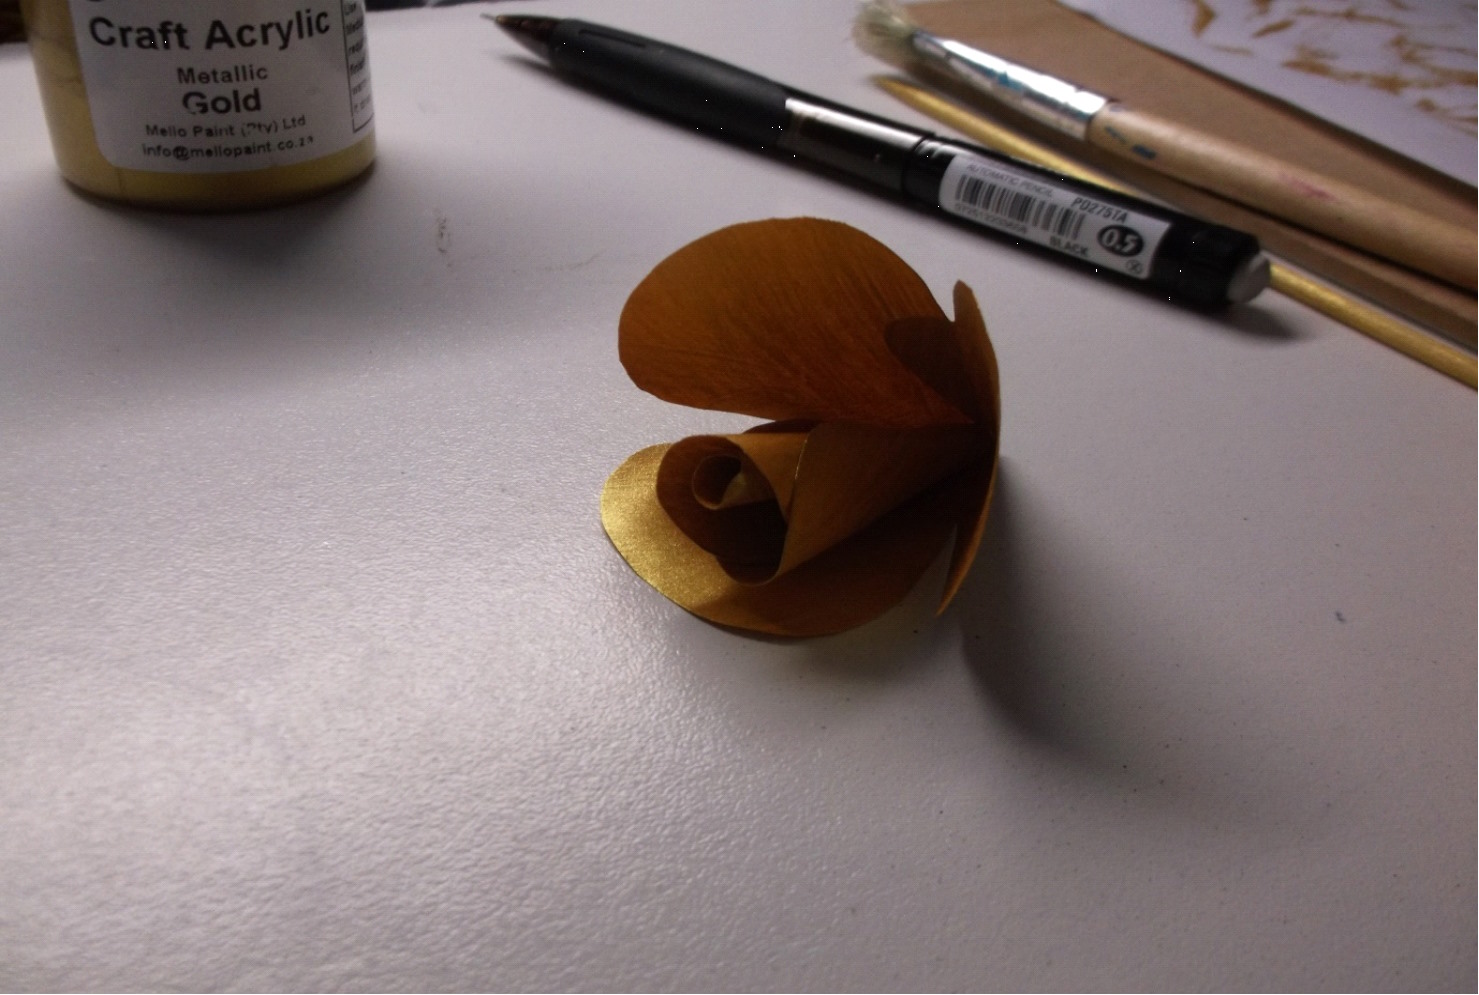
5 - So take peddle 1 and roll it around the long toothpick, you can do this a
few times for it to get the shape and then before gluing it in that position you
can remove the toothpick. The glue I used dried within seconds, perhaps a minute
so I just held the peddle in the place while it dried.
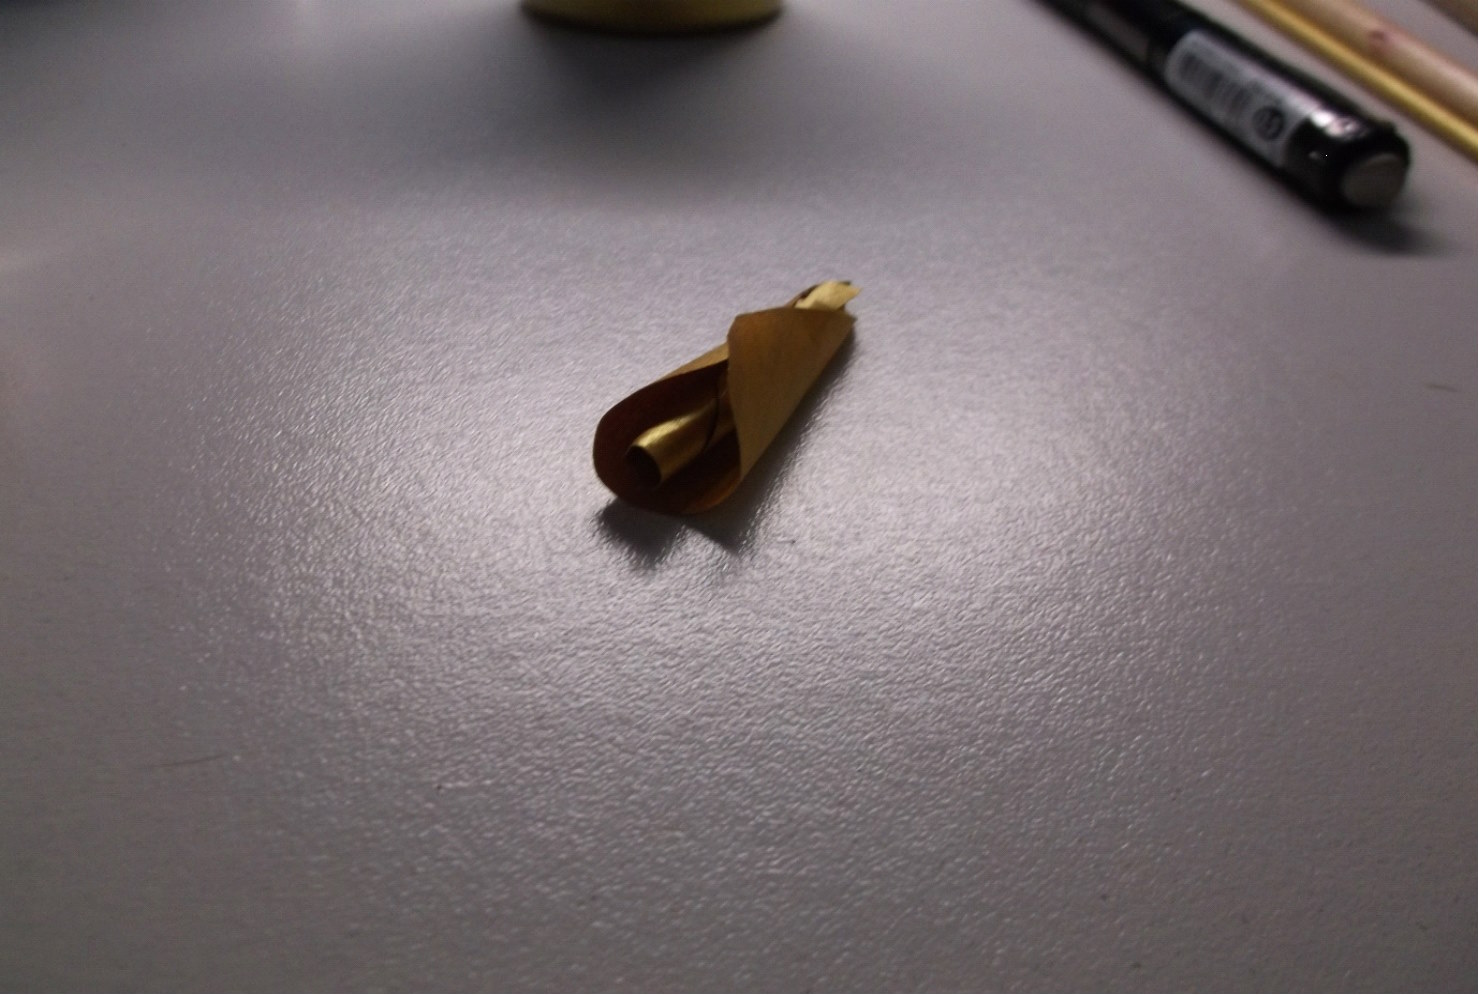
6 - Doing almost the same to peddle 2, instead of curling it around the
toothpick, I curled it around the first peddle. Adding a little bit of glue at
the bottom part of the peddle and placed it against the first peddle. Holding it
to dry again.
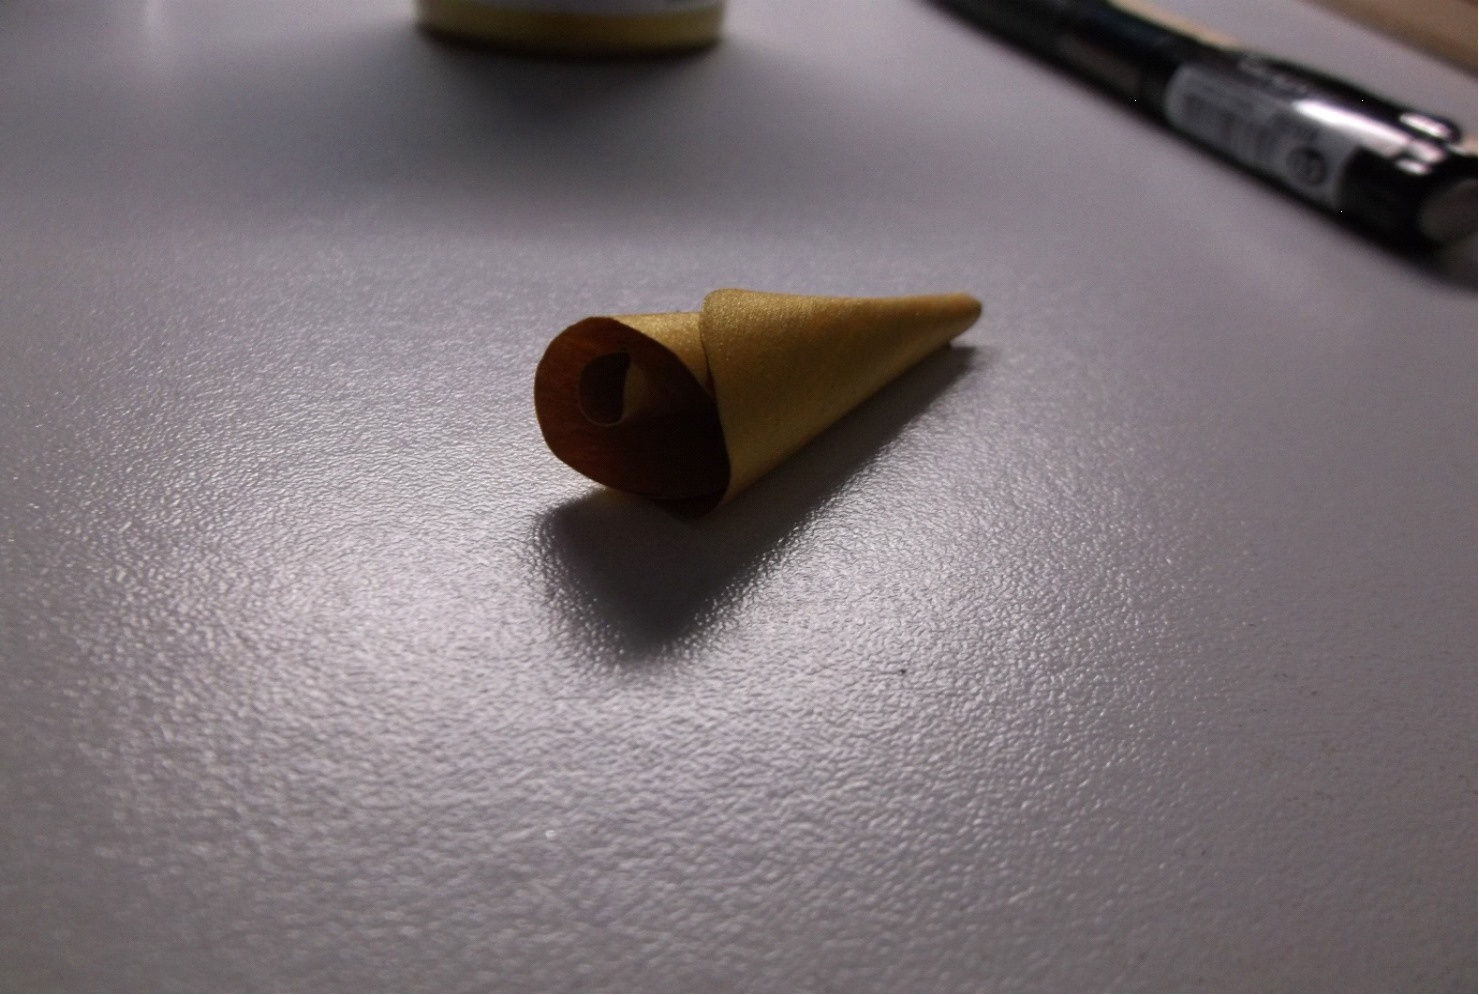
7 - Doing the same process again for peddle 3 but this time it went around
peddle 2, and after waited a little bit long for the glue to dry, just in case.
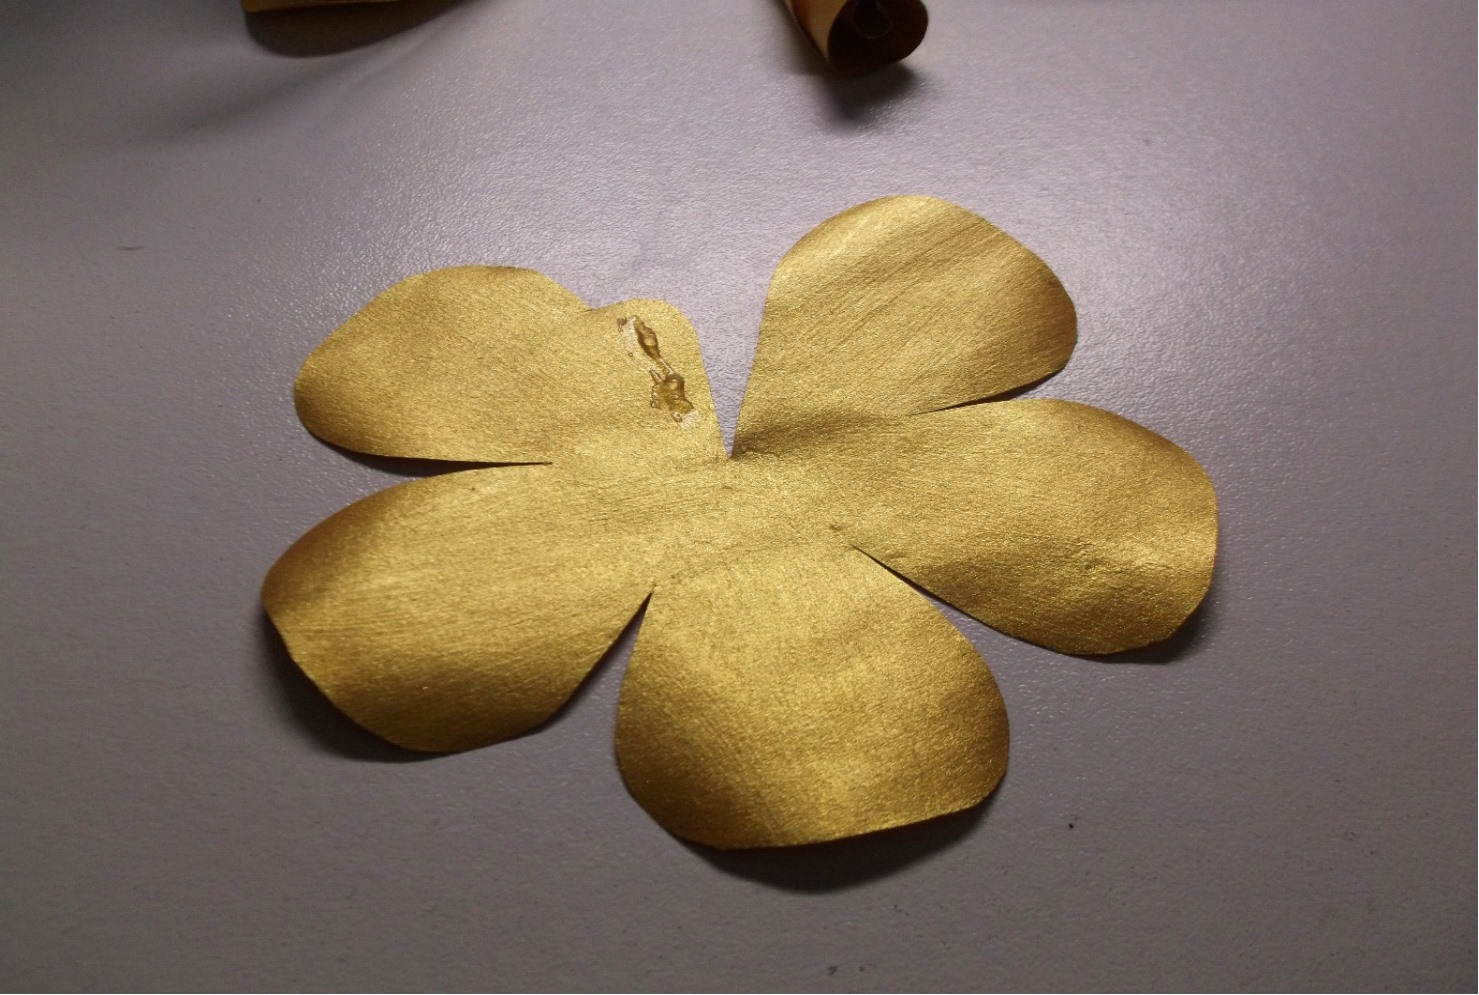
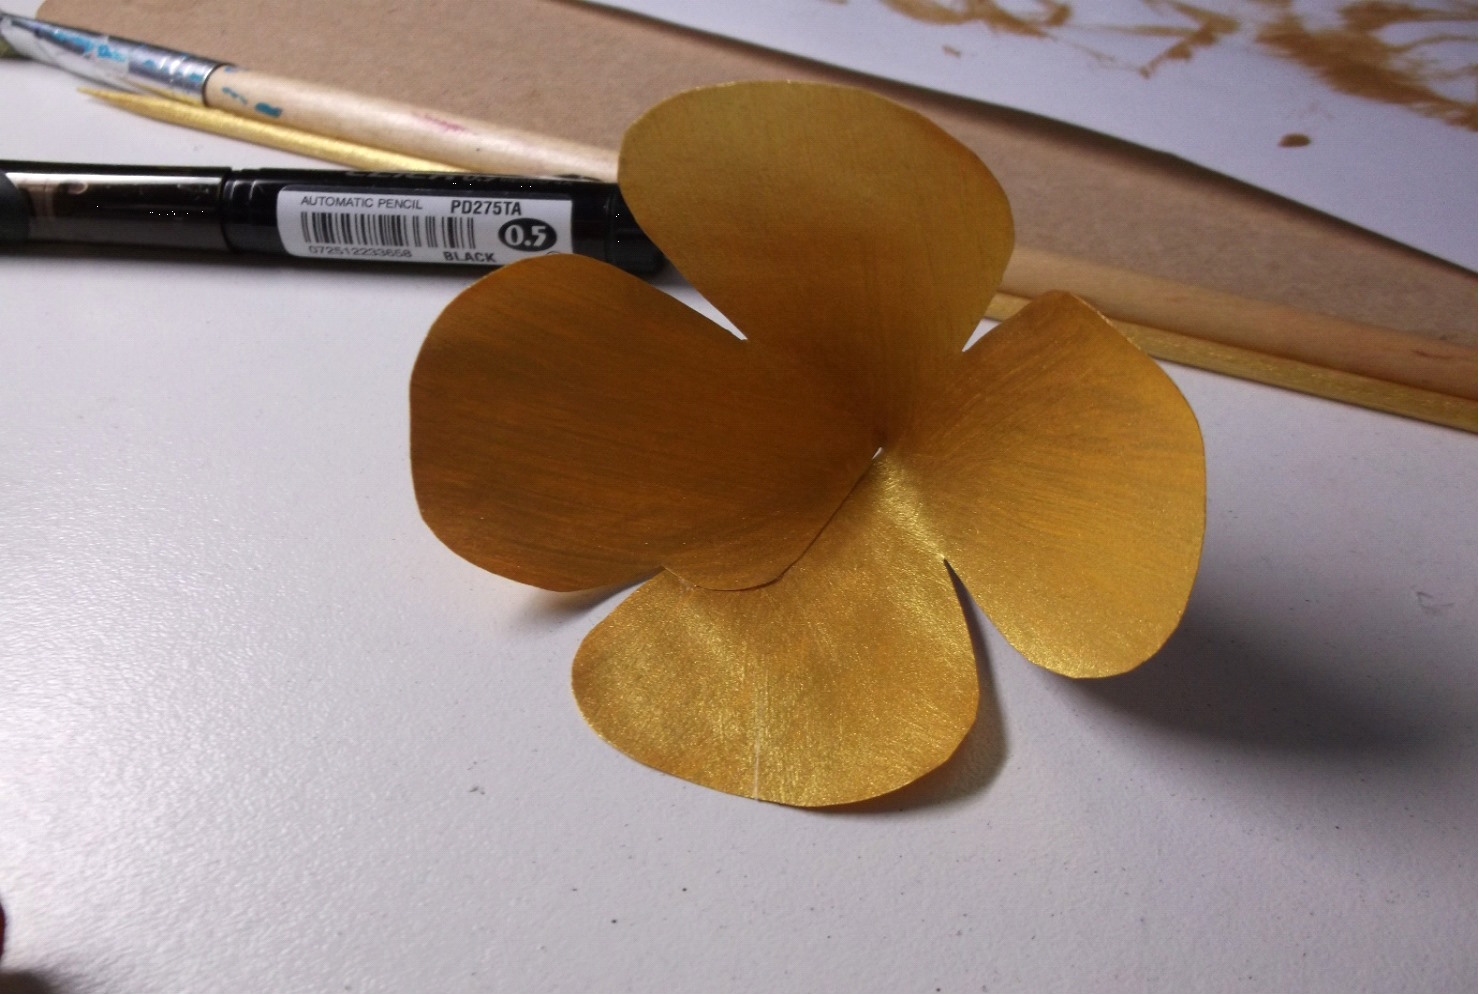
8 - Now that the inner part of the Rose is complete, the 3 outer peddles can be
glued (pattern 4,5 & 6). Pattern 4 has 3 peddles, pattern 5 has 4 and pattern 6
has 5 peddles and each of them has a small extra piece that will be used to glue
them together or in this case a circle effect. Placing a little bit of glue on
the backside of that extra piece and move it over towards the peddle next to it.
Taking note that the extra piece must be on the inside when this is glued.
(Please take note that this first photo only show where the glue must be located
but at the backside of the peddles)
9 - After completing pattern 4,5 & 6, you can if you want, cut a small hole at
the bottom of the 3 patterns but I was too afraid that the hole would be too big
and only cut a small hole in pattern 4 to stabilize the first 3 peddles that
will be in the middle. Gluing the first part (pattern 1,2 & 3) inside of pattern
4 with 3 peddles.
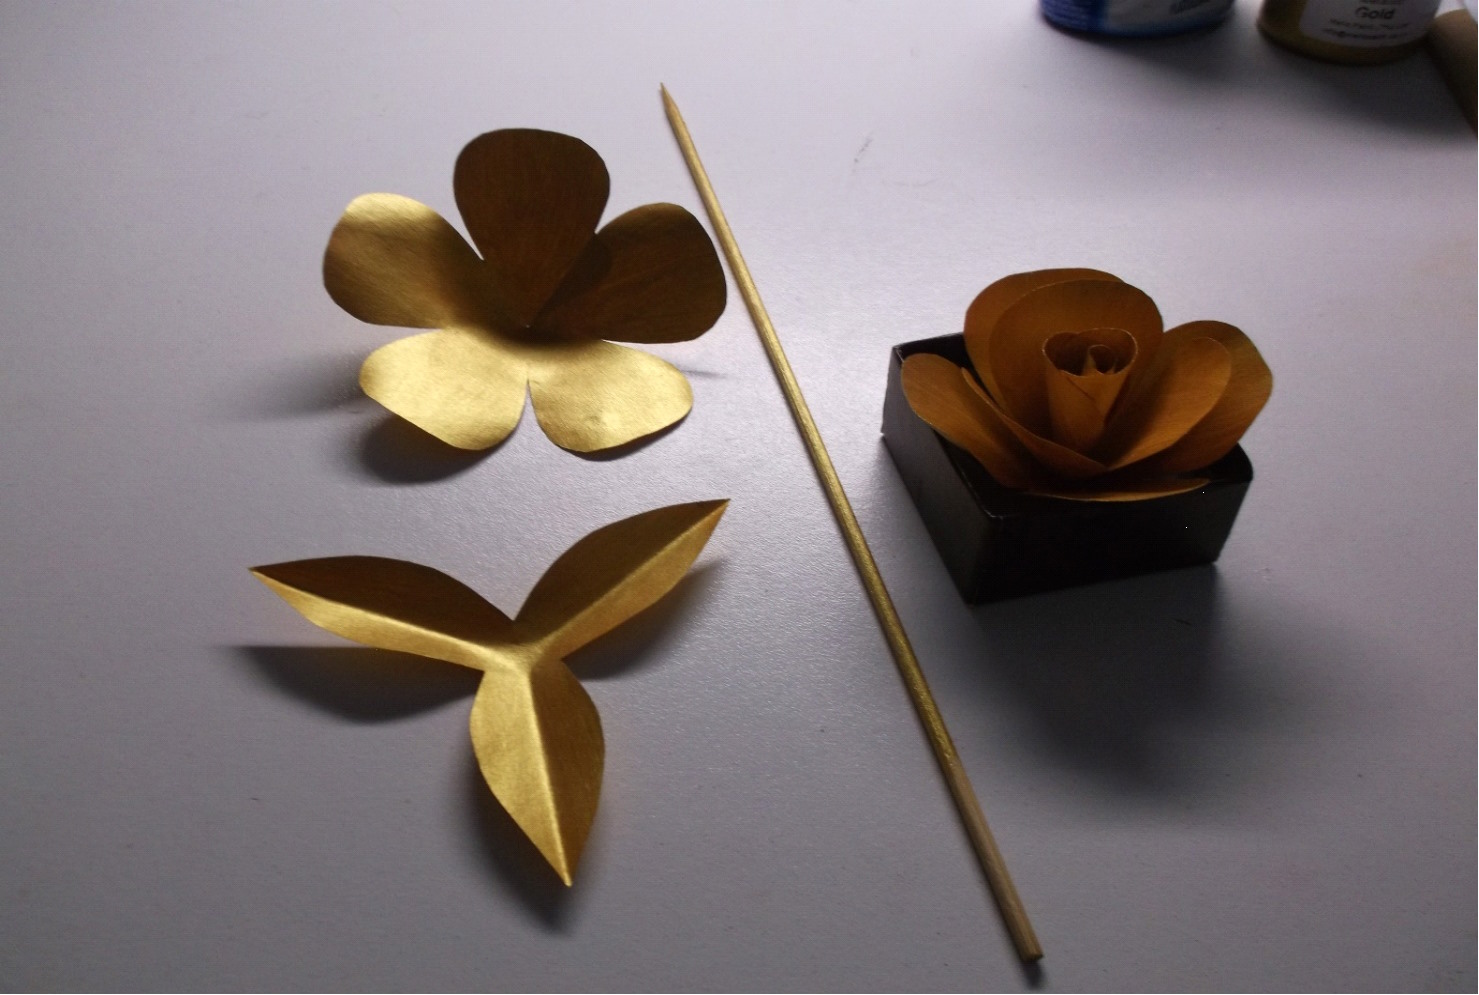
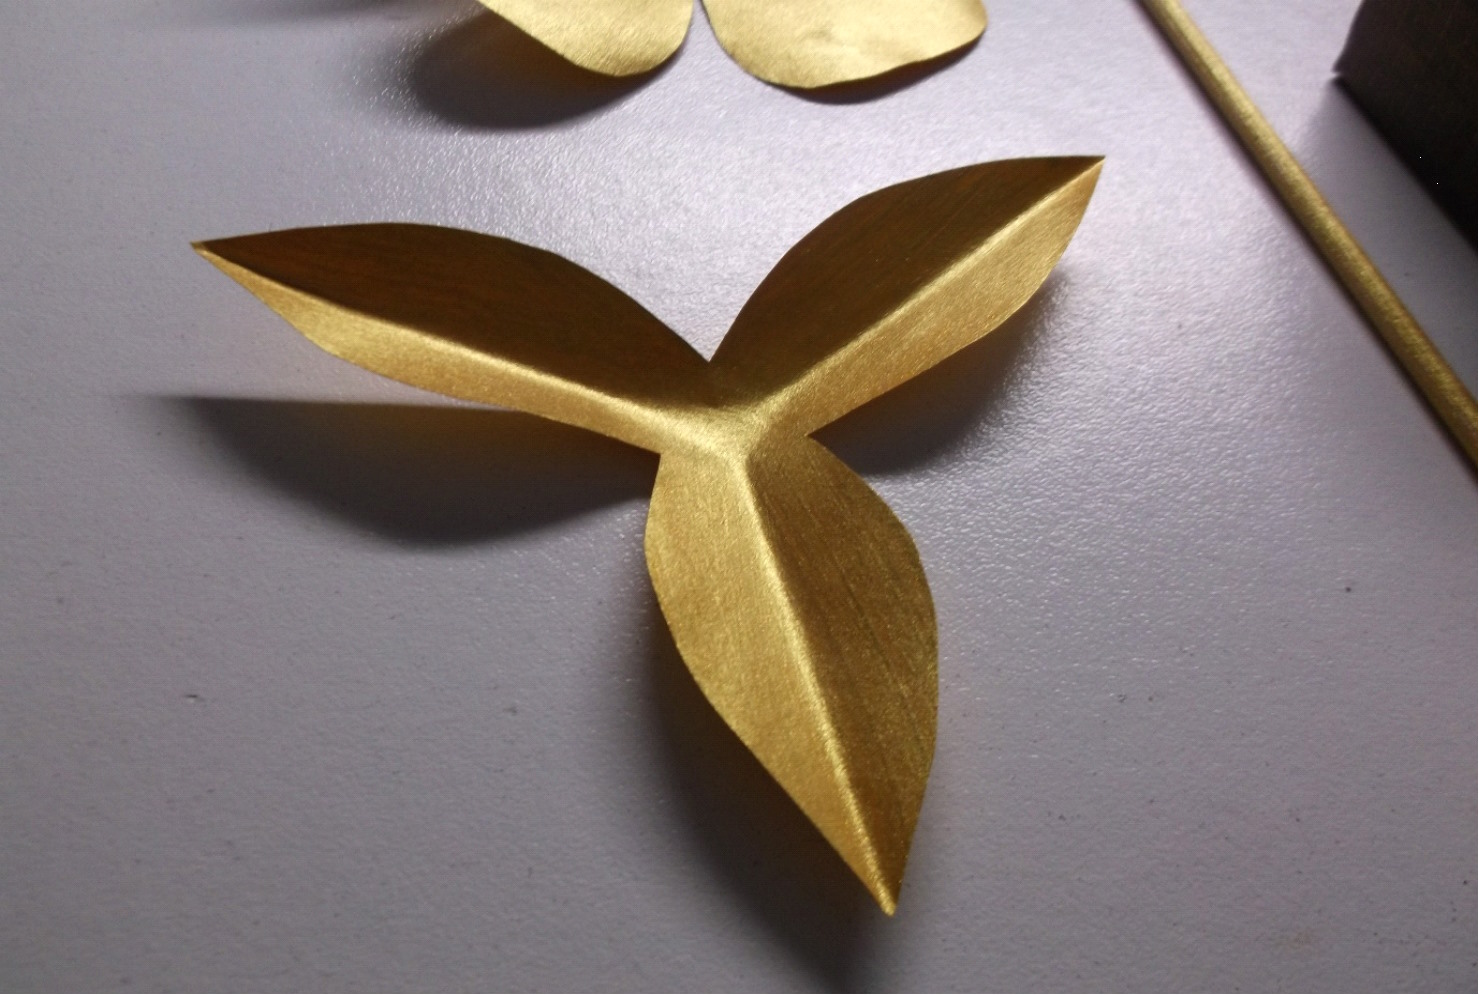
10 - After repeating the process with pattern 5, placing pattern 4 inside
pattern 5 and waiting for the glue to dry again, you can fold the leaves that is
pattern 7, just folding it down the middle of each leave and the middle almost
looking like a triangle.
11 - Again you can place pattern 6 in pattern 5 and cut a very small hole in the
middle of the leaves. Also trimming the long toothpick towards your desired
length, I roughly cut the pick at 12cm / 5 inches.
12 - And finally the last step, placing the three pieces together, I used the
front of the toothpick to make a hole through the rose, I pushed it though from
the top, removed it again and inserted it at the bottom, the leaves followed and
simply placed a drop of glue on both contact areas to keep it in place.
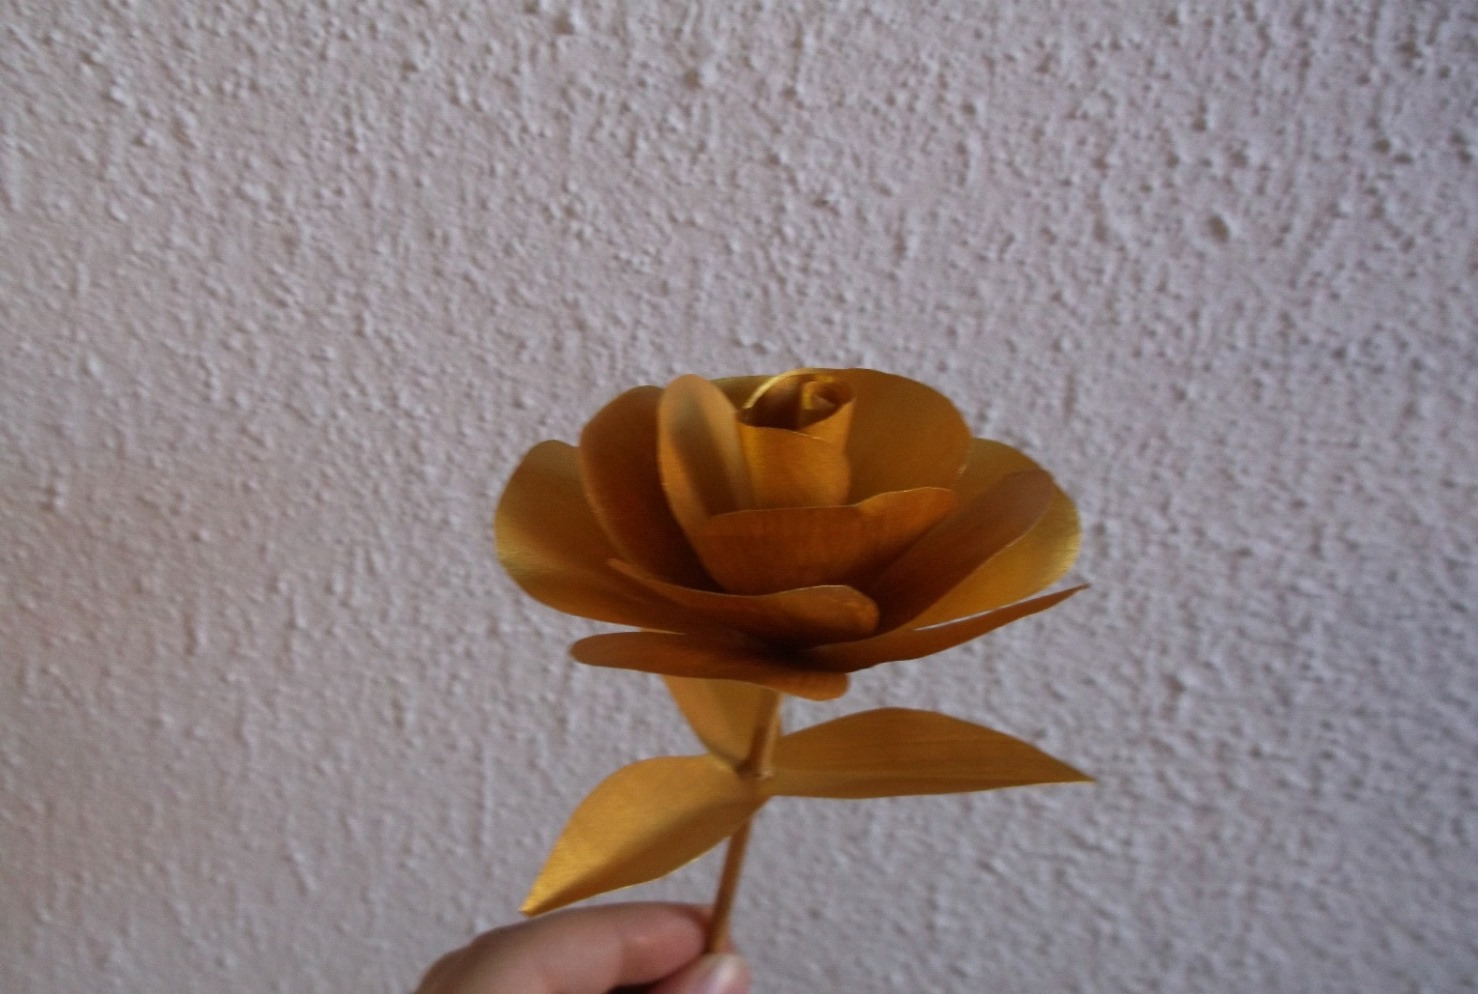
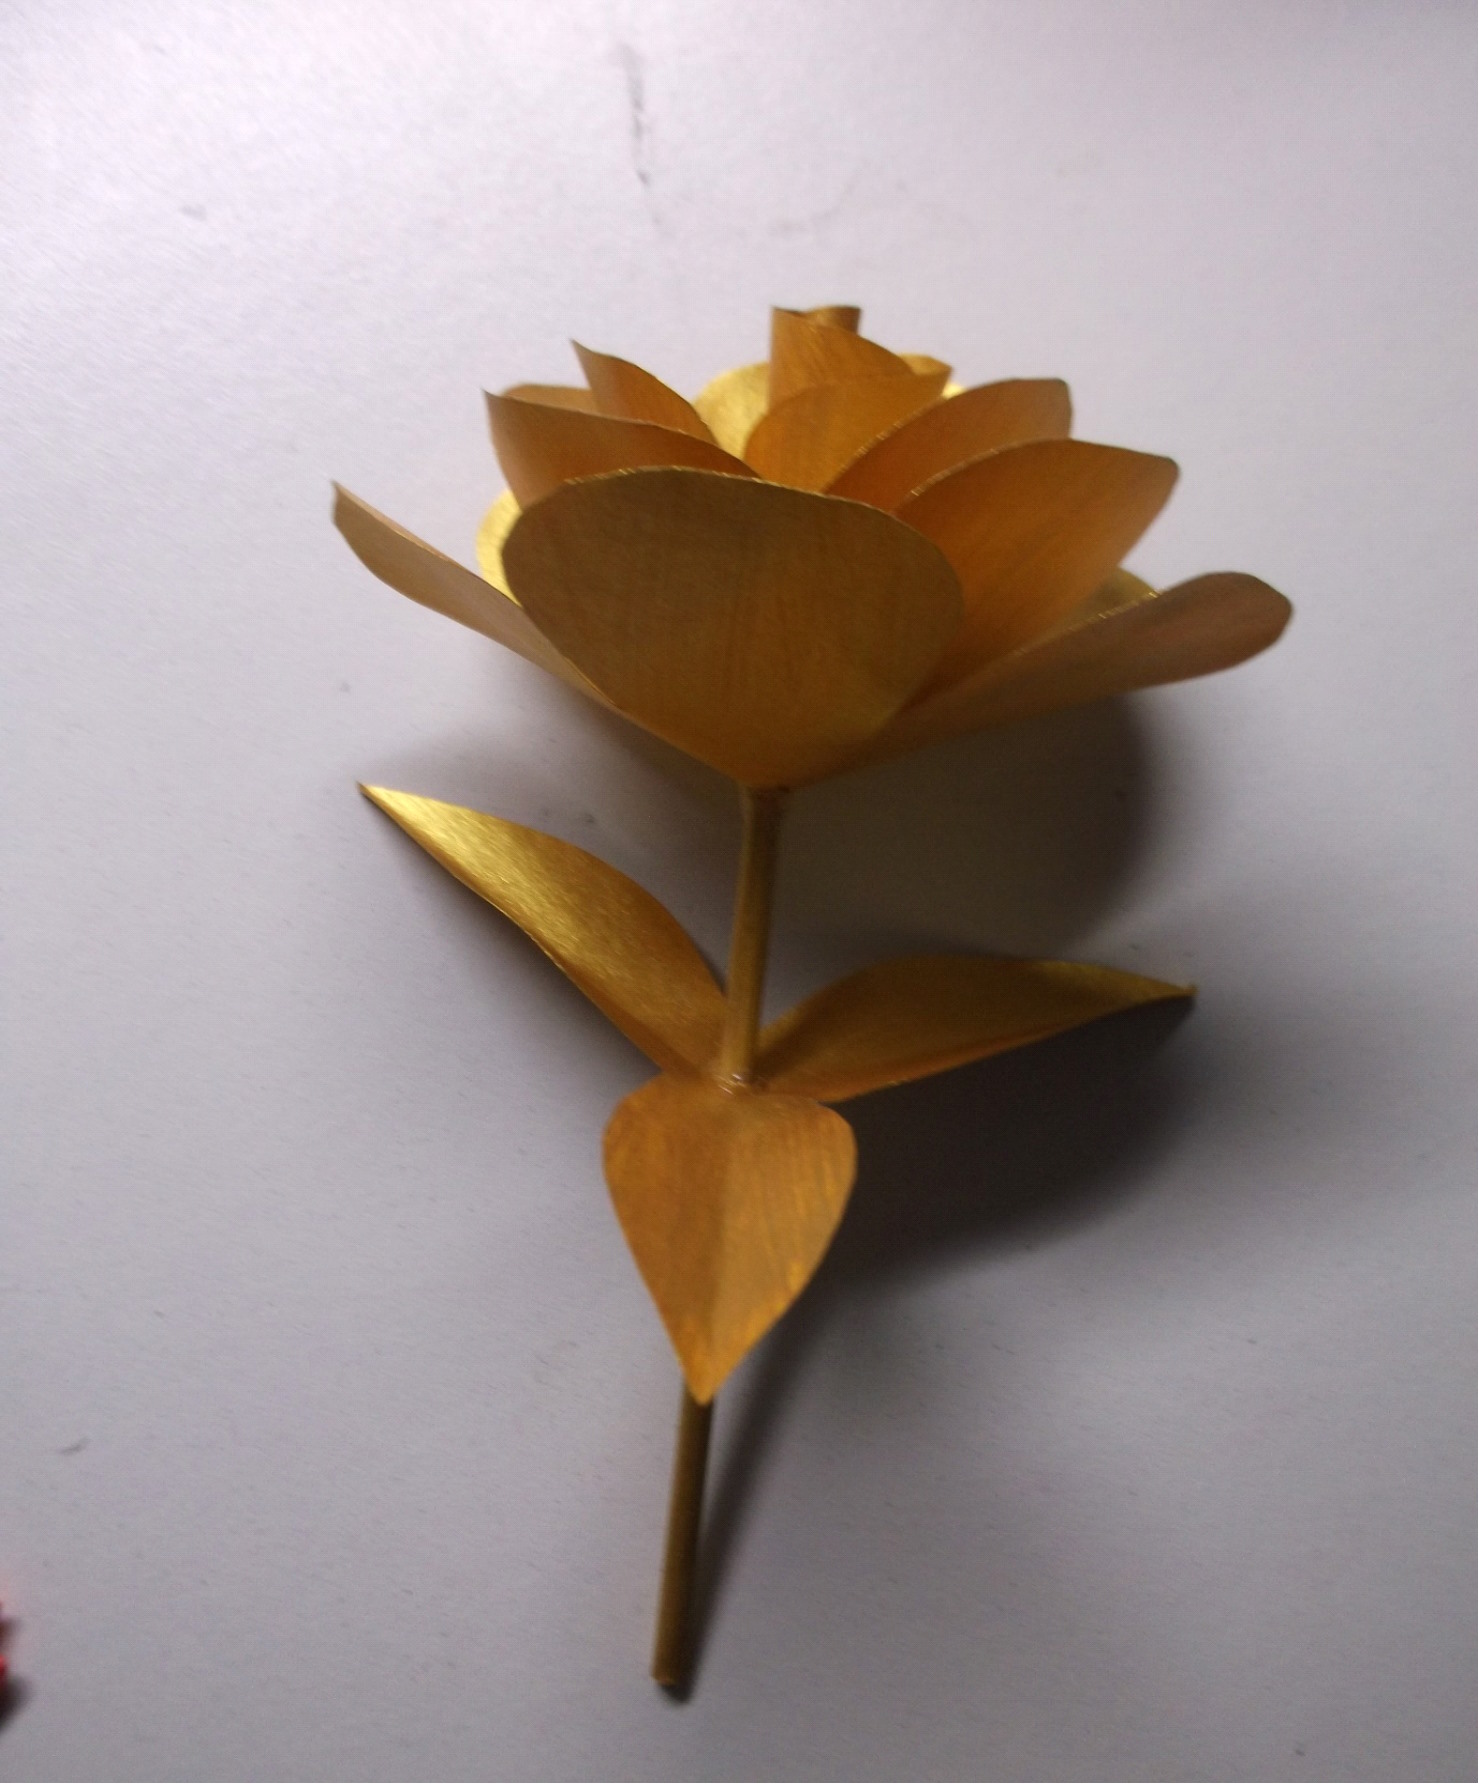
And that is it, easy to make and hardly anything is needed. |