PART 1:
What you need:
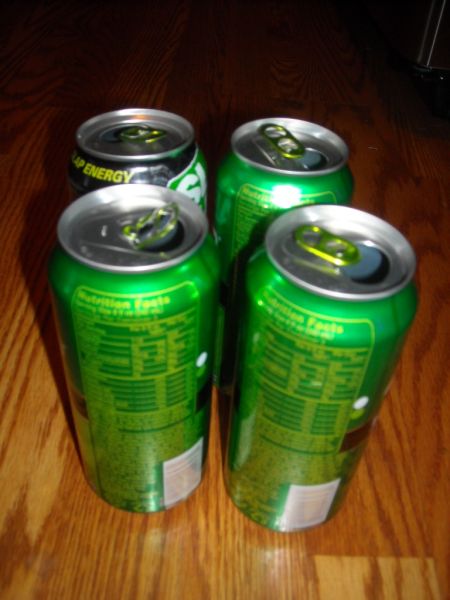
- 4 cans of soft drinks, preferably tall
- Pleather / leather or rubber if you prefer
- Glue
- Black acrylic paint
- Silver spray paint
- A few plastic shopping bags
- Tape
- thread
- needle
Refrence pictures:

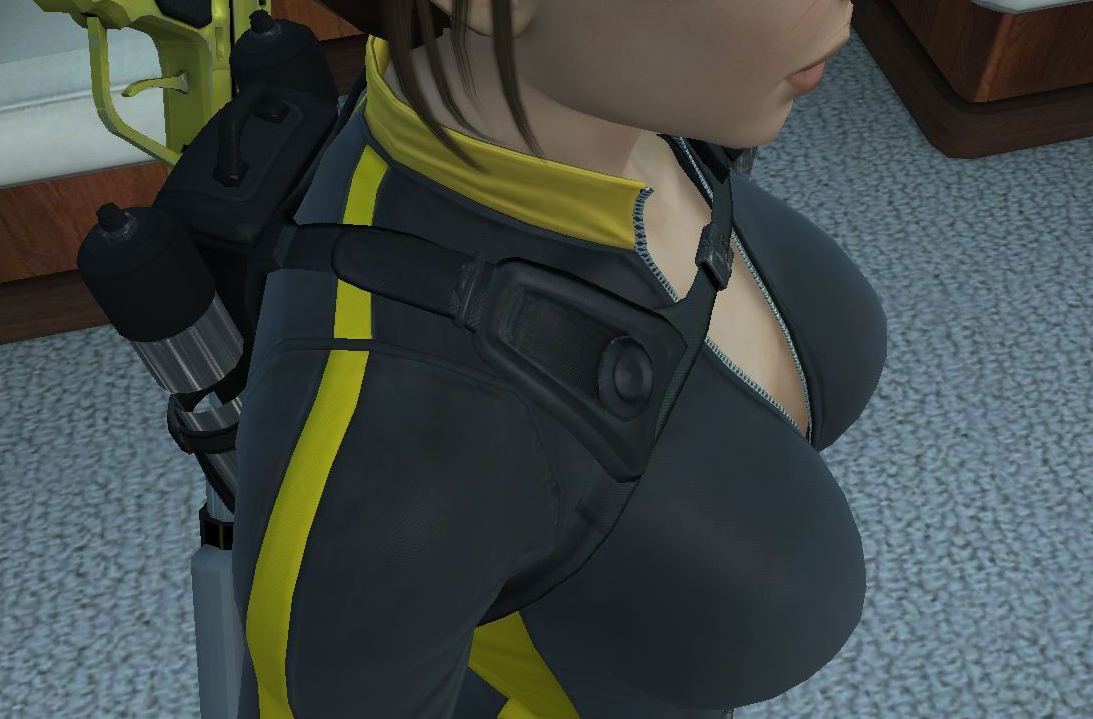
Click to enlarge
First Part, the bag and canisters (click to enlarge):

To start you need to make the oxygen canisters, you need 4 soft drinks cans:
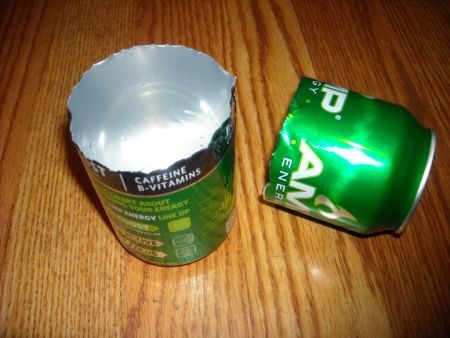
Cut them in half like so:
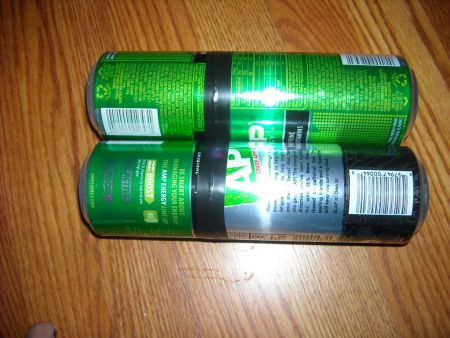
then put the bottom ends together like so and secure them with tape:
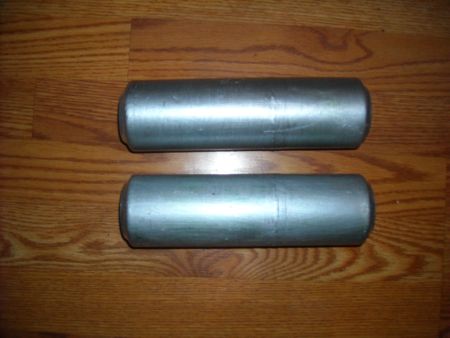
Now spray paint them silver:
While that's drying , time to make the middle pouch, and all i did for this
was make it out of pleather and sew it like so:
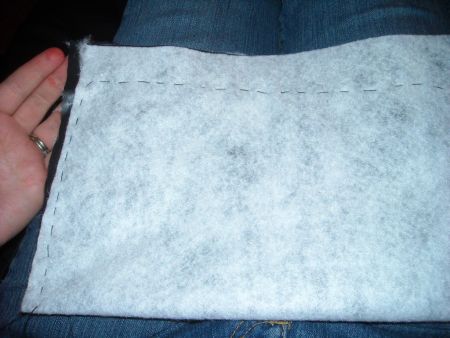
and then turned it inside out like this to form the pouch
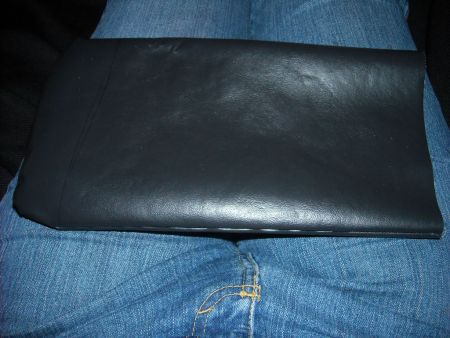
Measurements: 11 x 6 inches, when its sewn and turned inside out it will be
10 x 5 inches
then made the flap part as well and attached it:
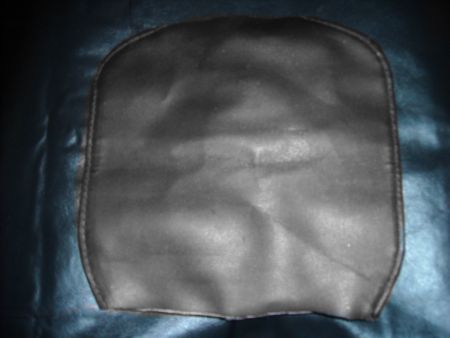
Measurements: 5 x 4 inches , one inch will be lost to the rear when you sew
it
Then filled the pouch with some plastic bags to give it shape:
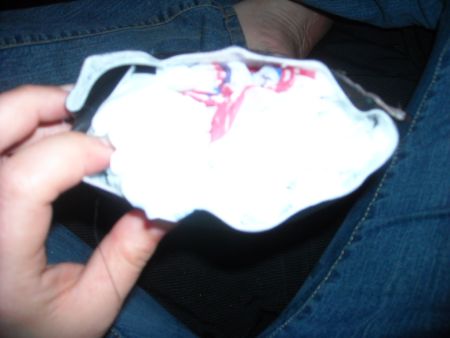
Now it's time to make the details:
you need the following pieces:
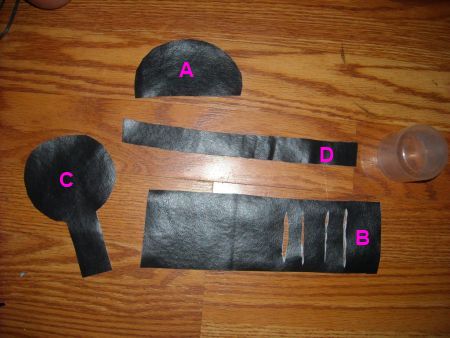
- PIECE A : Semi Circle to glue onto the
flap (4 x 2.5) inches
- PIECE B : one rectangular piece
( 8.5x 2.5 ) inches with four slits made at
the bottom part around one inch apart like its shown in the picture
- PIECE C : one lollipop shaped piece
(circle is 3.5 inches in diameter and the
rectangular part is 2.5 x 1 inch)
- PIECE D : one long rectangular piece
( 8.5 x 1 ) inches
- one cap from any cosmetic bottle, like deodorant or hair spray
- one small square metal loop buckle (Ebay
Search)
- PIECE E : the back part
(14 x 12) inches
Diagram for these pieces coming soon, so you can just print them straight
out and cut them out of your chosen material (pleather / leather / rubber)
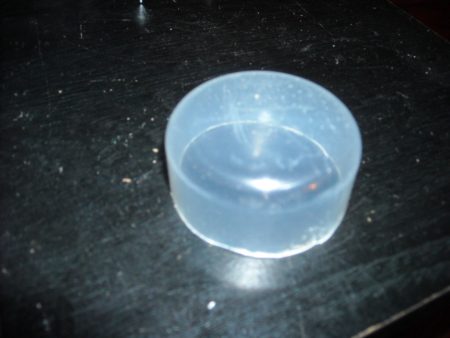
This is the deodorant cap cut down to 1 inch in height
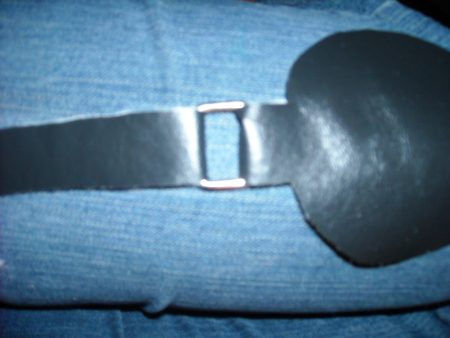
Piece C & D connected with the square buckle loop
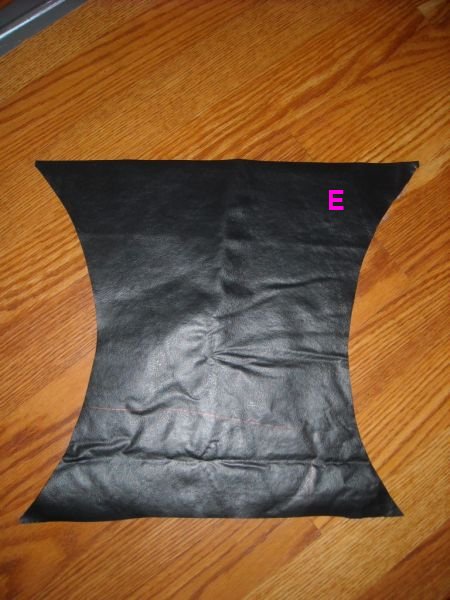
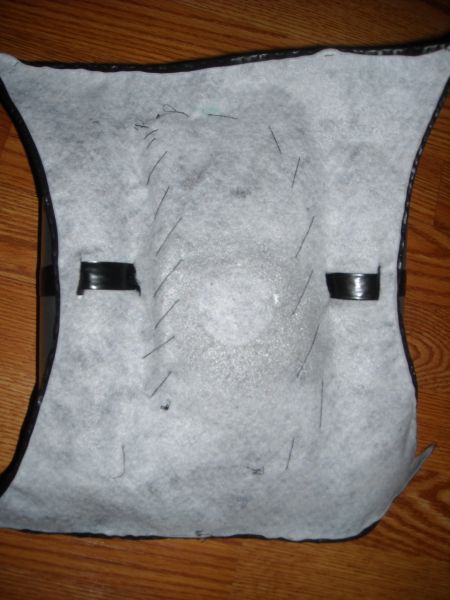
Then you need a platform on which to assemble your project so i cut this
piece out of pleather, it is (14 x 12 inches) and with curves cut on each
side, just fold it in half, draw a semi circle and make sure it's not too
deep and cut it.
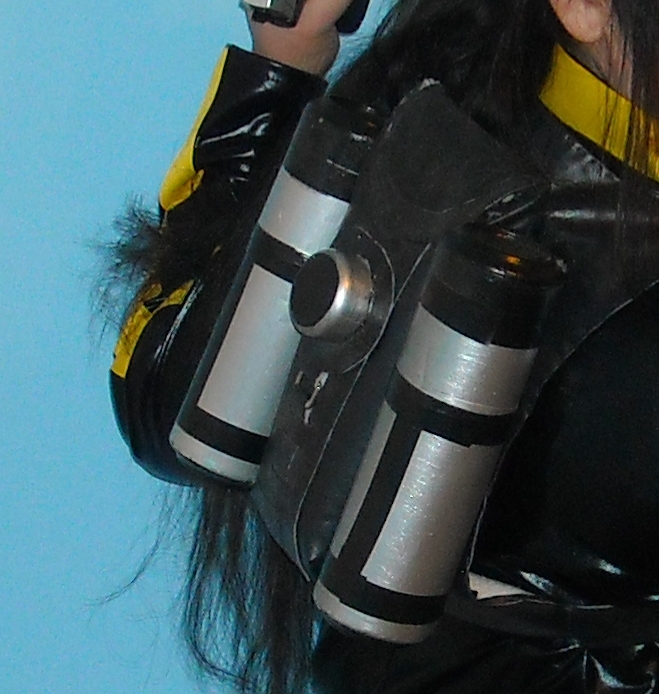
In the picture above you can see the pouch sewn on
piece E , and the canisters secured on it after being painted
black and had detail added on with black tape.
In the picture below you can see the piece A on
top of the flap, then piece C and D are
connected together (with the square buckle loop)
with piece D going in and out of the slits in
piece B then the deodorant cap painted and glued on top of
piece C

Part 2:
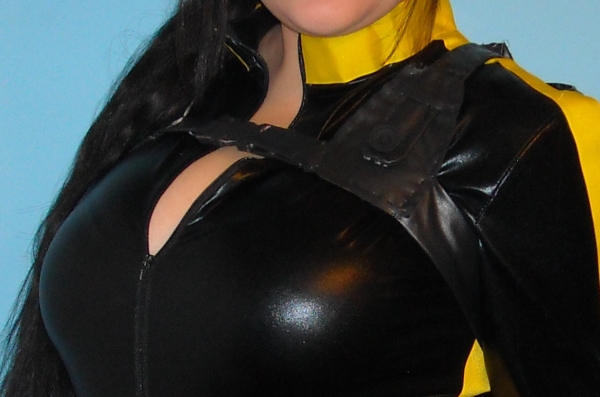
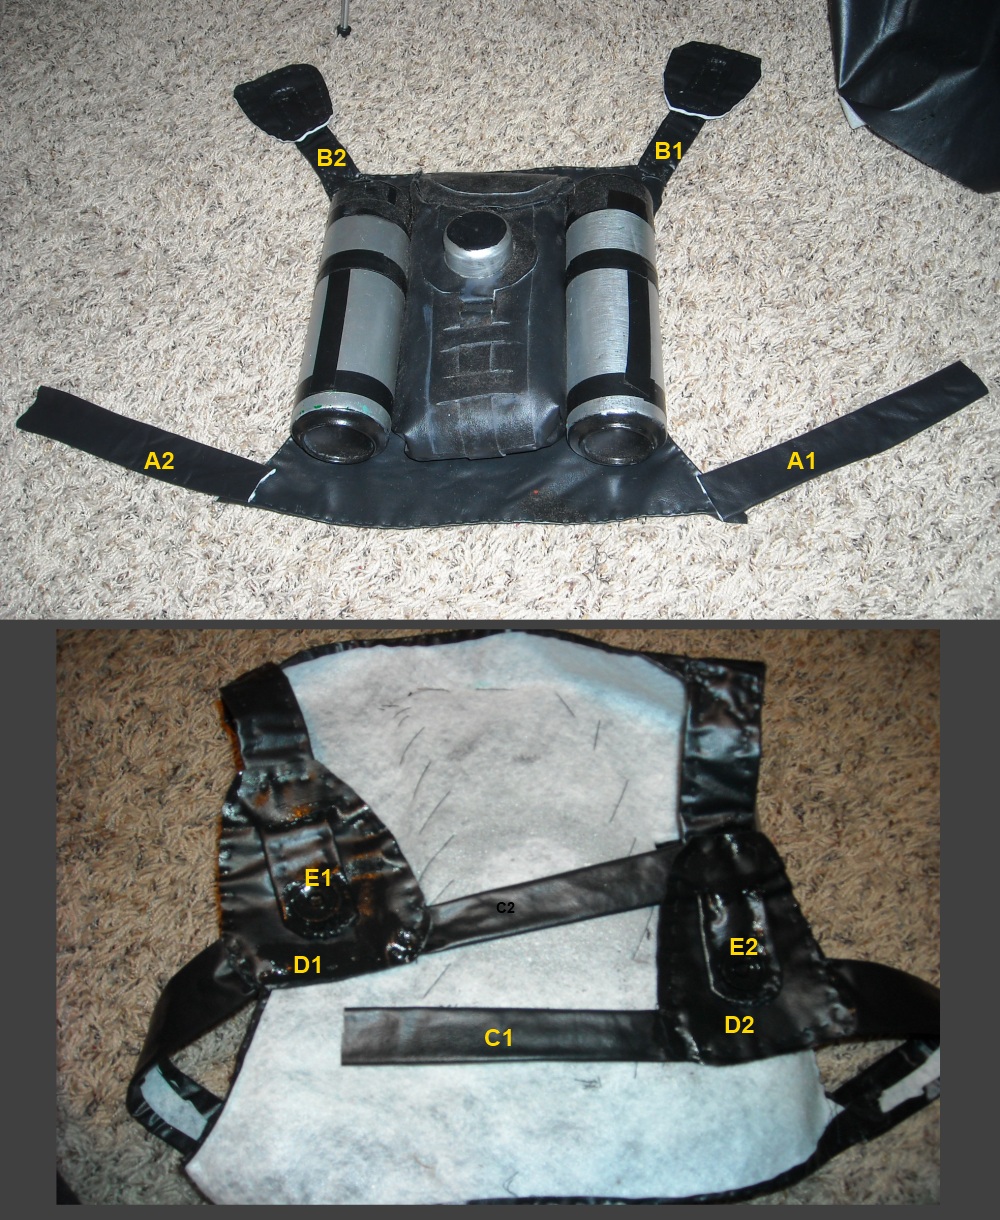
So now I have to make the front strap part, I
needed to measure around my upper body, after my neck but before my chest.
This diagram shows the pieces i made and sewed together to make it up.
Click to enlarge

The diagram above will correspond to the images below: (click to enlarge)
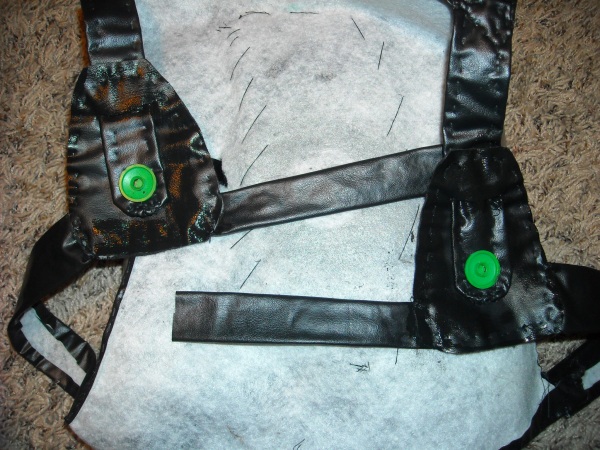
as you can see here i added these little bottle lids i found and painted
them black then added a buckle for the middle as seen below:
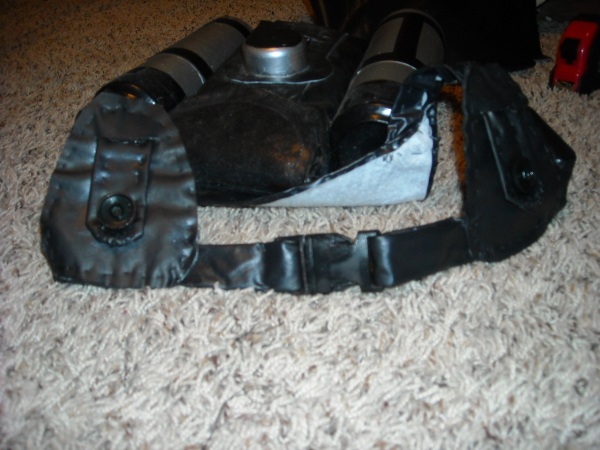
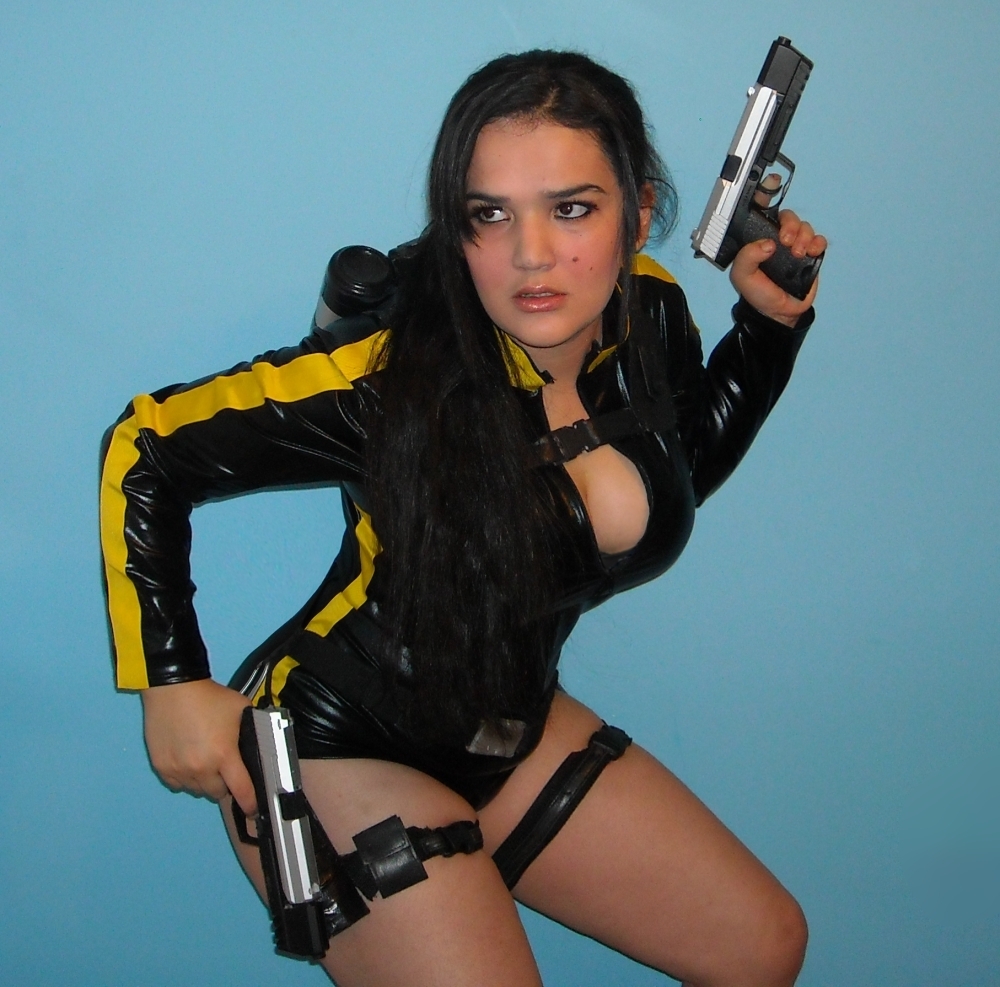
And you're done!!
