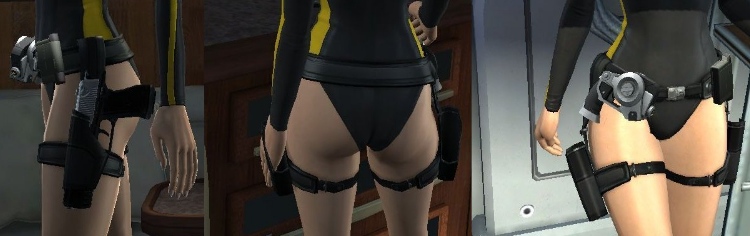
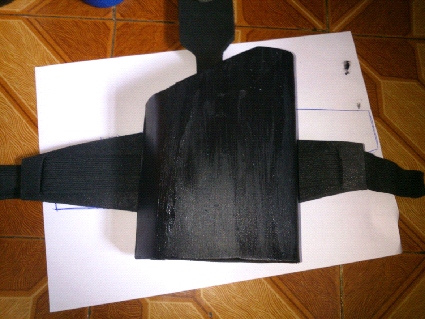
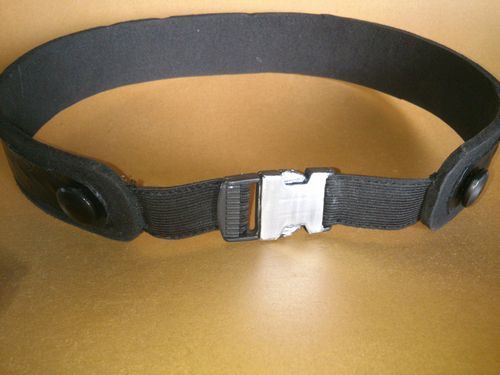
Finished product
Reference Pictures: (click to enlarge)


Wetsuit Belt Tutorial
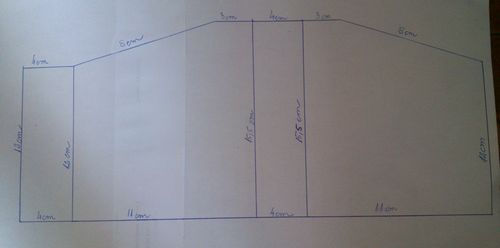
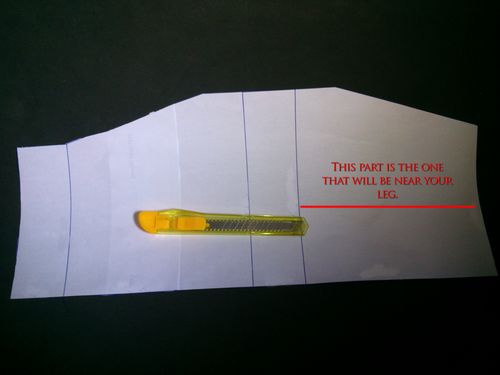
1. Patterns:
PSD fiile 1,
PSD File 2
First you will need to make the patterns to your belt and holster. The patterns
let you know if the size you are doing is good to your body size. The one I will
show you was the one I used for me, but I am giving you a psd file with the
models so you can adjust to de best size to fit you.
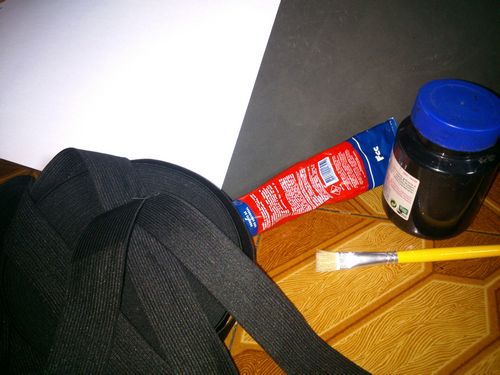
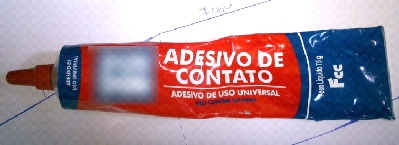
2. Materials:
To make the belt I used the patterns, EVA Foam, contact glue, black and silver
ink, 4 buttons, plastic buckles and black elastic.
The EVA Foam that I used is 70mm thick.
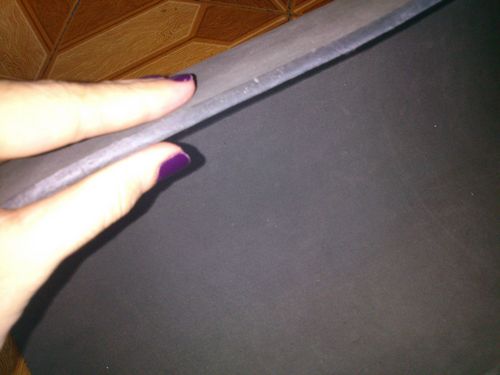
3. Cut the forms:
Now it is time to make things happen. Cute the pattern for the holster and,
using it as a guide, draw it at the EVA foam. Than cut the EVA Foam. Since it is
70mm thick it will be hard to shape, so you will need to make some openings at
the inner side. Watch out to cut it at the right side, the smaller side of the
pattern is the one that will be near your leg.
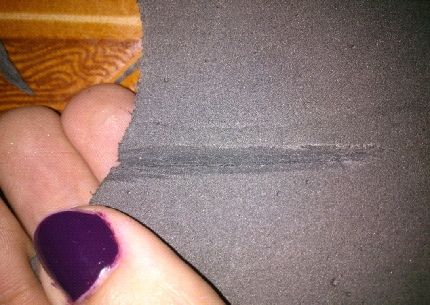
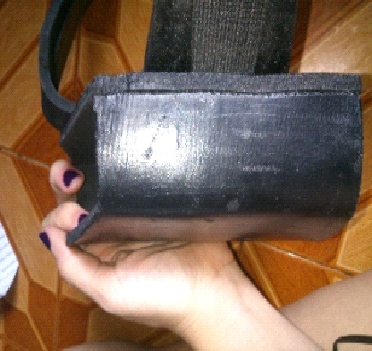
4. Now all you need to do is to glue the edges. After model the EVA you will
need to close the format. So I used the contact glue, the one we usually use to
fix shoes, etc.
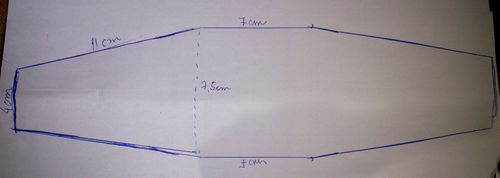
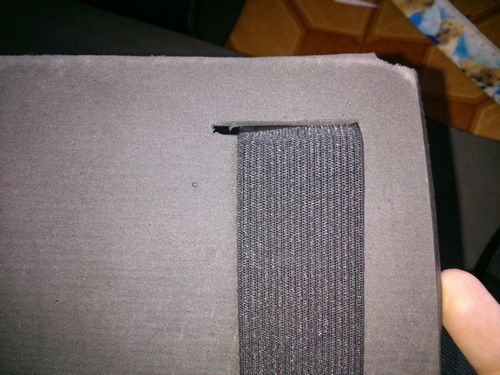
5. Now you have to do the part that will hold the holster on your leg. You will
cute the pattern and the EVA foam just as you did before with the other one. But
this time we don’t need to model it, so the cuts will be different, now you have
to cut off a piece. You will do the same at the inner part of the holster, in
this way the elastic can pass through it and it will hold your leg tight!

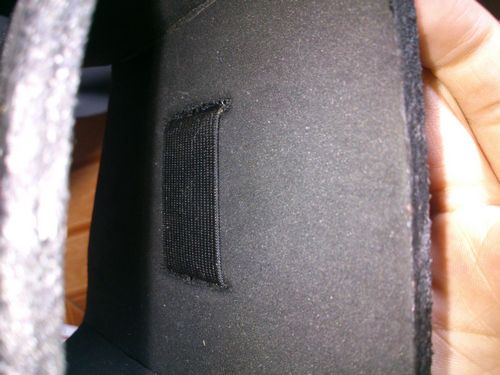
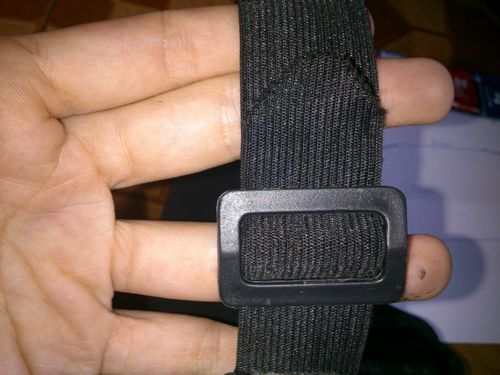
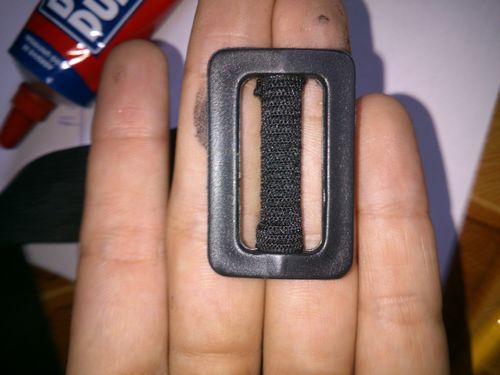
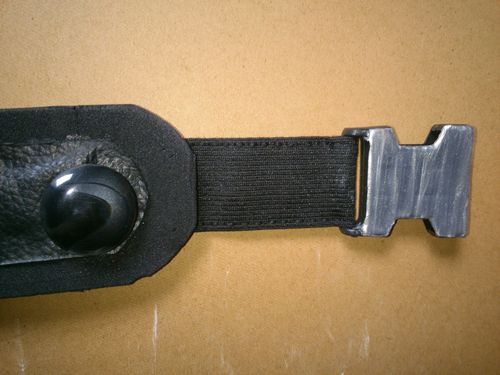
6. It will look like the photo below:
Do not forget to add the buckle at the elastic that will hold your leg!
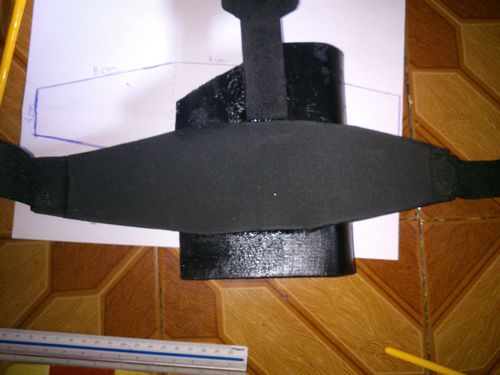
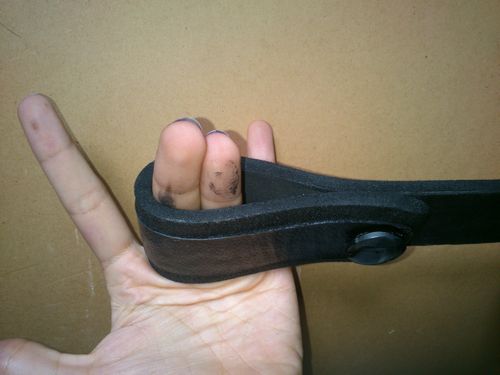
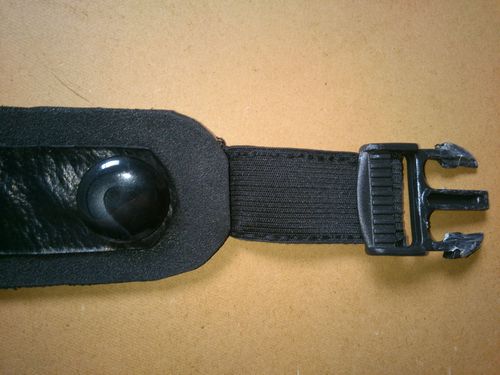
7. Now, the part that will connect the holster to the belt is easy! All you need
is get the size from the holster to the belt, remembering that you need to make
a curve. The width is the same as three fingers. To the low part it’s two.
8. As you can see I used a fake leather’s stripe to make the central detail and
at the edge of the curved part I put a button. You will fix this entire part at
the holster with glue.

9. The belt is a piece of cake! You will measure your waist and will cut a
stripe of EVA foam. From this stripe, you will need to take of some centimeters
because it has to be smaller. To compensate the cm you took off, you will need
to use again the elastic but this time you need to double it to be more though,
then glue it to the EVA. The width of this stripe is three fingers again! Also
the detail of the center of it is a fake leather’s stripe and buttons! ;)
Then it is ready to paint the buckle and add it to the belt.
10.
It’s ready! Now you have a TRU wetsuit holster!
*** After you cut the EVA, maybe it’s better to paint it black (that’s why I
suggest the black ink). Some EVA Foam doesn’t have a nice color, so paint it
will be a good choice!
|