| Tomb Raider
2013: Sam's Sacrificial Dress by
Sara Larochelle |
Ok, so you will have to forgive me for how unprofessional this
looks, I am not a seamstress, I don't have access to one. So i went ahead and
did the best i could by myself, This can be done with a robe instead of making
it from scratch but i had fabric, I figured it didn't matter how rough it looked because they got this outfit for sam in the island, they probably ripped it off a dead body, or had it made very hastily, so there is no need for perfection:
What you need:
- 4 yards of off white cotton fabric
- Thread and needle
- Black and brown acrylic paint
- Foam board
- Hot glue gun and glue sticks
- Craft foam |
Final Product & Reference:
 |
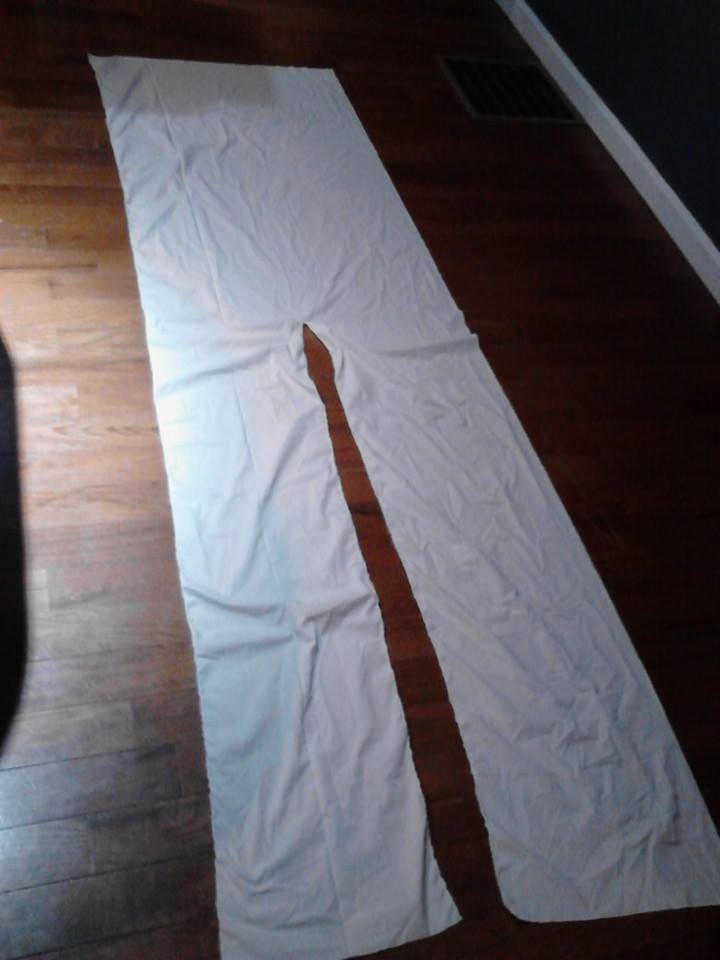
This is the pattern, i hope it makes sense. I tried to do this
the simplest way i know, I am not a professional, I just really wanted to do my
best recreating this outfit for our fan film.
 |
 |
 |
 |
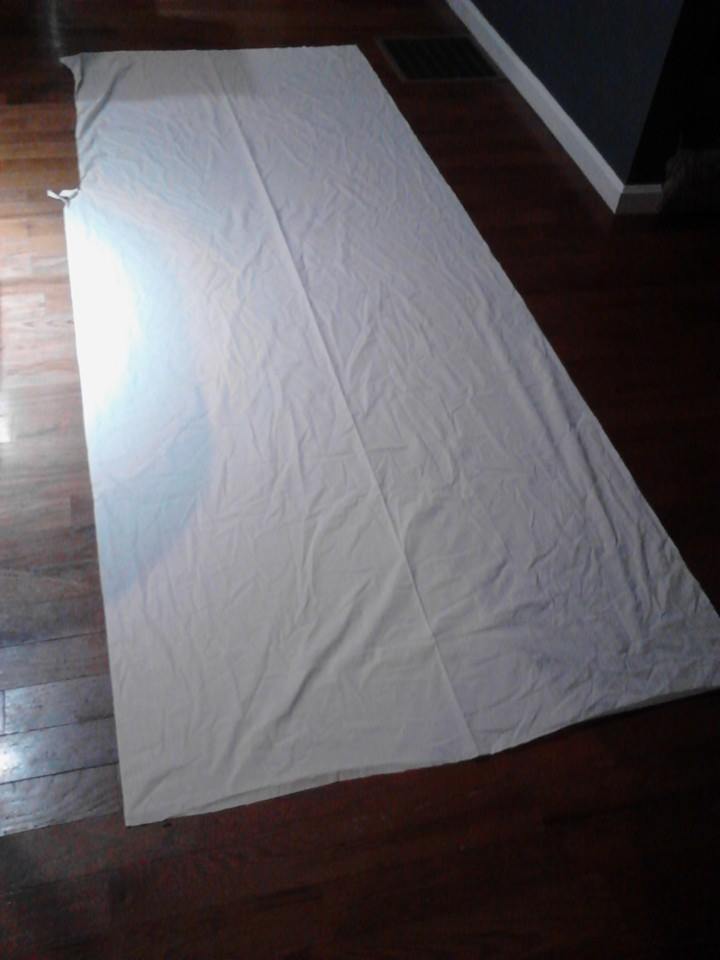
PART 1: The robes
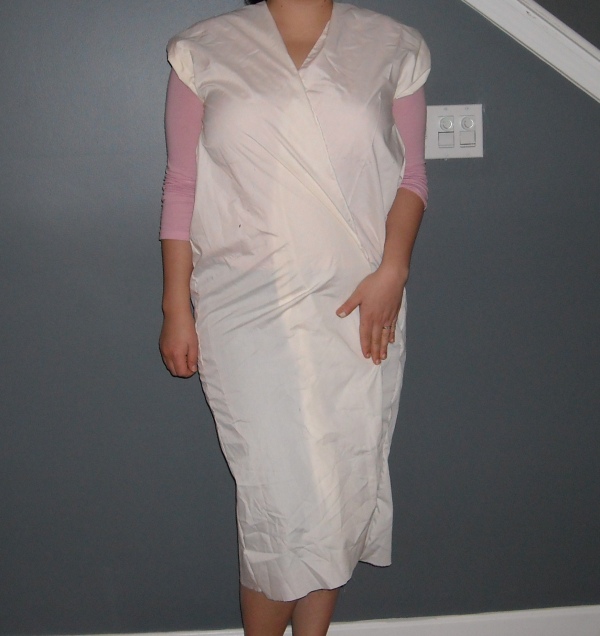
After cutting the fabric, i put it on to get a feel for the length, I know i
look weird right now but as you see up in the first pic, it works out :) |
 |
 |
|
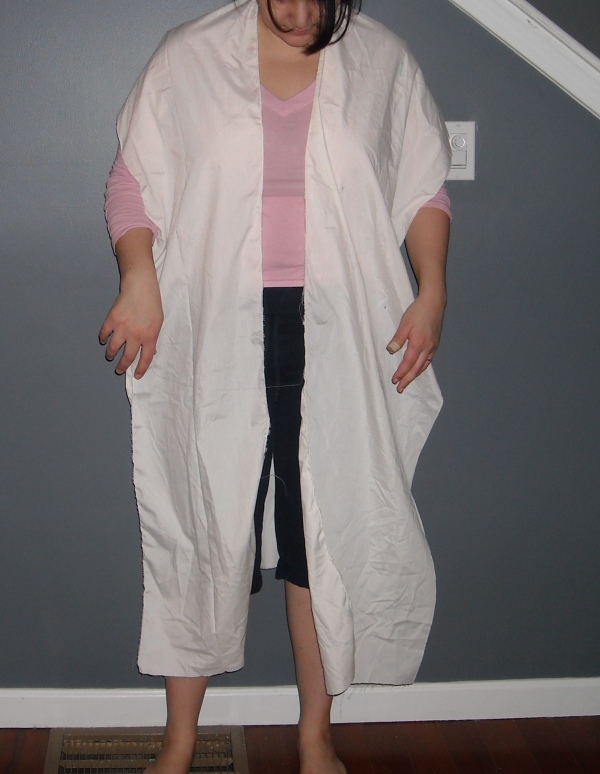
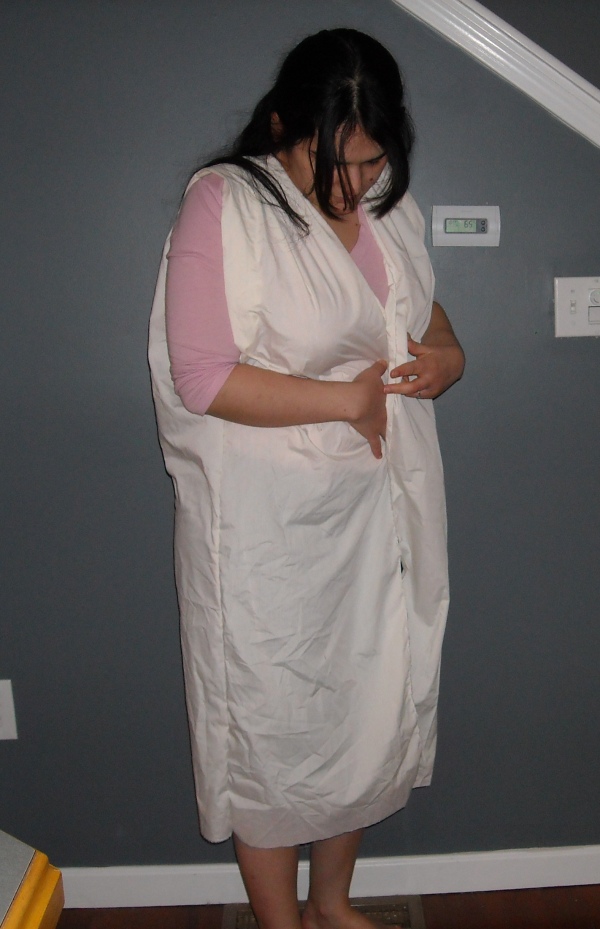
I sewed the sides up all the way to the arm holes
|
Afterwards you will end up with something like this. Put it
aside, now it's time to work on the collar. |
|
PART 2: The collar |
|
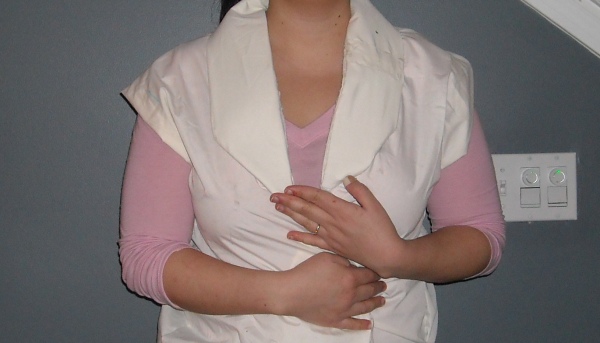
I decided to use craft foam to pad the collar up, and then stitch
it on the robes.
I glued craft foam about 4 inches in width directly on the fabric |
 |
Then stitched it right on robes and rounded the bottom half.
 |
|
PART 3: The Belt |
|
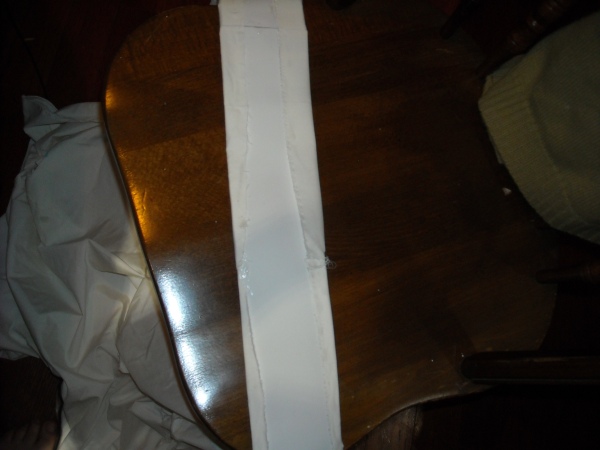
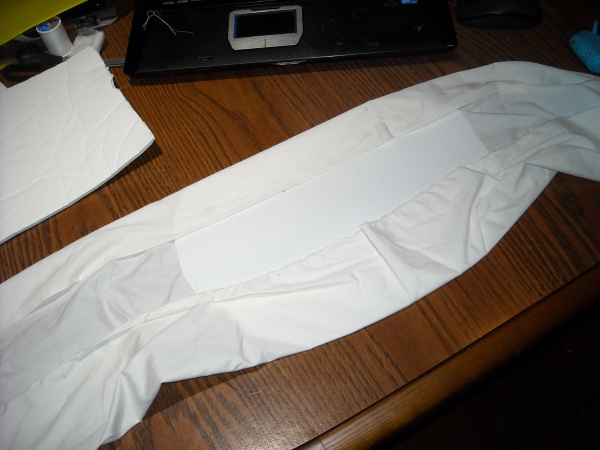
You need a bit of foam board so it's firm and will be able to
stay in place when you're cosplaying. Glue it right on the fabric, in the
middle, like so:
This belt piece will have to be long enough to go around your body twice and
then have enough left over to make a cute bow. here is a diagram to show you:
 |
 |

When it's dry, put it on yourself and start tying it up |

Bring it behind but don't tie it, just criss cross them |

And back again, and start tying it up |

Tie it up in a nice bow and you're done |

This is your over all look before the weathering, you've essentially finished. |
|
PART 4: Weathering & Accessories |

Acrylic Solution |
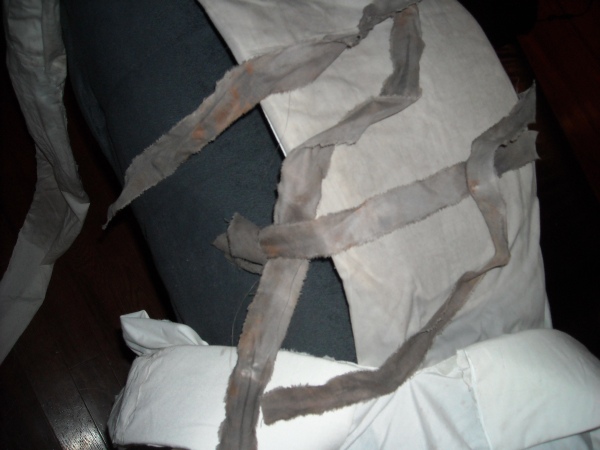
Arm and leg straps (dipped into acrylic) |
Now all you need is black and brown acrylic paint, dilute it with
water and dip the ends of the dress into the solution , grab a brush, dip it in
and whip it at the project , so you get some organic weathering.
After that paint the sun on the right leg, paint the belt gray, and weather some
straps for your arms and legs :) |
DONE!
Check out this
page for the headdress tutorial |
|
|