|
| How to make the Tomb Raider
Guns, by Relic Raider. |
Reference:
These are the same exact guns
throughout several Tomb Raider games and a movie |
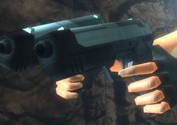
Tomb Raider Underworld |
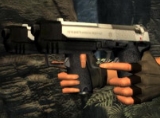
Tomb Raider Angel of Darkness |
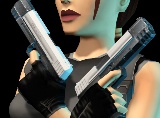
Lara Croft and the Guardian of light |
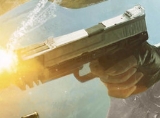
Tomb Raider Legend
|

Tomb Raider 2001 Movie |
Lara Croft and the temple of Osiris |
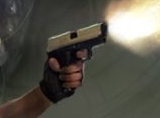
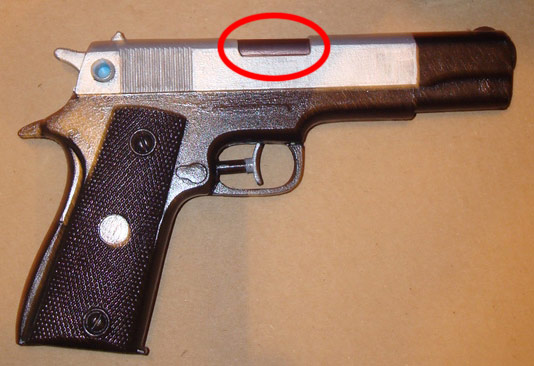
I took my really old plastic guns and upgraded them with a paint job.
all they were before was squirt guns with primers on them..
ok what you need to "Raid up" plastic toy guns
* Two matching plastic toy pistols
* spray on primer paint, grey is what I used.
* newspapers for the floor/ground
* black crafter paint
* Grey crafter paint- I made my own grey paint with black and Loads of
white
* Silver crafter paint- note: the stuff I used was semi transparent that's
why the grey paint is important.
* Acrylic spray on sealer.
1. Now for anything that you use spray on either go outside and do it or in the
garage not inside because it stinks up the place for a few hours.
Another thing
I strongly recommend is to read the directions on the spray can before using,
and put the plastic pistols on newspapers. Once you did onside, let it dry and
do the other, the top and bottom. I only used one coat but two is best just to
make sure either you missed a spot or some of the original pistols colors are
showing through the first coat.
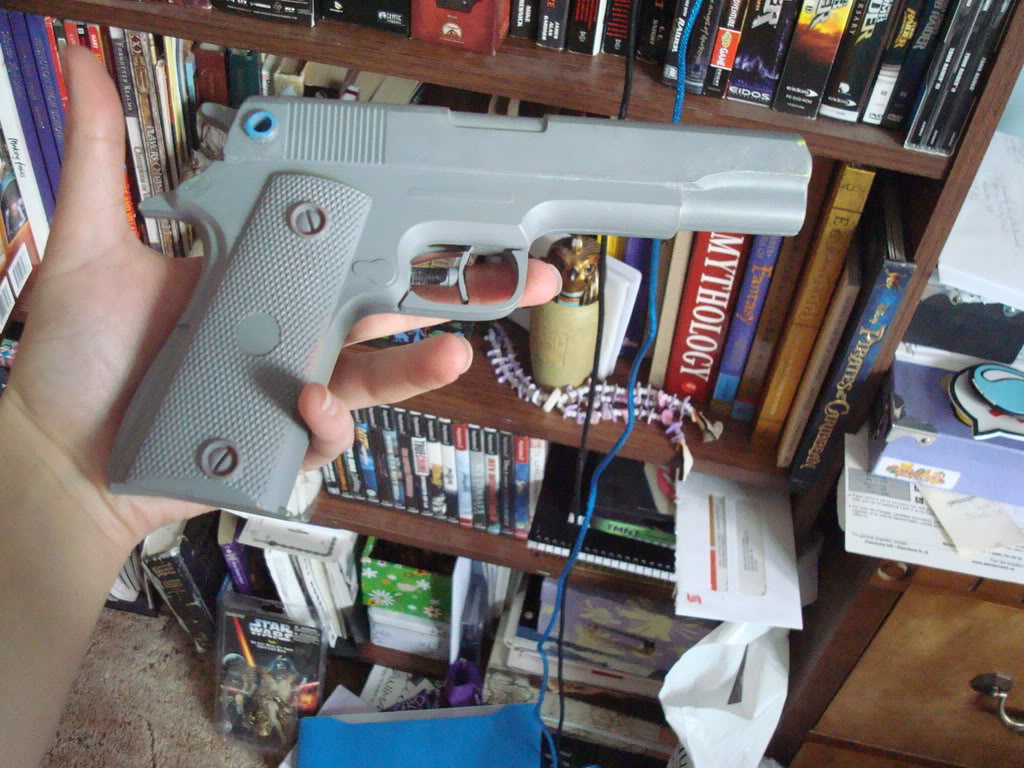
2. I then painted them completely black then once that was dry, I
made the grey paint as I mixed it in an empty film canister. Shaking it doesn't
mix well but then stirred it with an chopstick (because I didn't want to make a
mess all over my desk and floor).
It's very important to have a reference picture
when you apply the grey on, if it doesn't really work with the guns well, get
creative (like I did) and paint it to make it work to look like the real deal.
Let it dry again. I let them dry in a box like container like this...
Here's a tip what I usually do when I paint certain surfaces except for
canvases, I dry my brushes always (either paper towel, or even toilet paper and
Kleenex works) before putting paint on them for a finer look, water makes the
paint run most times especially with crafter's paint.
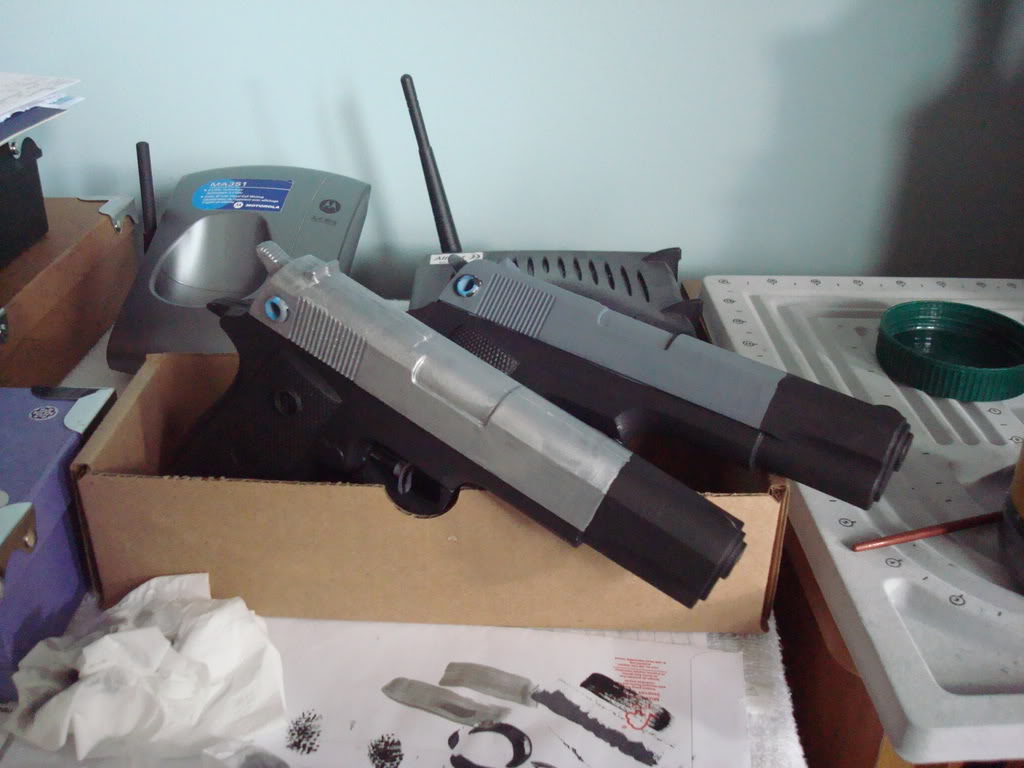
3. Apply the silver on, you'll need two coats of it, for a metal look. I applied
the silver in up/ down thinly then overlapped.
Let it dry, then add the
black on the barrel top area with a small (basic) detail brush, you may or may
not need an extra coat. (of course I didn't exactly do it that way but I was
still able to add it later.)
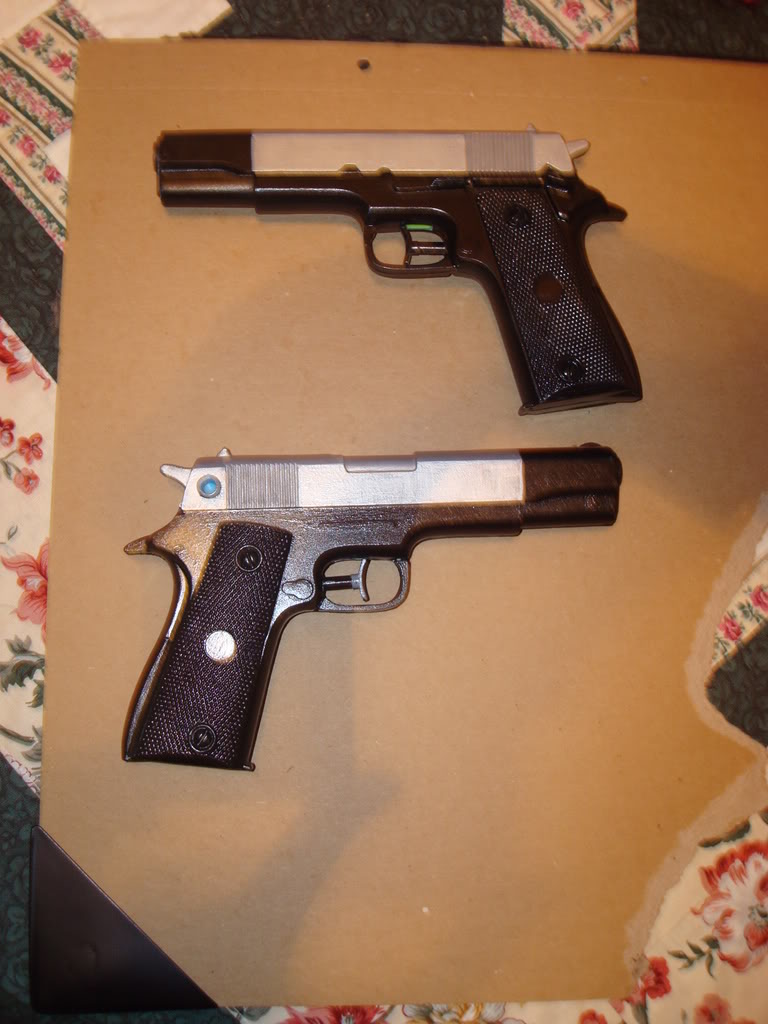
4. The sealer I had gives it a nice shiny look, I did this outside first on
newspaper, then in a box to do the tops and bottom. Let each side dry before
continuing on to the other side, mine took at least 15 minutes each side so
although I left it outside I gave it a bit extra time just in case.
 |
|