Lara's makeshift tool/weapon from
the new game
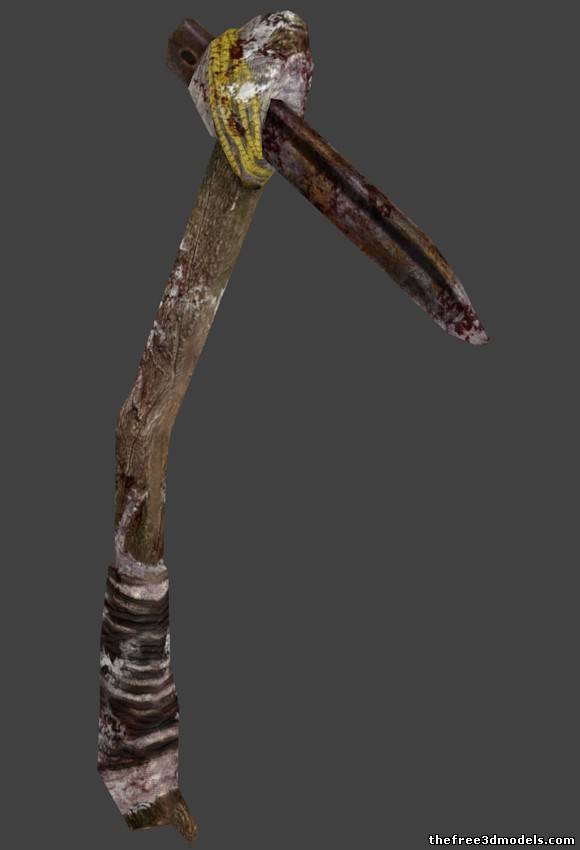
Picture from thefree3dmodels.com
My version ;)
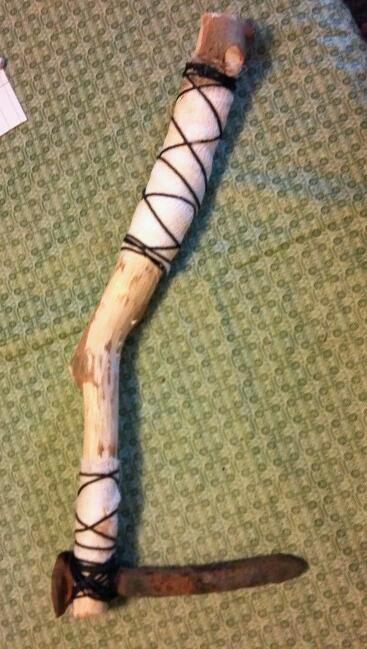
What you need:

: branch , about 14 to 16 inches long
: tent stake (plastic or metal) or another found item... I used an old railroad
spike
: knife
: hand saw
: twine (black)
: cheese cloth or gauze
: white glue
Find a branch that has a similar shape as the tool with a slight bend. I used a
piece of wild hedge.
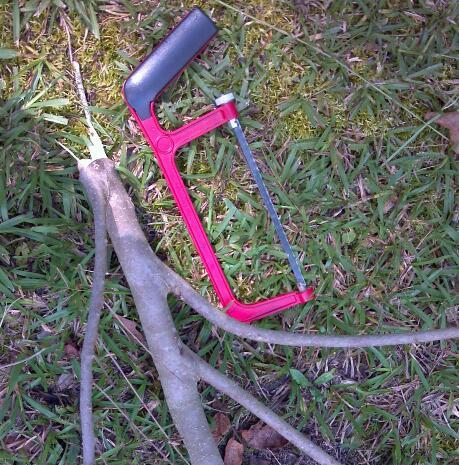
Using the hand saw, cut it the length you need. Cut all the other smaller
branches from it if needed.

Using an old knife, strip most of the bark off. I left some to help give it an
aged look.
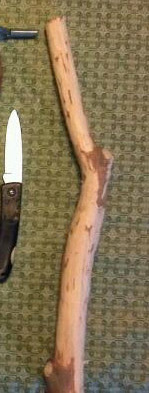
Notch one side of the upper end of the branch. This will help secure the spike.
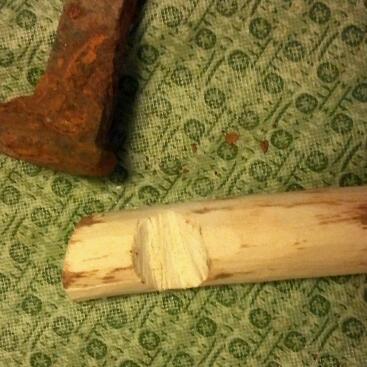
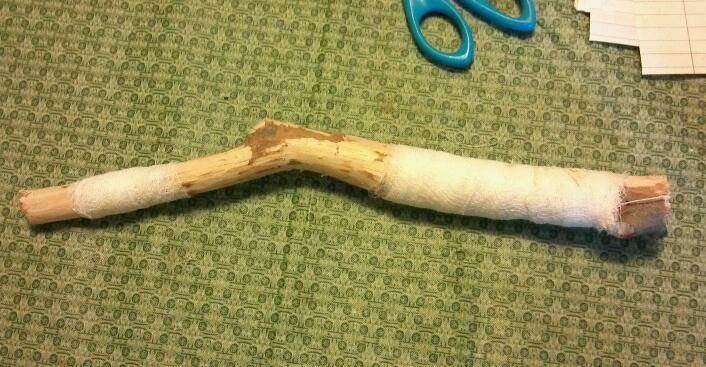
Cut the cheese cloth or gauze in strips - different widths and lengths. Apply a
little white glue at the bottom of the branch and start wrapping it with the
cheese cloth/gauze to create the handle.
Do the same at the top.
It should now look like this:
Cut some lengths of twine. Using a combination of criss-crossed and regular
wraps, wrap the twine around the spike and the branch to secure them together
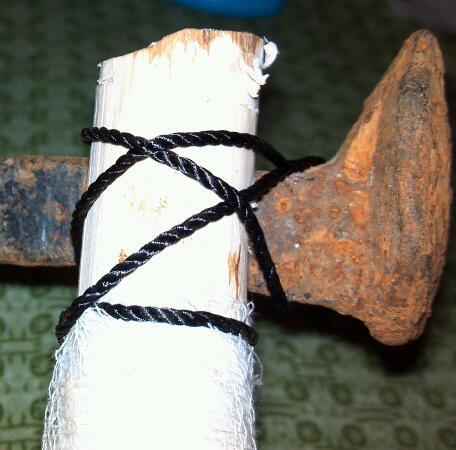
Use several wraps to make sure the spike is very secure....the last thing you
want is for it to go flying off during photoshoots

After securing the spike wrap a few strands of the twine around the cheese
cloth/gauze at the top and bottom of the branch.
Finished tool should look like this

Tho doesn't it look a little "clean" ? Now get out
there and dirty it up! :)

