Reference Pictures
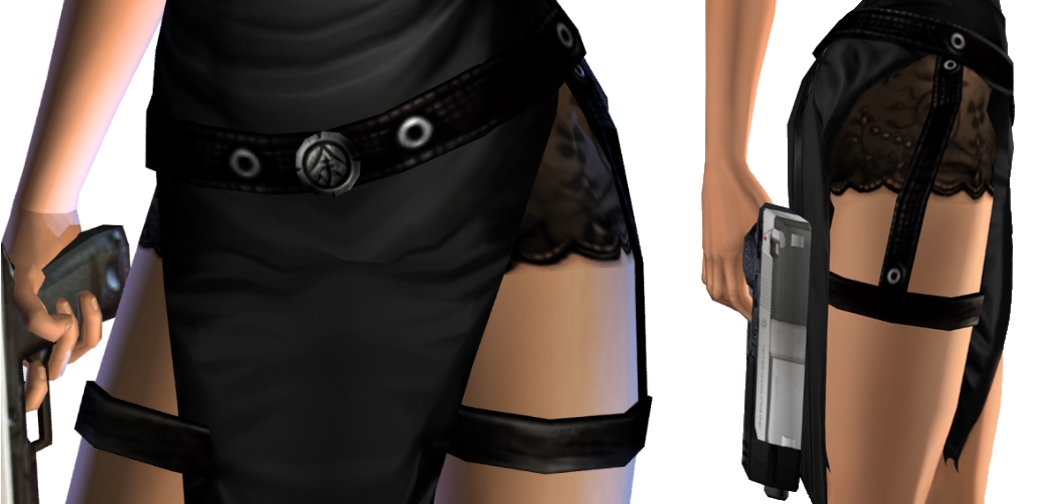
Materials needed:
- Pleather
- Sewing kit
- Modeling Clay
- Glue
- Silver Spraypaint
- Velcro
1 - Start by measuring around your waist (make sure it's enough to go all
the way around you and half way again), your thigh and the distance on your
side between them, Let's call them the connectors
2 - Cut 5 pieces out of the pleather, 3.5 inches in width, and the length
would be your own measurements.
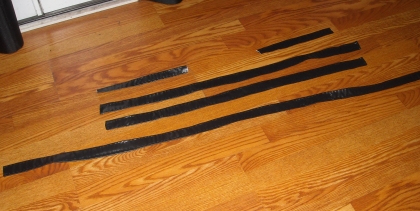
3 - Sew up the sides to give it a nice finish, when you fold the pleather,
you want to go in 1 inch on both sides, this diagram shows how it's
folded.

Diagram 1

You will end up with this for the main belt and the thigh straps, and make
the connectors about half an inch thinner.

These are all the pieces finished and ready to be sewn together.
4- you can now put your belt together , here is a diagram to show you how,
corresponding pieces should help you out.
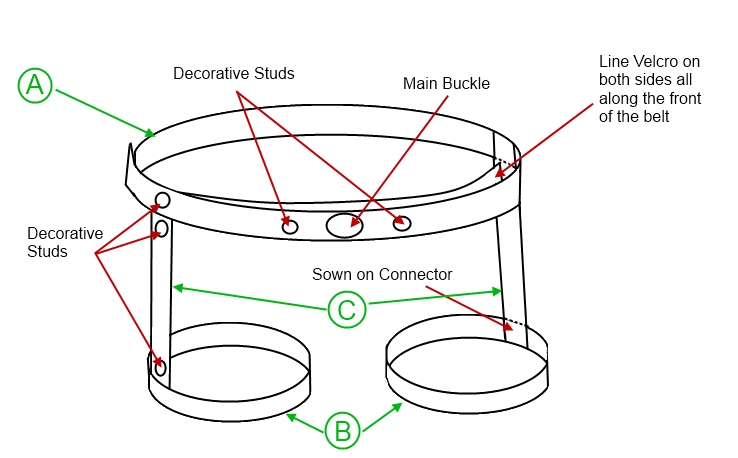
Click to enlarge
Obviously you need velcro to go on your main belt, and thigh straps, too,
for easy wear and removal, i sewed it on for a nice securing and it
wont pull off when you wear the belt multiple times
5 - Out of FIMO i made my buckle, and 8 Decorative studs , baked them for 30
mins , waited for them to cool , and spray painted them silver like
so:
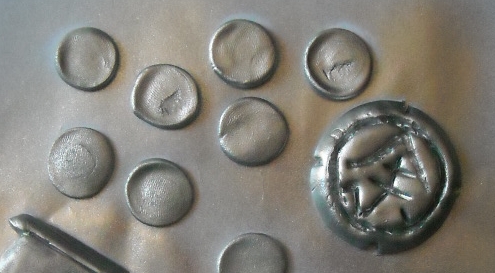
Click to Zoom in
Here is a rough refrence for the buckle:
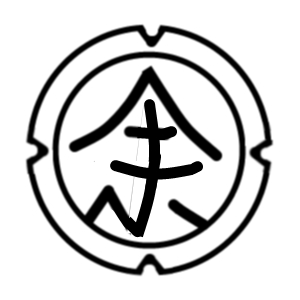
Don't forget to color in the decorative studs, they have a black centre
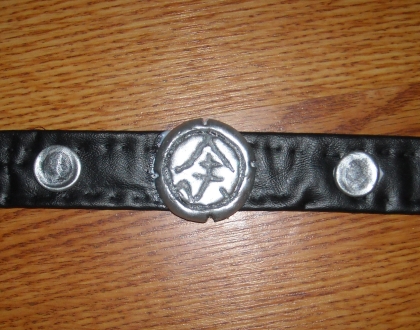
Closeup of the buckle
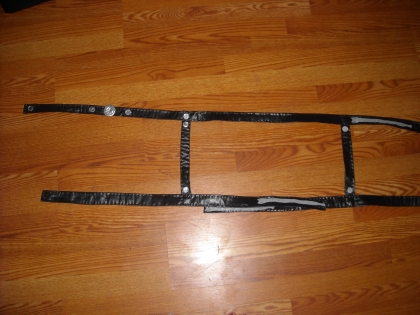
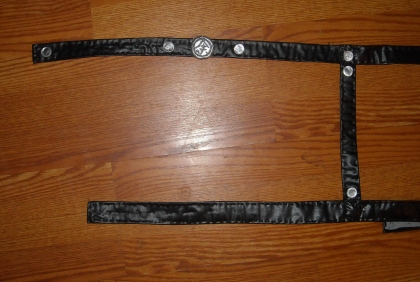
Zoom out of the belt, to see where the studs go

Finished product!
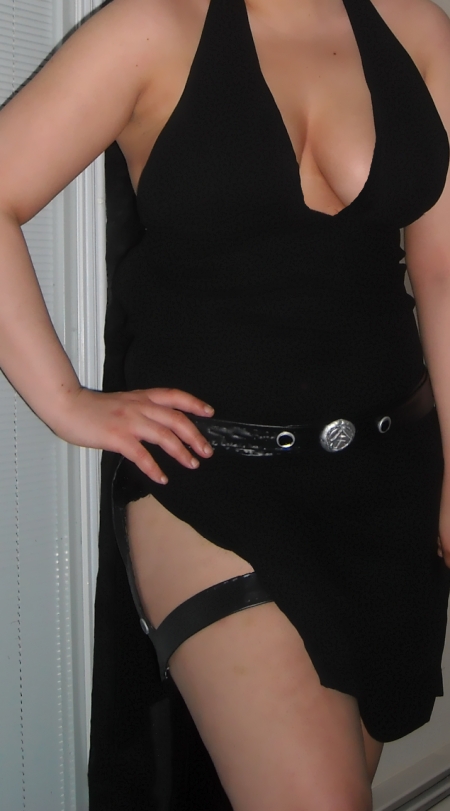
Belt with my "in progress" dress :)