Here is how i made my Legend belt:
What you need:
- Nylon straps, Leather or Pleather
- FIMO
- Cardboard
- 4 Swivel Snap Clips -
Ebay Search
- Velcro
Reference pictures:
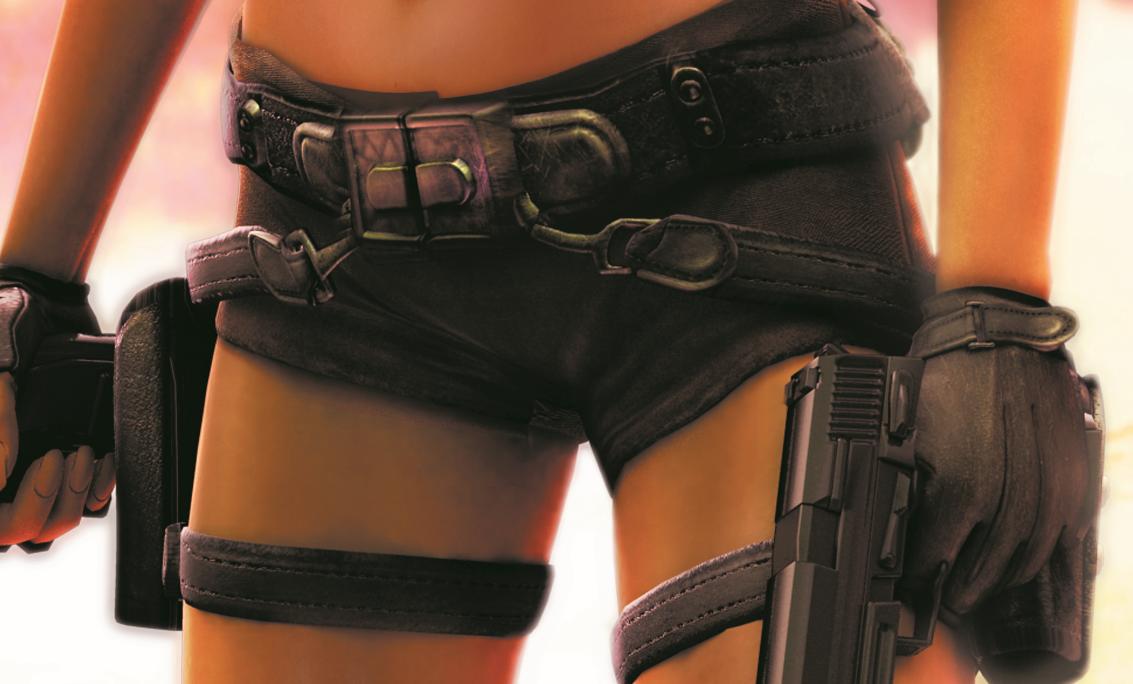
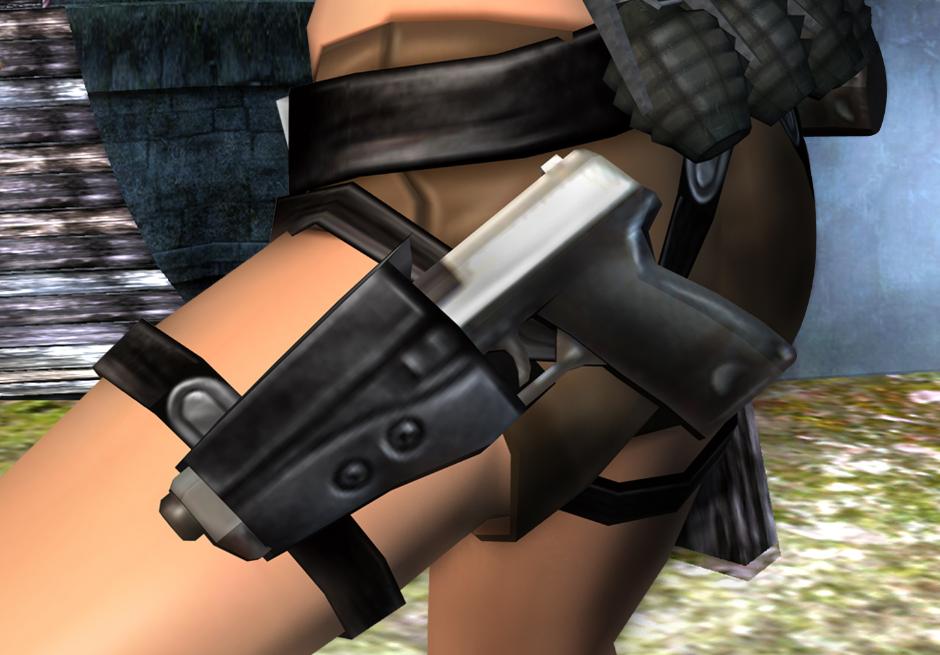
The Diagram:
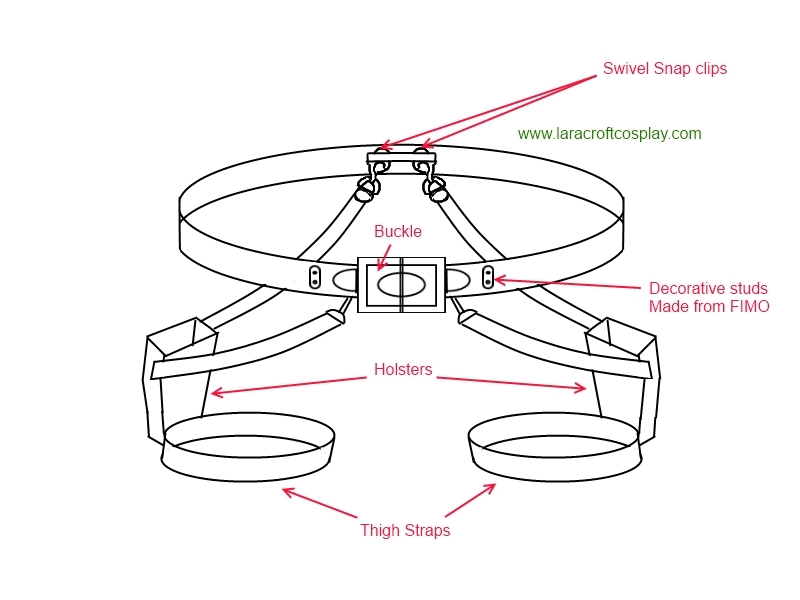
I made the Buckle and decorative studs first out of FIMO

I started with the main belt and sewed Velcro onto it so you can open and close
it easily

Then started working on the holsters:

I cut shapes out of cardboard and covered them with pleather
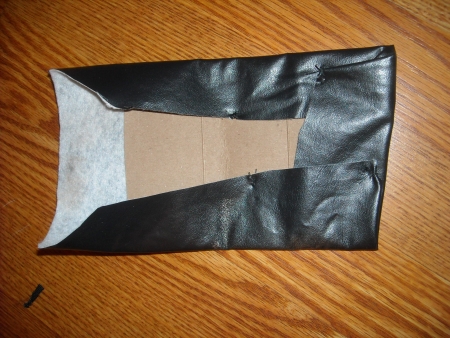
After they are completely covered in pleather , i cut the holes which are going
to be used to secure the holster to the straps
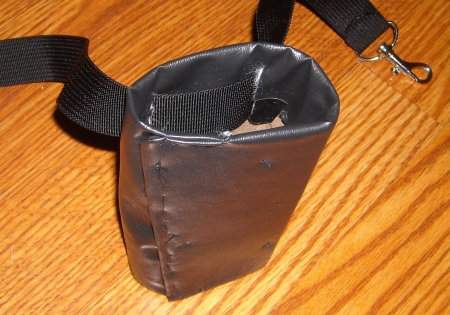

I put the nylon strap through those holes

and did the same for the bottom thigh strap
finally added the swivel snap clips to the ends of the top strap, I cotorised
the ends of it to prevent it from taring
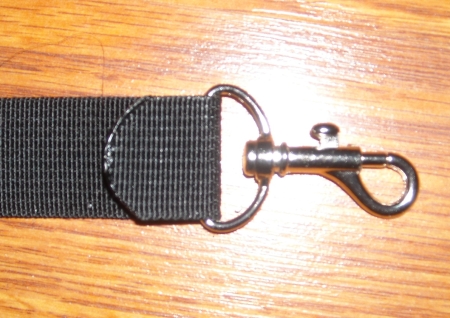
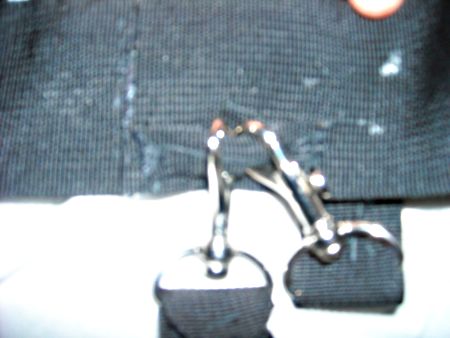
and to attach these to the main belt, i sewed a small piece onto the back and
two at the front to allow the clips to attach:
Finally glue the buckle and decorative studs into the front of the belt
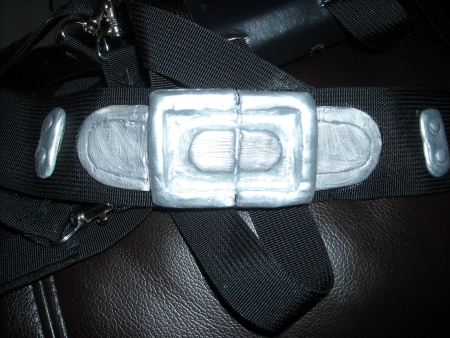
The belt opens from one side like this, it's seamless and looks like the FIMO
buckle is used to close it and open it

and here is the finished product:
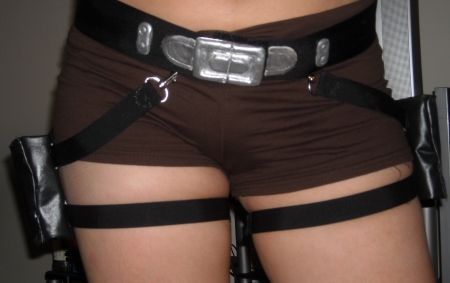
Alternative Holsters:
Jolien aka Tenyon also made these really accurate holsters, have a read :)

[click pic for bigger version]
(I first made a pattern for the holsters out of paper to make sure it would fit right)
1. I made a base out of craft foam (sew the edges with a little stitch) . Leave the front open.
2. Take some thick cardboard and cover the inside back and sides of your holster with it (this may take a while to fit right, just don?t rush it).
3. I took a little strip of leather to close the front of the holster, you can either sew it or glue it (or both, better to be save).
4. Now comes the tricky part: covering the whole holster in leather, because you may notice that there is a bend/S-form on the left side of the holster, you have to make a seam there or else it won?t fit. (see picture)

5. After covering the holster in leather you can put the rivets on the front (I just glued them on there because they kept falling off,lol) and I added an extra piece of cardboard covered in black leather on the back (cause on some high resolution pics you can see there is a kind of double layer on the back).

I spray painted the brown inner carboard layer of the holster black.
I attached my holsters with leather screws for the top strap;
For the bottom strap I carved 2 lines at the bottom back of the holster and put the leather strap through (so it can move with my leg).