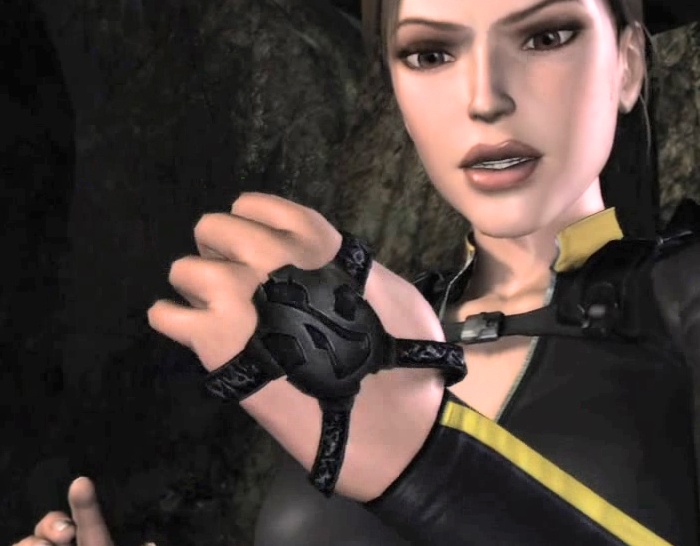
Reference Pictures:

As we know, Lara, to be able to gain the Thor?s hammer, first of all needed to get his belt and gauntlets. In this simple tutorial we will make Thor?s gauntlets known as well as J?rngreipr.
Things we need:
- Sheet of paper
- Cardboard
- Glue
- Stapler
- Small piece of sysntetic leather, pleather or some tougher black material
- Velcro fastener
First draw a shape similar to the Jarngreipr on screenshots or pictures and paint it (colors are something between black, gray and blue). Or you can print it as well.
Cut four pieces from the leather (or other) material, long enough to enlace your palm.
Glue them on a small cardboard piece
(pic 01)

and fasten with the stapler. Then glue on the prepared Jarngreipr shape.
Now cut the velcro fastener as wide as the leather parts, but shorter (pic 02).


This will serve to attach and detach the gloves.
Glue them, so you can hook them together in you palm (pic 03).

(It goes exactly like this: upper arms: left arm-two loops on both sides, right - hooks on the upper side. Lower arms: left ? hooks on the lower side, loop on the upper, right ? hooks on the lower side). Let the glue dry.
Finally, you can decorate the arms like seen in screenshots.


