|
Making Excalibur
Let's start with a picture of the supplies:

1: fiberglass cloth
2: Resin
3: Resin harder (you get that together with the resin)
4: Primer
5: Paint: black silver and green acrylic paint, 1 spray can of silver.
6: Air drying clay
7: jewels
8: Lead-free solder
9: card board
10: sate sticks
and light-weight clay!
![[image]](http://laracroftcosplay.com/images/aug2013/aug16/excal/lightweightclay.jpg)
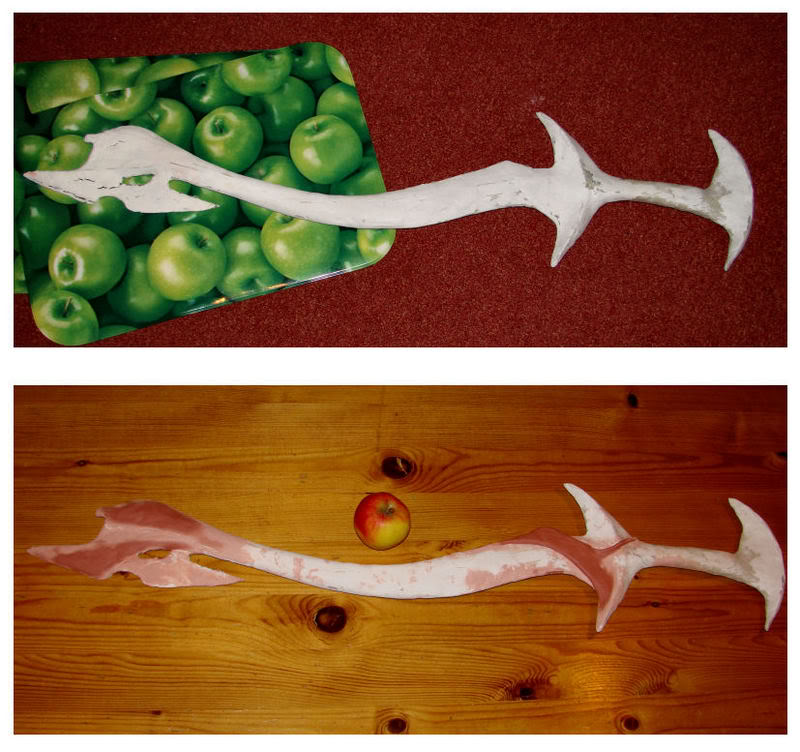
Start with the cardboard and draw a line-out of the sword on it, you can do this free hand but you can also print out this picture and use it as a template on your cardboard (idea and picture supplied by the lovely Kat).

Now you have a flat wobbly sword so you'll have to make it stronger: grab your sate sticks and tape them on your cardboard in this pattern, front and back:
![[image]](http://laracroftcosplay.com/images/aug2013/aug16/excal/sticksword.jpg)
To make it even stronger you have to poor/brush some clear resin over it.
![[image]](http://laracroftcosplay.com/images/aug2013/aug16/excal/resin.jpg)
Don't do this in your living room!!!!! Once you mix the resin with the hardener a chemical reaction starts that is very smelly and not good for your longs.
So do this in a well ventilated space like your garage or outside. Resin dries relatively quickly; it should be hard within an hour.
You will now have a strong and thin base to start modelling your clay on.
Start with the handle, the blade will come later..you first have to make a very strong handle or else it will not hold the weight of the blade.
Work in layers, you don't have to make the whole handle with details all at once, you will ad the details in the very end, it's all about a good base.
So make the handle nice and round add the big half moon shape at the bottom and top, try to smooth it a little bit.
Once you're done with the front and back (this took me 2 days of sculpting), let it dry for one day and sand it smooth.
Take your resin again and the fiberglass cloth to this time, to once again, reinforce the handle: clay is solid but not solid enough, and it's better to be save then sorry.
Please wear gloves when doing this part!
Before you start, cut the fiberglass cloth into little pieces , you won't have time for this later.
Brush a large amount of resin on your handle (red area on the picture) and cover it with the fibreglass, be sure the piece is soaked in the resin.
![[image]](http://laracroftcosplay.com/images/aug2013/aug16/excal/bladeglass.jpg)
Of course again: do this on both sides. Let dry.
When dry, sand the whole thing again.
Alright! Congrats! You have yourself a nice handle! Now lets start working on the blade!
This part is pretty simple: cover the lower part of the blade in regular clay and the top part in lightweight clay, try to put a little relief in it, the real relief will be done with the regular clay because you can model it better. Let dry, sand smooth.

Time to put relief on the sword!
Start at the end of the sword with the axe shape: It's up to you to determine the amount of relief you want to put in it, don't be afraid, just try. The same goes for the handle; of course I do have a few tips to help you with that.
For the part of the brooch (that Lara's mother wears): Roll out a strip of clay and start cutting lines in it with a knife. Round the edges and put more relief in it (+of course the holes for the jewels). Feel free to use the design on my handle any time:

For the bottom part, with the round medallion: roll out the clay, take a round glass, and press it in the clay to get the round shape.
Take one of your red jewels and press it in the middle, take it out (when it's done glue the jewel in place). Get a pencil with a sharp point, and draw the relief in it.
Put it on the right place of your handle and let it dry (so it gets the right shape and you can glue it in place).

Ok, now it looks nice and everything, but how do I get those neat swirlies on my blade, and what about the jewels on it?
For the swirlies: solder and glue! Yes it's that simple, solder bends great with the least effort.
To guide you: draw your swirlies on your sword, put a little glue on it and let it dry for a minute, pre-bend the solder tin and put it in place.
The Jewels:
Draw the holes for your jewels on the blade and cut them out with a knife (the clay should be soft enough for this).
Painting the sword
Going crazy jet? Hold your horses, because this is the greatest part of making the sword!
Ok! Easy bases:
Paint the lower handle black, the middle a blend of black silver, and spray paint the blade silver. Keep the edges black
See picture.
![[image]](http://laracroftcosplay.com/images/aug2013/aug16/excal/paintpattern.jpg)
Weathering the handle: Take a bit of silver paint on your brush and brush it all over the handle then quickly wipe it off with a cloth.
You can do this as many times as you like.
Weathering the blade: same technique but then with black acrylic paint.
You'll be amazed how fast it goes.
![[image]](http://laracroftcosplay.com/images/aug2013/aug16/excal/blade.jpg)
Put a little tin foil in the holes for the jewels and paint them green, you can poor the clear resin in it OR you can make your own costume made jewels and glue them in place.
Finish with a clear coat of spray paint.

You're done, congratulations, I'm proud of you!
Now find yourself a possessed Amanda and you're off!
![[image]](http://laracroftcosplay.com/images/aug2013/aug16/excal/excalibur.jpg) |