Reference Pictures: (click to enlarge)
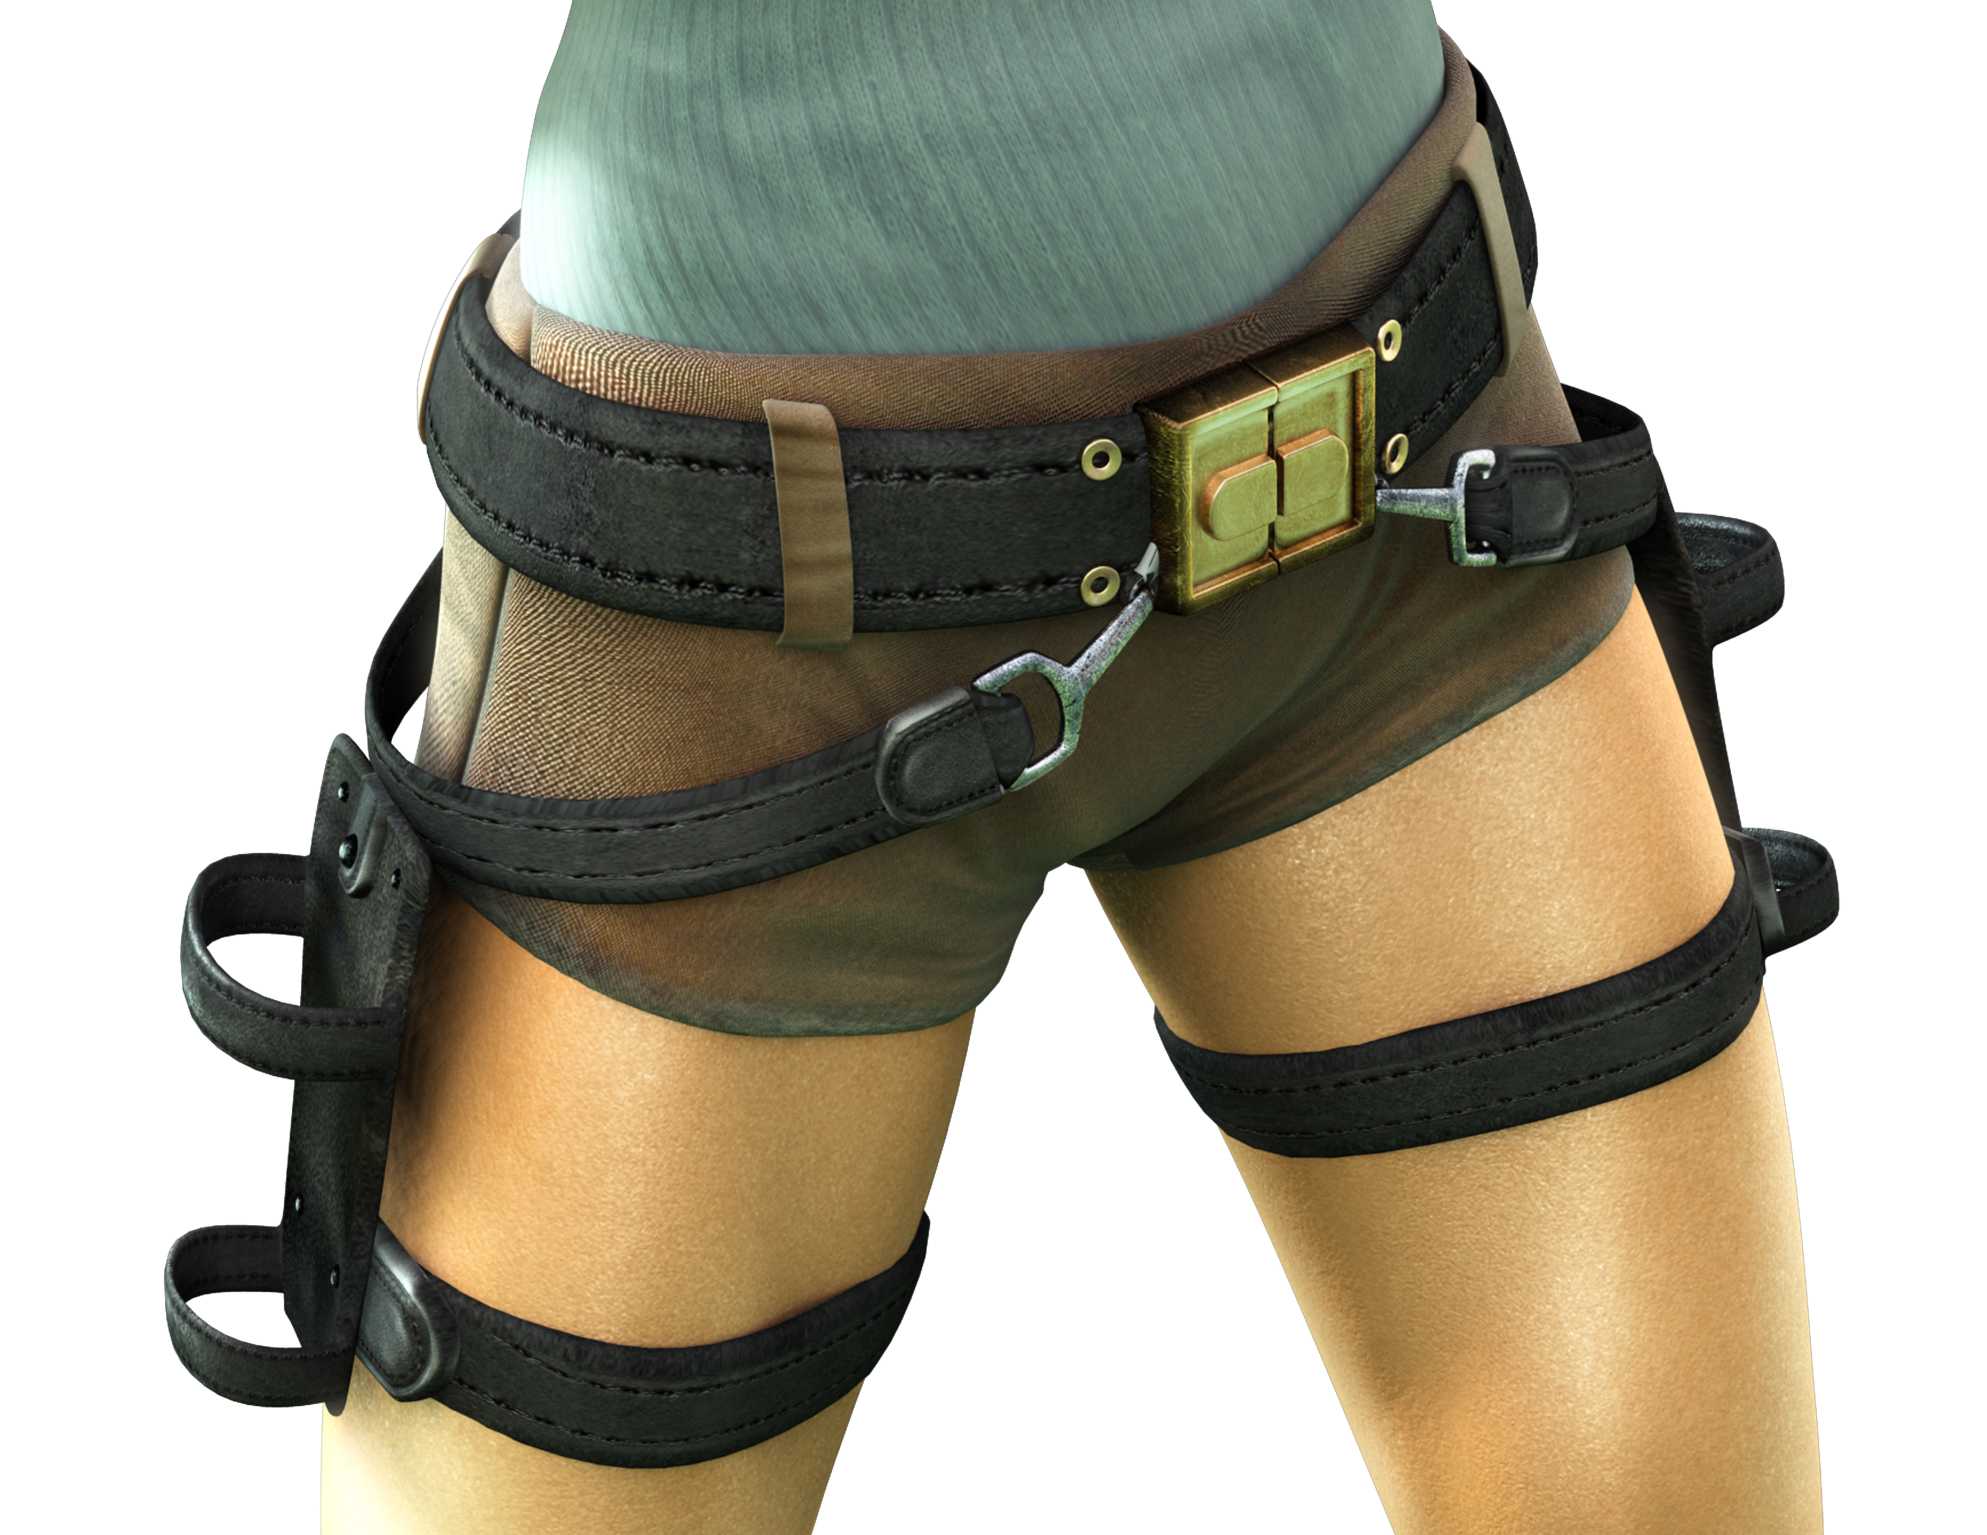
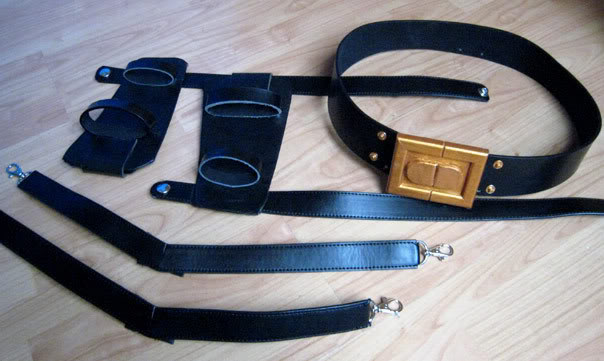
Here's the single parts you need to make:

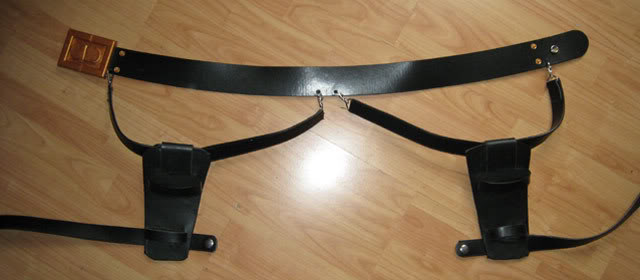
1. One broad belt, ideally curved to fit on your hip
2. FIMO made belt buckle (or modelling clay, or whatever you like)
3. 2 side belts, curved
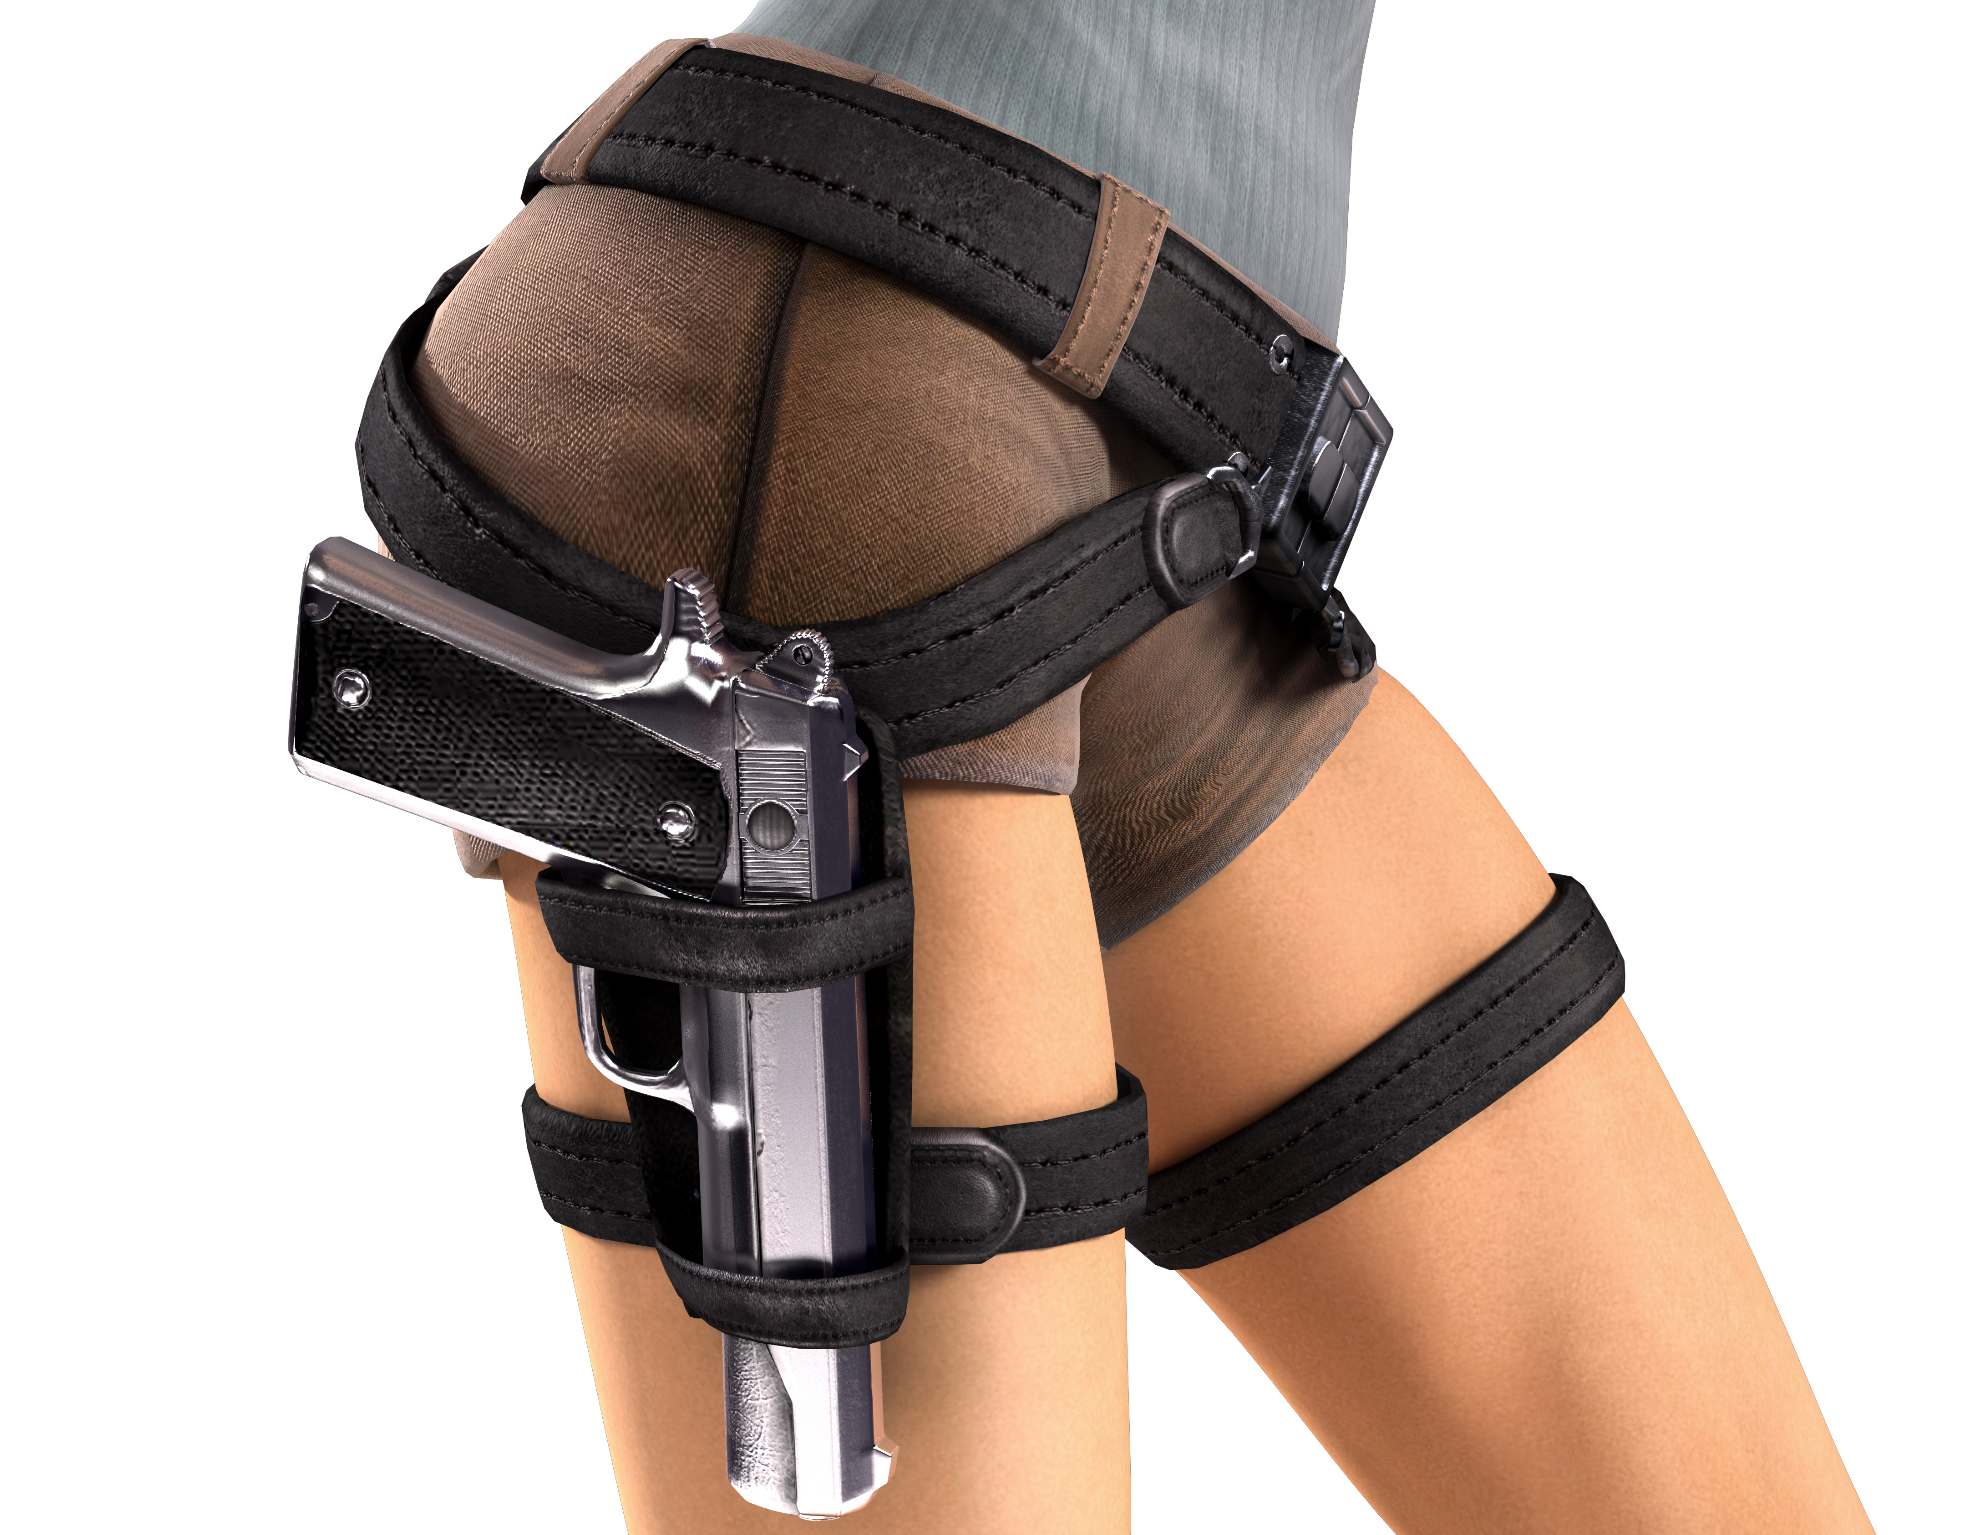
4. Holsters (cardboard rectangles covered in pleather and glued-on gunholders)
5. leg straps
6. attachment clips from lanyards (4x)
7. decorative studs to glue on left and right to the buckle (4x)
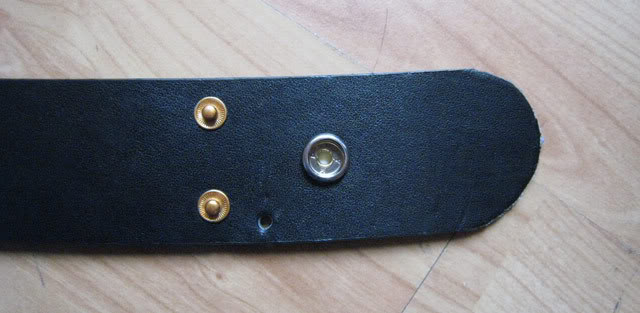
8. press stud for closing the belt (1x) and leg straps (2x)
Since I'm not good at sewing and don't have the possibilities to stitch leather,
it's mostly superglue for me I love that stuff.
The buckle is what I made first. Then, when it was finished and cooled, I cut
the broad main belt to the right length, glued on the buckle, and pressed in the
closing press stud.
Then, I pressed little holes into the belt left and right to the buckle, and
also at the back side. That's where you clip in the side parts later.
For the side parts, I used cheap thin belts, cut them the right length to wrap
around my hip and curved them slightly. At the end of each side belt, I then
attached a lanyard clip. Voila, now you can already clip the side parts onto the
main belt.
for the holsters, I cut out rectangles from a thin plastic sheet (you can also
use cardboard if you like), then wrapped it in leather fabric. The gun holding
strips are just two short strips of leather per holster which I shaped into a
ring and glued them onto the holster. The last step is to mount the leg straps
to the back side of the holsters, and you're basically done.
I hope I didn't forget anything vital


The holsters :

Holsters (cardboard rectangles covered in pleather and glued-on gun holders)
I cut out rectangles from a thin plastic sheet (you can also use cardboard if
you like), then wrapped it in leather fabric.
The gun holding strips are just two short strips of leather per holster which I
shaped into a ring and glued them onto the holster. The last step is to mount
the leg straps to the back side of the holsters, and you're basically done.
And here's the assembled belt:
|